(Re)Making A Parquetry Veneer Saw II
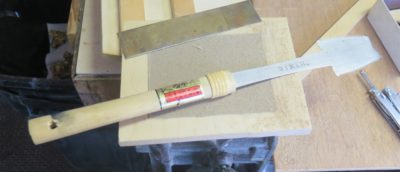
Remaking the Japanese mortising saw into a premium veneer saw was straightforward, but, as in the case of any instance where you must first break apart a perfectly functonal quality tool to do so, gave me pause. I thought about it long and hard, even going to the extreme of ordering a duplicate tool. In the unlikely case where the “remaking” went south I would still have the original capability.
The mortising saw business end did a great job at the cutting, but the long neck made the saw somewhat floppy and unwieldy for repeated and routine veneer work like the hundreds of cuts I will be making for the tool cabinet parquetry. Somehow that floppy neck had to be dispensed with. Once I settled on a simple strategy it was, like I said, straightforward.
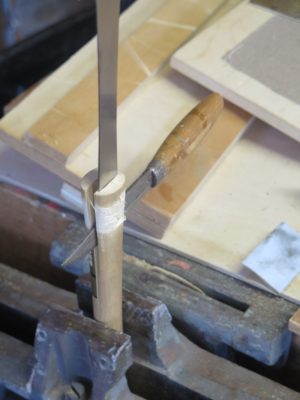
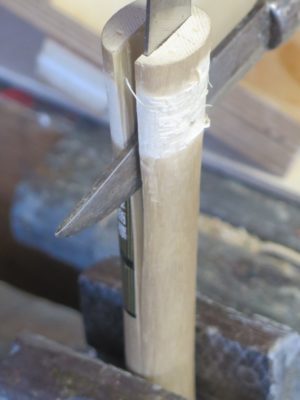
I began by removing the bindings and set screw from the handle, which I then split along the blade tang with a sharp rap on a Sloyd knife.

The handle, being paulownia, cleaved instantly and cleanly, releasing the entirety of the metal blade.
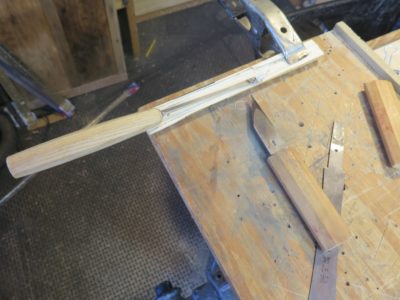
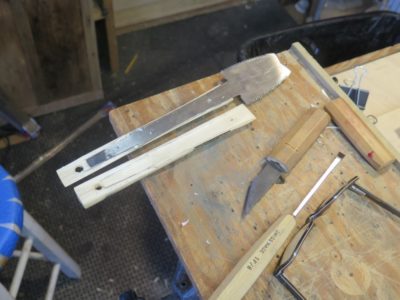
Re-housing the tang to “remove” most of the floppy neck was a piece of cake. Using the tang itself as the template I marked then excavated a pocket of the exact dimensions of it so the two halves of the handle could be reassembled to incorporate it. I cleaned the tang and abraded it lightly, then reassembled the unit in the new configuration with epoxy.

To hold things steady until the epoxy set I wrapped the handled with some elastic tape and left it for two days.
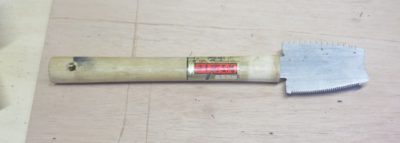
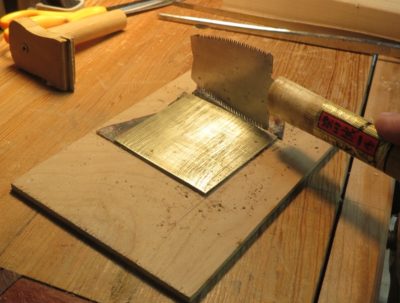
Removing the tape revealed a now-perfect parquetry cutting saw. Now all I need is a perfect set of sawing templates.
Stay tuned.


About your parquetry: You need to liven it up a bit so it’s not so repetitive.
https://www.wired.com/story/nasty-geometry-breaks-a-decades-old-tiling-conjecture/
Make life more interesting and dynamic, i.e., complicated and confusing.