Restoring A Pair of Cool Mid-Mod Chairs – Executing the Plan
Before I did anything else, I had to consider carefully what the chair itself needed, in order to fulfill the user’s needs. Since I could not disassemble the chair without inflicting even more severe damage, this meant that I had to impose into the original fabric of the chair in situ and remove a substantial quantity of the original material, then augment that original element with new material unrelated to the original construction of the chair. Through consultation and discussion, both the client and I affirmed that route, so I dove in. (Both chairs were treated in essentially the same manner, which was a good move strategically. When disassembling the second chair I discovered that it too had broken in the exact same place, but the damage had not yet become manifest at a gross level.)

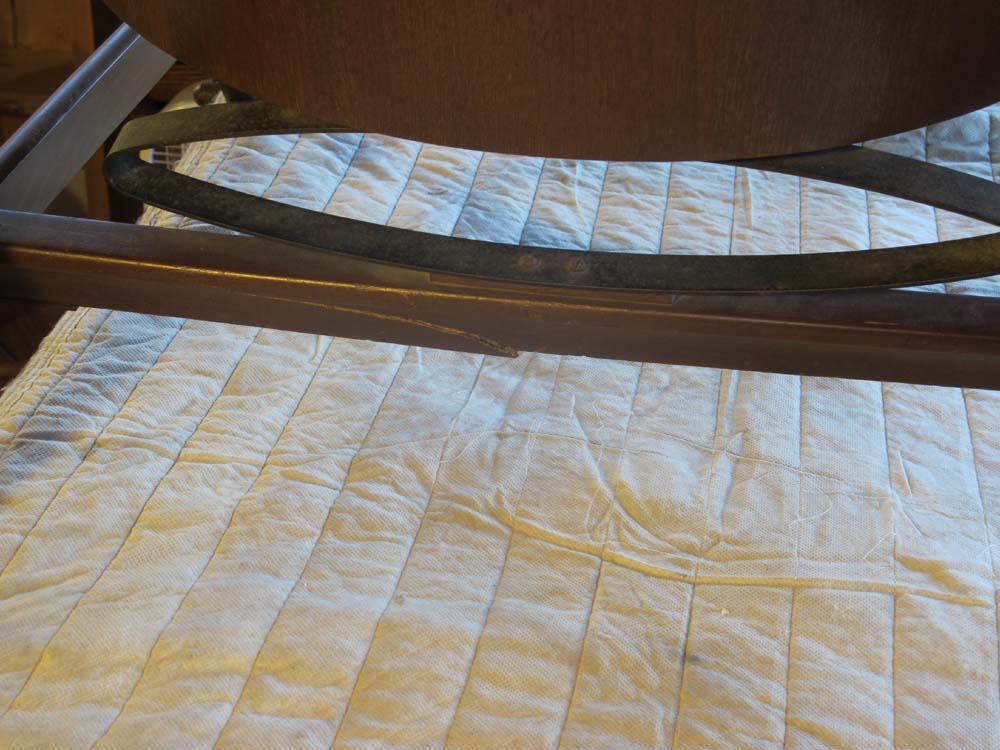
The first thing was to get the broken and displaced cross-member into the correct configuration, in short, put it back to the exact shape it was before the damage. So, I disassembled the buckboard spring assembly by detaching it from both the seat underside and the cross member and setting it aside until final reassembly. I introduced hot hide glue into the fracture and clamped the cross member so that it was straight, and allowed it to sit overnight. No, this was not a structural repair, it was rather a reclamation of the proper shape so that a structural compensation could take place.
I learned an important fact during this step, namely that the grain of the wood was really squirrely, much too figured for the stresses placed on it, and the wood was very brittle. This confirmed my proposal for the treatment process.
Since the cross member was not square in cross section, and since the wood was so brittle, I could not use a power router to excavate the opening for the new enhancement. Instead I placed the new aluminum barstock spine on the underside of the cross member and scribed a mark, which I made quite deep with a knife.
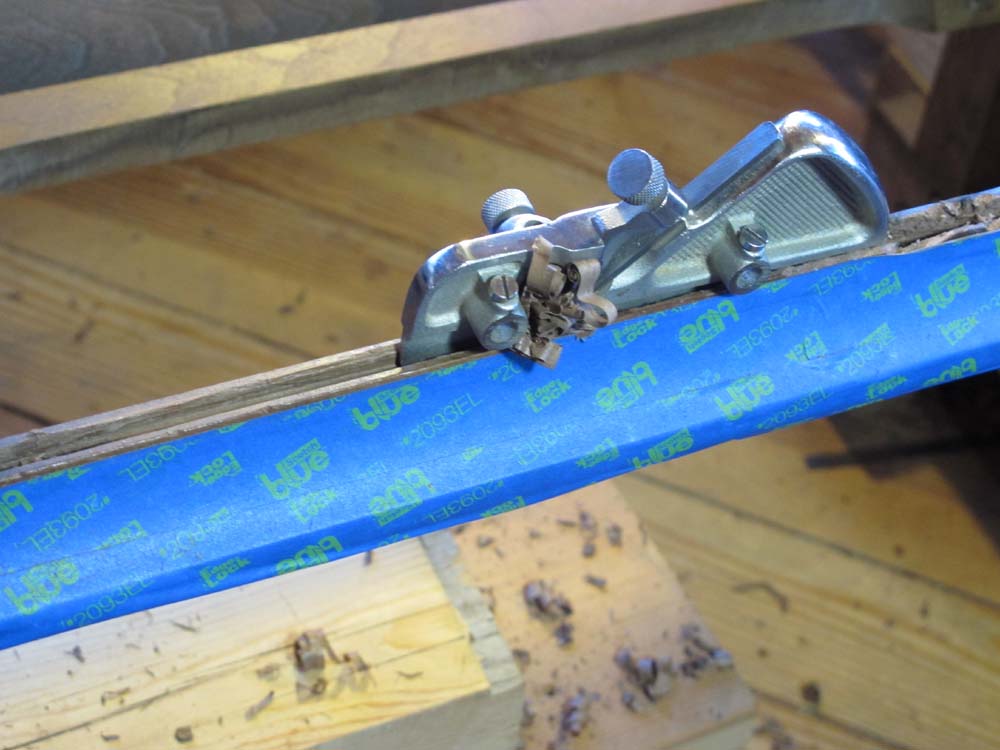
With my diminutive slotting plane I cut as deep and long of a ¼” wide furrow as possible, then switched to a ¼” pigsticker mortise chisel (it was just the best tool for the job) to finish the excavation.

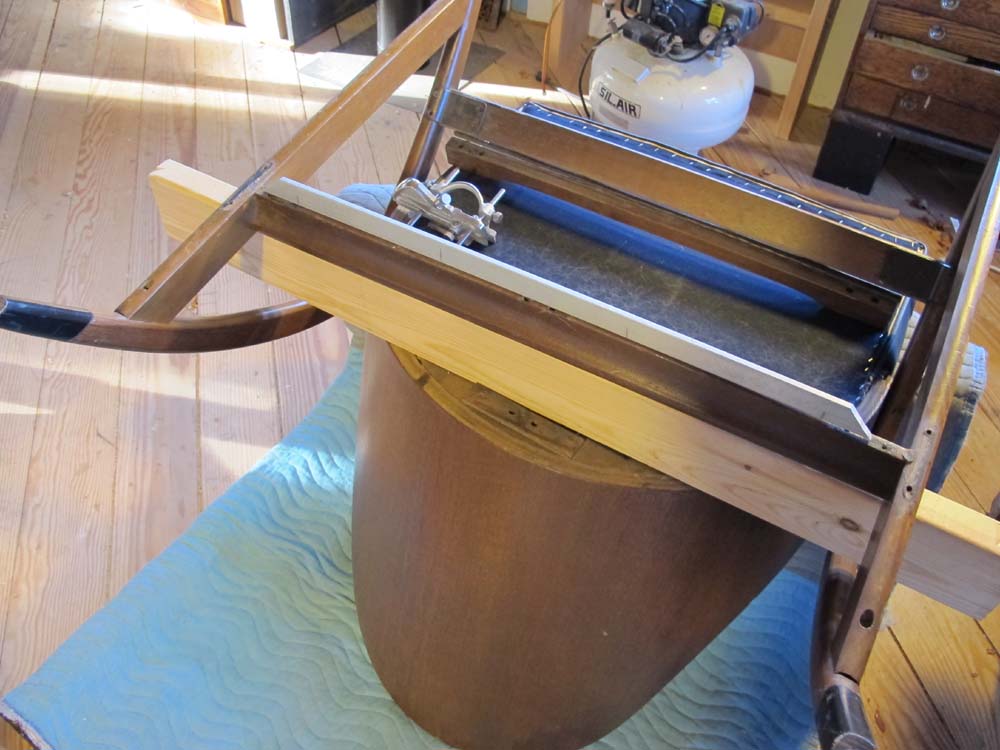
I made sure to fit the excavation and the new spline to each other. Just before inserting the spline, I drilled several holes through it so that the bedding epoxy would go not only around it but through it, locking everything in place.

Using West System Epoxy with the slowest setting catalyst, I used a disposable paper cup to apply the epoxy on the spline and allowed it to flow down and around the new element, repeating as necessary until it was clearly full. Then I set up four clamps to hold everything in place and went down the hill to supper.

The next morning I saw that the results were exactly as I had hoped, and filed off the excess epoxy and smoothed out the underside, making no effort to disguise the presence of the new addition. Being on the underside it was not visible to the user unless she flipped it over to look at it, and knowing her as I do, she probably will show it off to her many friends in the artifacts world.
With that, the chairs were ready for reassembly, wherein I ran into some fairly typical problems — mismatched screws, and wallowed out screw holes.
Stay tuned.

Join the Conversation!