Restoring Infill #1 – Obtaining Functionality (Simplified Sharpening)
With the sole flattened and all the moving parts verified as functional, I quickly brought the iron up to snuff. The “cutting edge” when I got it bore an eerie resemblance to the smile of a pre-adolescent who was missing half of their baby teeth.
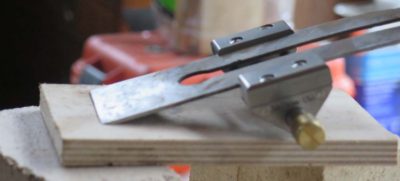
My tools for whipping the bevel into shape were the Lie-Nielsen honing guide, an angle jig for the honing guide with several angles pre-set so I could get the rig ready to go in about five seconds, and my 50-cent granite lapping plate made from a piece of salvage counter backsplash.
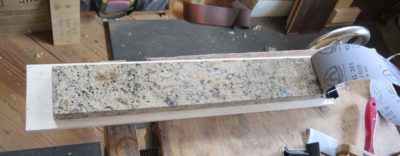
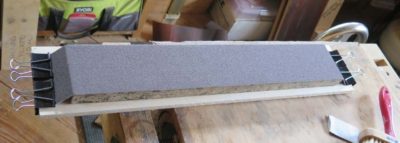
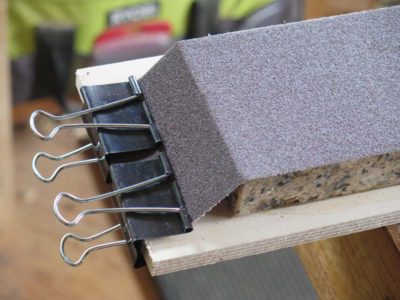
For a long time I used the slab freestanding, but recently I glued it down to a piece of plywood to allow for better attaching of the 60-grit sanding belt I use to really get things going. In this case it took a dozen strokes or so to remove the gap-toothed effect and establish a new bevel.
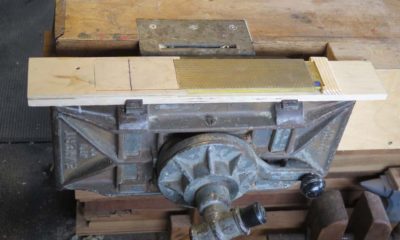
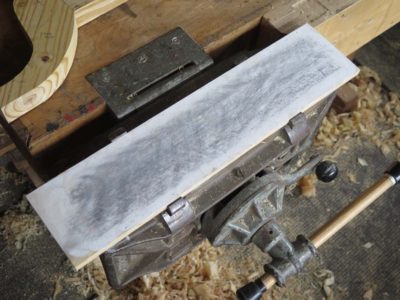
I moved the honing guide to my jig for holding my diamond stones and took a half dozen strokes on each of the 220-grit and 1000-grit surfaces. I removed the iron from the honing jig and took a dozen strokes free-hand on my 8000-grit water stone, a half dozen free-hand pull strokes on the wood polishing plate charged with 0.05 micropolish powder and was ready to reassemble the plane.
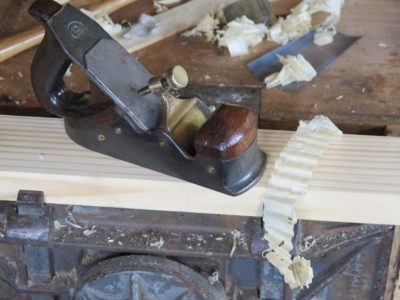
The results were immediate and satisfying, and with the functionality assured I marched forward with the “purdyin’ up” of the tool, a critical component since it is a proven fact that beautiful tools work better than uglier tools. I read that somewhere on the interweb, so it must be true.


Join the Conversation!