Roubo’s Panel Clamps
When asked how many clamps they have, any woodworker worth their salt usually has two connected answers “1) A lot, and 2) not enough.” Given the expense of manufactured clamps in our age, consider the relative cost 250 years ago when everything was made by hand. I would imagine forging a single functioning iron clamp was the better part of a day’s work.
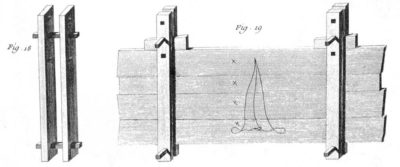
In part for this reason, Roubo and his contemporaries devised inexpensive, high-performance and practical solutions to the problems of clamping, especially for clamping up panels. I too have followed their lead, and despite having many bar and pipe clamps I find these to be a terrific addition to the workshop. The engravings are petty self explanatory, straightforward enough that I could crank them out in minutes.
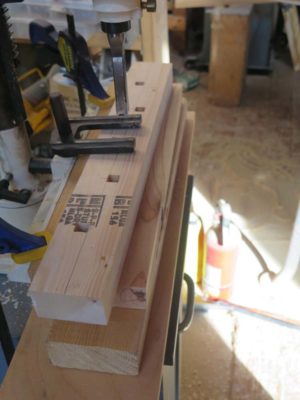
My base stock for these is scrap 2×4, with clear grain if possible. Laying out a series of square holes, off-set from the center line (almost certainly overkill, but then I tend toward overbuilding everything), I punched the 1/2″ square holes through the 2×4 with my mortiser.
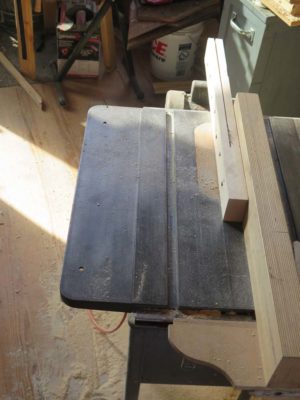
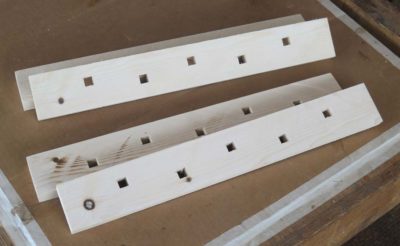
That done I just re-saw the 2×4 on the table saw, yielding two identical halves of one clamp bar set.
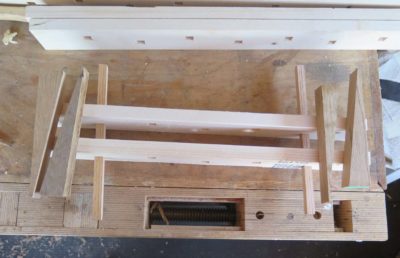
Add a group of squared pins to connect the clamp bars and some wedges to tighten on the panel being glued and you are pretty much done. NB: Before using for actual gluing all the surfaces of all the components should be coated with wax or grease to prevent sticking once the glue dries.
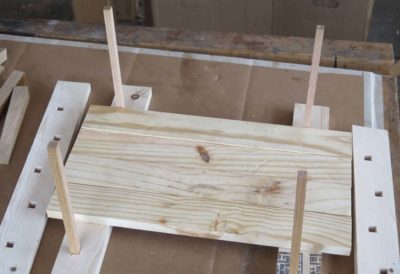
In use I just place half of the bar pair on the bench at each end of the panel assembly and insert the cross pins into the square holes, followed by placing the gluing subjects in place.
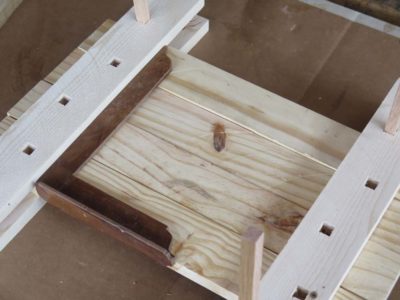
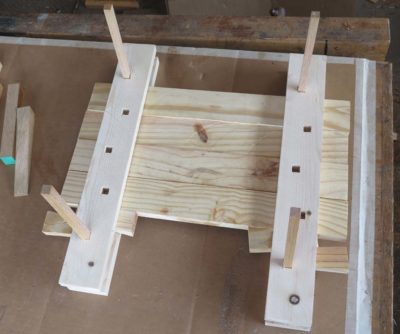
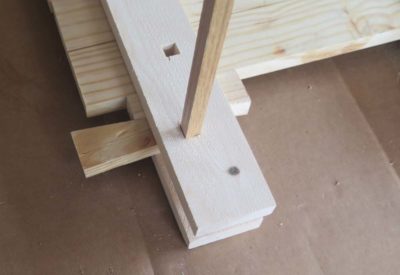
The other halves of the clamping bars go on top and once everything is squared the wedges are driven in to squeeze things together.
Finito Mussolini.


Why not round holes and dowels? Would it introduce racking or are you being faithful tp Roubo? The squraes are defintly more elegant.
No reason per se to avoid round holes and dowels. Next set I will rotate the mortising bit 45 degrees to yield a diamond shape hole to increase the the amount of clamping force possible by about 2-1/2 times based on the increased cross section of the diamond hypotenuse.
Clampingh force is independent of the orientation of the pin. Drive the wedges in further to get more clamping force. A diamond shaped hole creates a new set of forces on the clamp sides – a wedging action that will cleave the wood side plates. In the original the failure mode would be either shear of the pin or crushing of side plates (most likely)
LOL , been using similar cauls to make my thin panels, and these break the well known rule of quick,cheap and good to pieces, as you say – a great addition to a workshop arsenal and for those odd jobs when on site and ones clamps are still in the workshop . DAMHIKT !