Salvaging A Busted Sharpening Stone

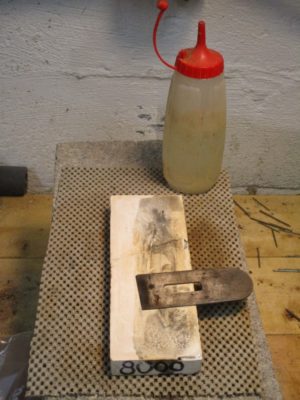
Among my inventory of sharpening implements is an old 8000-grit ceramic water stone that I bought perhaps 35 years ago. I recently dropped it on a concrete floor with the resulting carnage you might have predicted — it snapped in two. Rather than toss it out I tried to salvage it and put it back to work.
Based on the character of ceramic sharpening stones, namely that by nature they are comparatively porous, the foundation existed for adhering the two pieces back together. In fact, since ceramic stones tend to be fairly soft and friable (fracturable) when adhering pieces of these ceramics together you have to pay attention to the adhesive-adherend margin, making sure that the density and hardness of the adhesive is congenial to the density of the adherend. While I cannot modify the character of the cured adhesive film, I can use other methods to modify its performance.
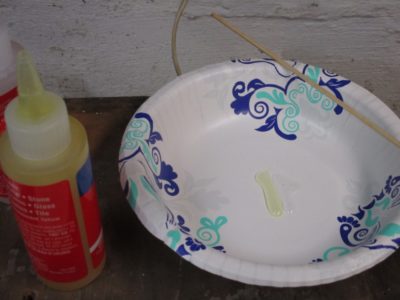
In this case I followed my longstanding practice of using dilute adhesive to size the gluing margin (the surface of the adherend), thus rendering something more hardened-sponge-like than a block of hard plastic in direct contact with the soft ceramic. The latter construct is much more likely to fail in somewhat short order as the harder, denser, and more cohesive adhesive breaks off some of the softer ceramic block, resulting in the failure. In this case I used an epoxy I had on hand.
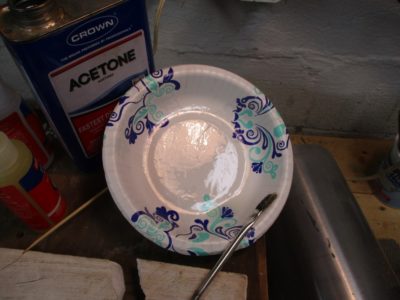
I mixed the two parts thoroughly, then diluted it immediately with with acetone to yield a watery solution. This was applied directly to the broken stone surface, and soaked in to yield a fairly parched-looking surface. This results in an adhesive/adherent region perhaps ten or twenty of fifty times wider than that accomplished by full-strength epoxy alone. After a few minutes I added another application of the dilute epoxy, then set it aside until the epoxy was almost tack-free.
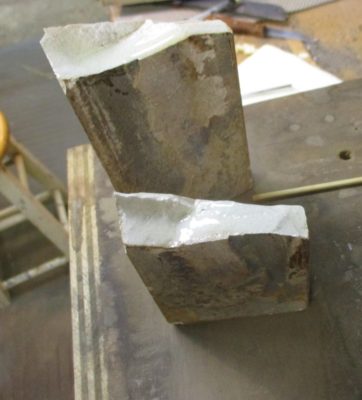
The it was ready for a bead of the full strength epoxy, which I applied to the lower half of the joint to make sure none of the full-strength epoxy would squeeze out the top glue line to excess.
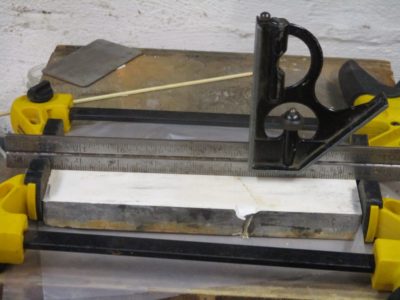
Once the gluing surfaces were coated with the epoxy I placed the two halves together and applied very gentle clamping pressure, mostly to hold the two halves in correct alignment rather than drawing them together. Their fit was wonderfully tight from the git-go. There was a tiny bit of epoxy squeeze out on the top line, and I wiped that off immediately with a paper towel sodden with acetone.
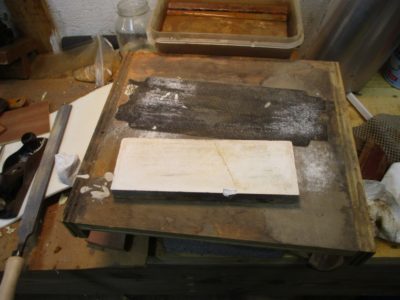

I let the assembly sit until the epoxy was fully hardened, then re-trued the surface, first with a sheetrock screen and then with sandpaper over a flat surface. Since it is an ultra-fine polishing stone it does not need much water; to make sure the epoxy is not challenged I simply wet it on the surface instead of soaking the stone in the water bath.
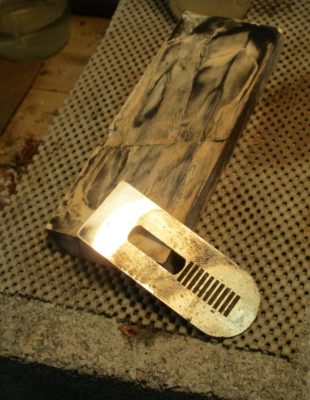
In use there is a little click as the steel is passed over the fracture line, but the stone still works just fine.

Join the Conversation!