The Honing Guide Gets a Remarkable Partner, or, Sharpening Is Simple (And Sometimes Even Easy)
After first establishing the clean bevel angle, whatever the angle is (I do like Chris Schwarz’ practice of standardizing his angle with a setting jig for the honing guide, although I do not employ the practice yet myself) I like to move quickly through my DMT dual surface diamond stone then on to my dual surface Norton ceramic stone.
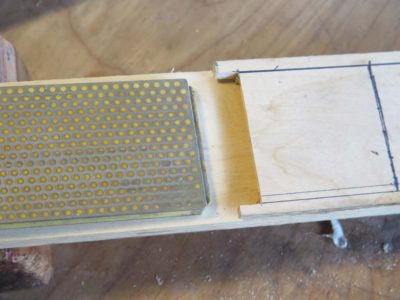
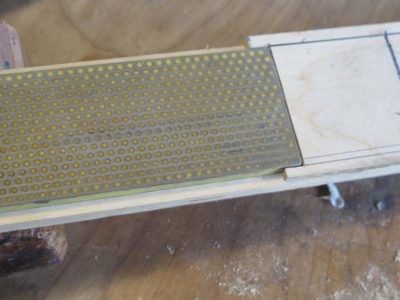
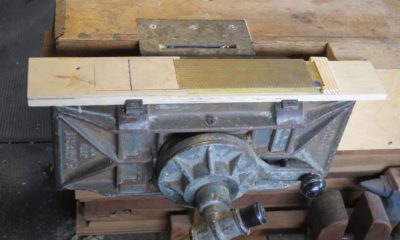
One of my gripes about honing guides, and which the LNT does not alleviate, is that the guide and its fixed angle eliminate a big chink of the stone for each stroke. I addressed this problem myself by making this jig to allow the diamond stone to nestle into a plywood jig, which in turn allows me to use every bit of the sharpening surface with each stroke.
If I do everything right, from this point on I usually need only a dozen or so strokes on each successive stone in order to get to “finished” in about 90 seconds. Then back to making shavings.
After the diamond stone I take a few quick strokes on the 1000 grit side of the Norton with the honing guide still holding the blade, regardless of whether it is a plane blade or a chisel.
For the final few strokes on the finest stone I use the 8000 grit flip side of the Norton water stone. I do this freehand and sidewinder style. I can easily ascertain the correct honing angle by gently raising the blade bevel down until I see a sudden “pooch” of water being pushed out as the bevel angle becomes the same as the stone surface. I usually take four or five strokes on the left side of the stone, then four or five strokes on the right side, and I am done with that step.
I flip the blade over and put about three or four strokes of micro-bevel on the back side, usually with a tongue depressor as my spacer.
A new addition to my sharpening regimen was one I learned from Walter Wittman, perhaps the finest craftsman with whom I am acquainted (although Jameel Abraham and Michael Podmaniczky would surely give him a run for his money). Walter recommends a final stropping of the bevel edge on a piece of hardwood that has been impregnated with micro-abrasives. I believe he uses 0.5 micron diamond lapping paste, while I use 0.3 micron agglomerated microalumina powder. Neither he nor I like the idea of stropping on leather as the flexibility of the leather under compression compromises the clean edge of the tool by wrapping around the edge as the stropping occurs.
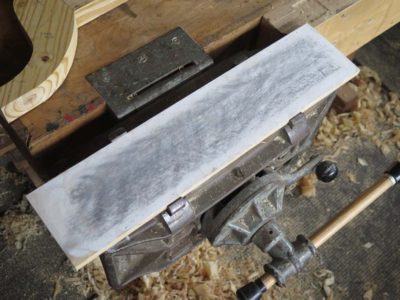
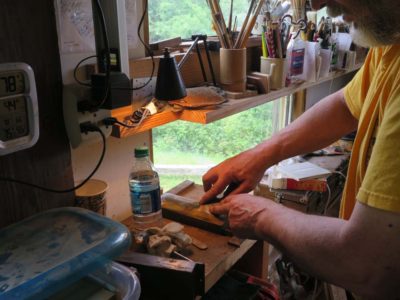
I made my stropping board from a clean scrap of baltic birch plywood which I sanded smooth with 320 sandpaper. Then I wetted the surface thoroughly and sprinkled the micro abrasive powder on the surface, and worked it into the raised grain with my fingertips. I let it dry and it was ready to go to work.
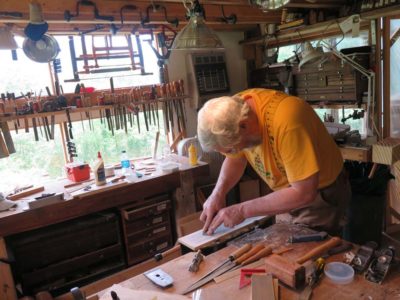
Holding the bevel edge against the board surface, and raising it the tiniest smidge I firmly draw to tool towards me by rocking back on my heels to maintain a steady and consistent contact angle. Five or six pulling strokes is all I take, and the result is simply transformative to my sharpening.


Join the Conversation!