The Lute Player – Unpacking The Lute Neck and Left Hand
My first task on undertaking the actual hands-on treatment was to see to what degree I had the pieces in-hand, and how well they fit together. It was my ardent, and ultimately unfulfilled, hope that with a little “undoing” of the previous repairs followed by simple reassembly and the project would be done. It was not to be, alas.
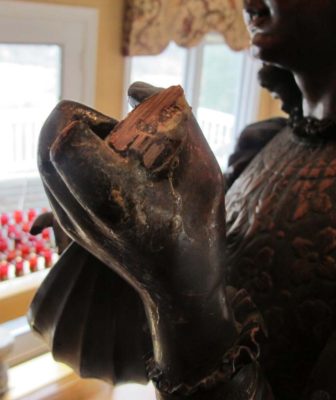
The most readily evident focus of this effort was to “unpack” the broken neck of the lute and the adjacent left hand. This was not particularly simple as I would estimate there had been 5-10 repair campaigns on just this area alone. At least two of these attempts involved the use of a home made wood putty consisting of wood dust and PVA adhesive, used liberally. Someone(s) had evidently seen some advertising about PVAs and figured if some was good, more was better. There was yellow glue goo all over the place.

My favorite technique for removing PVA when integral to a fragile surface, which given the vast number of fractures and repairs these gluing surfaces were, is to soak the offending material with Safest Stripper from 3M, a water-based di-basic ester solution with extremely low volatility and an affinity for polymerized synthetics. In other words. perfect for softening hardened PVA.
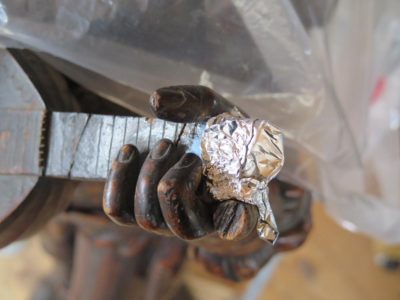
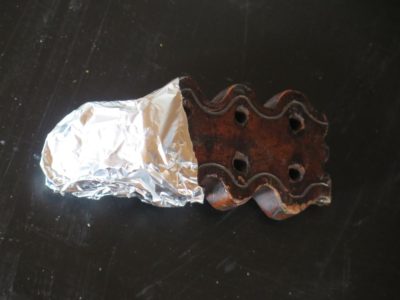
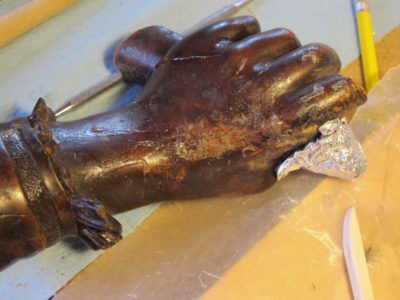
So I slathered on the Safest Stripper on the affected areas, wrapped those areas with aluminum foil, and walked away for three weeks. Yes, I said three weeks. Conservation is not an undertaking for those without patience, whether it is the practitioner or the client.
After three weeks I opened it up and the glue mass was still a little too stiff, so I repeated the process, applied more Safest Stripper, wrapped it with aluminum foil, and set it aside for another three weeks.
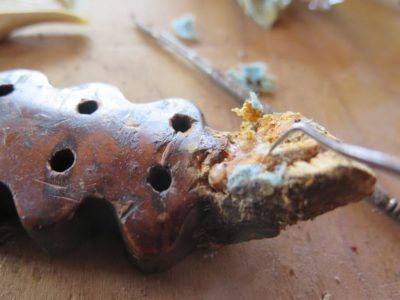
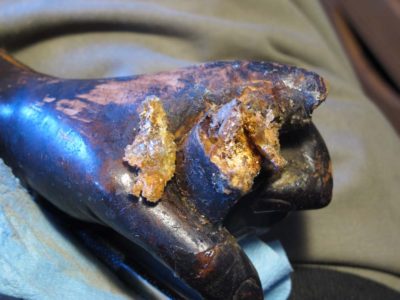
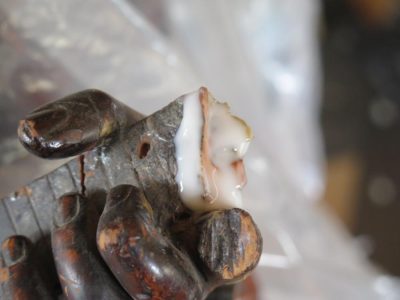
This time when I opened it everything was ready to go. The glue had been thoroughly penetrated with the DBE and had the consistency of very stiff taffy. With dental tools and a gentle tough it came out literally in chunks, but since the material had been softened and loosened from the wood fibers, there was minimal disruption of the gluing surfaces.
One of the characteristics of DBE is that it has a barely-above-zero volatility but it is nearly completely water soluble so it is imperative to flush it out of the fiber matrix before proceeding. I placed damp cotton wadding in contact with the gluing surfaces, changing the wadding out every day for about a week. A the end of that time I let it sit to see if it would dry nicely (the evidence that the DBE is absent), which it did. This told me it was ready to proceed to the next steps.

It is worth noting that while this had been ongoing, other processes were underway as well. Hence, though I am recounting this project in a linear conceptual method, in reality there were other portions of the treatment “in process” so some of the photodocumentation might seem confusing at times, but stick with it. We’ll get to the end without any career-ending injuries, I promise.

Join the Conversation!