Traditional Finishing Workshop Aftermath
Earlier this week I taught a three-day Traditional Finishing Workshop at The Barn, but since only one person signed up for it perhaps I should more properly call it a Traditional Finishing Private Tutorial. Whether he wanted it or not BruceK had me all to himself for the three days.

The syllabus for the tutorial was a very simple one, encapsulated in this graphic I devised seemingly a lifetime ago. We touched on each topic, sometimes repeatedly, and the days unfolded as a conversation with focused exercises to allow Bruce to leave with the the confidence and knowledge he needed to approach finishing fearlessly and skillfully. We were too busy working to take all the pictures necessary to fully represent the activities, but here are a few.
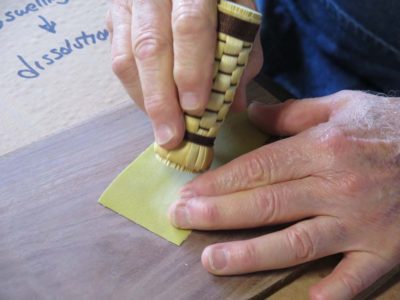
Since burnishing the wood with a polissoir has become integral to my own work in preparing the substrates for finishing, I introduced Bruce to the practice himself. Here he is tuning up his brand new polissoir with fine sandpaper to make sure the tip was a flawless but very slight crown. He made the other end flat, and used both ends extensively in the three days.
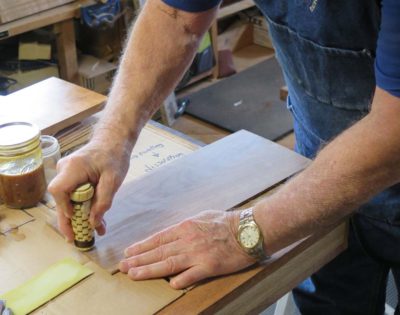
Here is his first try at it in combat, and he agreed the results were impressive.
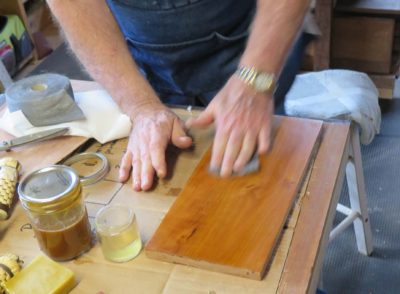
We added four or five coats of 2 lb. lemon shellac to that burnished surface, let that dry until afternoon on the first day, then buffed it out with Liberon 0000 steel wool and Johnson’s Paste Wax. Bruce expressed that “this finish was exactly what I had envisioned” and thought that alone was worth the three days stuck with me in the hinterboonies.
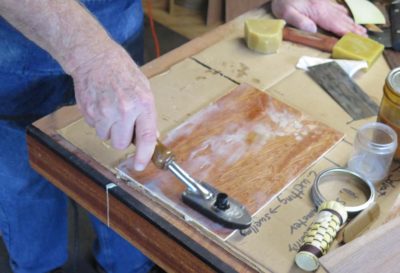
We then dove into the techniques revolving around filling the grain with wax. Here he is finishing up the application of molten beeswax which will be scraped off leaving a filled surface ready either for buffing or shellacking.
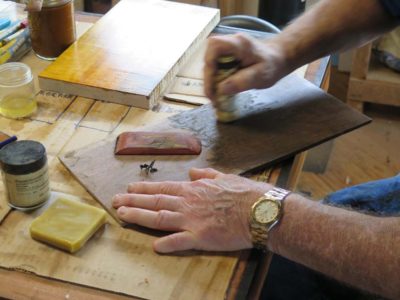
One of the variations on this theme was to fill the grain on this beautiful piece of walnut with solid beeswax scrubbed on the surface like rubbing it with a bar of soap, and sprinkled with some raw umber powdered pigments then all worked into the grain with a polissoir.
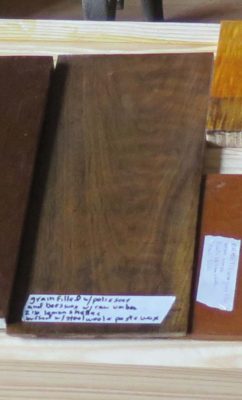
The excess wax was scraped off and the surface was shellacked a couple of times with terrific results.
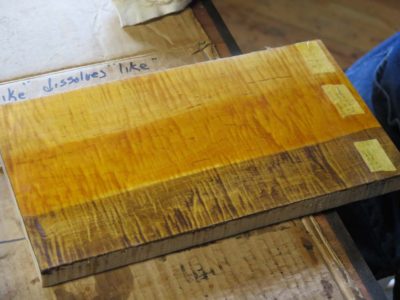
We moved on to colorants, using this exuberant piece of curly maple as our palette. On one section we used asphaltum, probably the most widely brown-ish colorant in the days of old, on another we used high-tech organometallic dyes. I do not use chemical stains. Period. On the third section we just built up the lemon shellac.
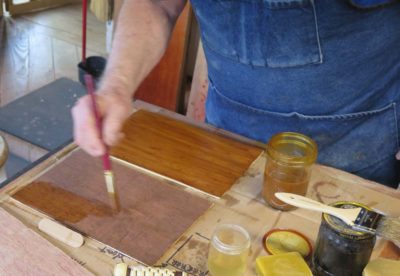
On these two sample boards we applied asphaltum as a glaze over the initial coats of finish (rear) while on the other we used the asphaltum as a stain. I wanted Bruce to get a sense of how the same materials can perform differently (or not) depending on the situation.
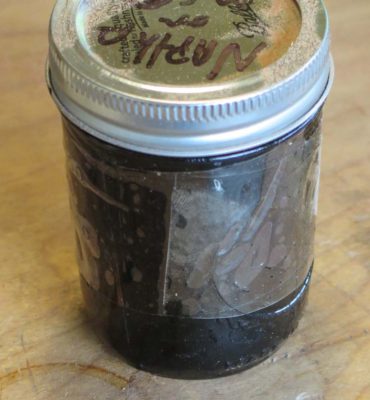
I made sure to send him home with a lifetime supply of parging tar, which is what I use for asphaltum colorant.
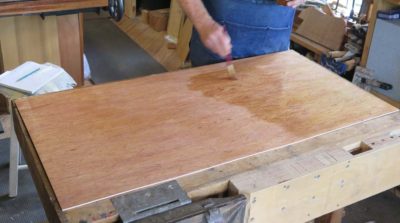
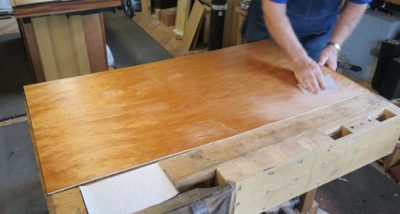
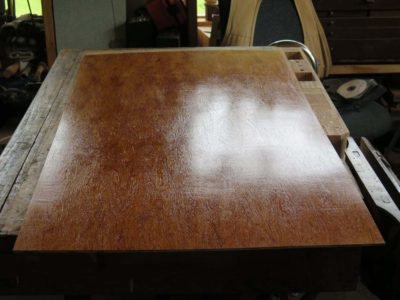
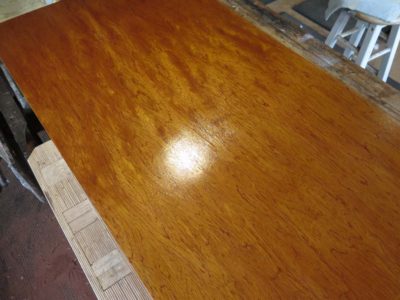
Traditional finishing is a lot of burnishing and brushing, so there were a number of brushing exercises and a lot of discussion about good brushes to have in the tool kit. Certainly the most extreme exercise I like to employ is to use a giant piece of plywood as the foundation for building up a finish brushed on with a 1″ nylon-and-sable brush. The objective is to overcome the intimidation of working such a large surface with such a small brush, and to leave a finish that is flawless. This exercise is usually three “innings” of several coats of shellac. After the first inning dries it is sanded lightly with 320 silicone carbide paper, and after the second inning it is rubbed lightly with 0000 steel wool. After the third inning, which already looks pretty great, the surface is burnished vigorously (you cannot rub too hard or too long) with 0000 steel wool and paste wax. Spectacular, and all the more when you consider it is just a piece of cheap luan plywood from the lumber yard.
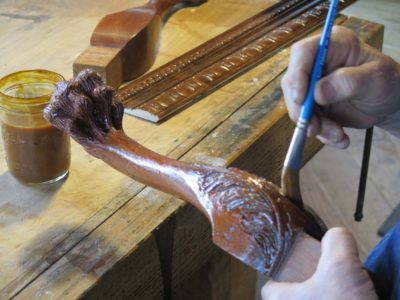
We also covered the brushes and brushing techniques needed for contoured and voluptuous surfaces such as carved moldings or Chippendale legs. Again, flawless results.
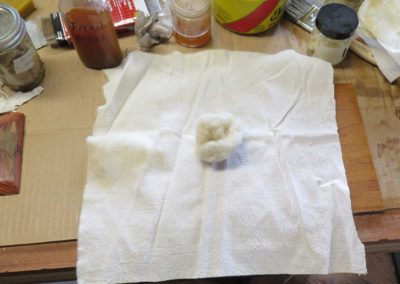
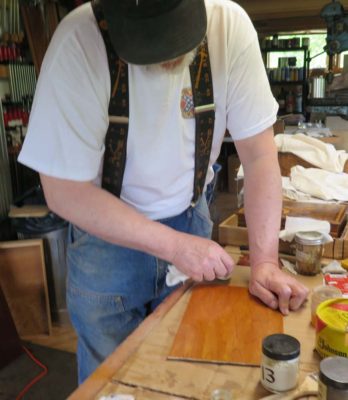
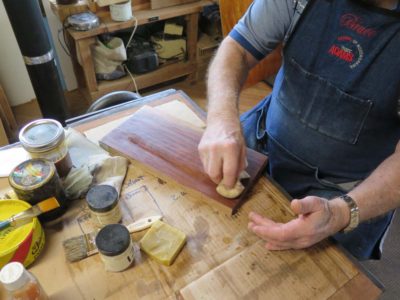
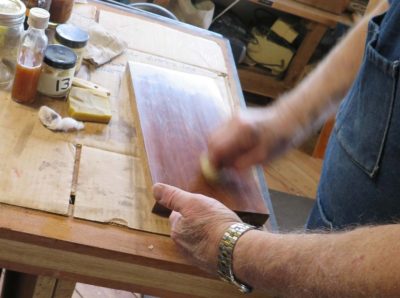
Of course we covered “French” polishing, beginning with the making of the pad itself with raw, combed and washed wool wrapped in a linen rag, and mixing up the spirit varnish for the pad polishing. I gave a short demo, yielding a glistening surface, then Bruce went at it. He was able to pick it up and with a little practice will have “the touch” cemented in his brain and hands.
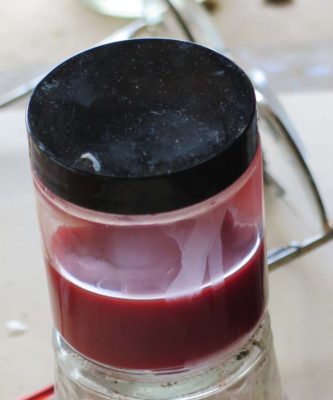
We even got into making some custom paste waxes. In the first case Bruce mentioned that he’d finished a piece that seemed a bit too green/brown and wanted to add some red hints to the appearance. So, I made him lightly tinted batch of reddish paste wax.
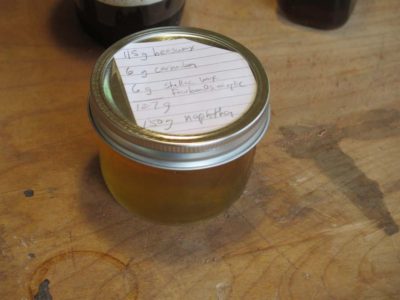
Then we made a new batch of my Special #13 blend of paste wax. The picture is misleading as the wax is still molten, but it cools into a pale translucent mass ready to be put to work.
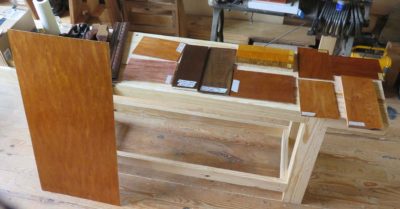
Just before Bruce departed I took a picture of the sample boards he had made. He left with an increased confidence and knowledge about finishing his projects, ready and eager for the next one.
I very much enjoy finishing and teaching about finishing, and expect to offer this workshop every summer at The Barn. Perhaps next year I can get twice as many students.


Join the Conversation!