Workbench Wednesday – Planing Board Revisited
During a recent visit to keep our daughter company (read: fuss and spoil) while her husband is away on travel as she approaches her “due date,” Mrs. Barn and I undertook a number of little projects around the house, things they have just been too busy to address while renovating their “fixer upper.” In order to provide myself the maximum capability given the circumstances (being military and spending every available minute on house renovations my son-in-law is not able to have a dedicated workbench. Yet. But I have plans…) I grabbed my bench-top raised planing board to use on top of his garage work table, along with my “traveling kit.” about which I will post soon.
To this point back at the barn I have used the planing board as little more than an elevated work surface, not insignificant but certainly not exploiting its capacity to the maximum. I was recently inspired by a video from Tamar over at 3X3. This is perhaps the most elegant and high-function solution to the problem of auxiliary/bench-top work station I’ve seen. Ever since seeing the unit built by my friend WilliamD at an SAPFM event several years ago I’ve been a complete fan of the concept, and a couple years ago Adrian Preda’s version lit a fire under me.
With my planing board sitting on the garage worktable I made a number of modifications to enhance its capabilities at being a productive shop accessory, especially in a setting that was not outfitted as completely as my own shop.
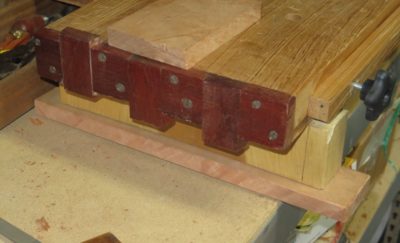
My first action was to attach skids underneath the “legs” for two reasons; first I wanted it raised about an inch for my use in the barn (it may be only an inch, but sometimes an inch makes all the difference in the world when doing hours of work at the station), and second I needed a means to clamp it down to the work table in the garage. I used some cherry I had and simply screwed it to the bottoms of the legs, making it effortless to remove or revise in the future.
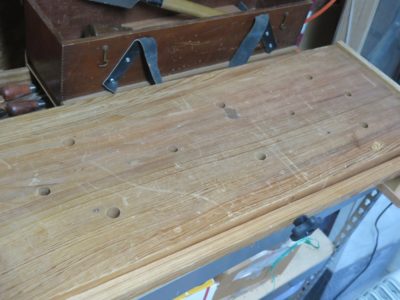
My next modification was drilling a series of dog/holdfast holes through the top. With the accessories I already possessed this enhanced the performance immensely.
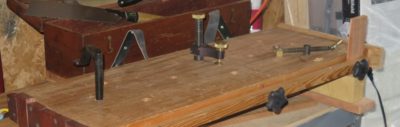
The center row of holes is 5/8″ matching the small Woodcraft holdfast while the other holes are 3/4″ to accommodate the Lee Valley devices. At some point in the future I am going to experiment with making home-made holdfasts.
Next week I’ll discuss the remaining modifications.

Join the Conversation!