Workbench Wednesday – Romastonian Low Bench 3
Given the “new growth” nature of the wood it took only short time to get the bench slab flat enough to move on to the staked legs.

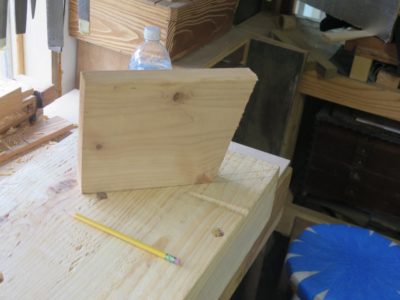
For the leg material I was able to recycle the hunk from the edge of the original slab when I ripped that to the width I wanted. I made five leg blanks just in case.
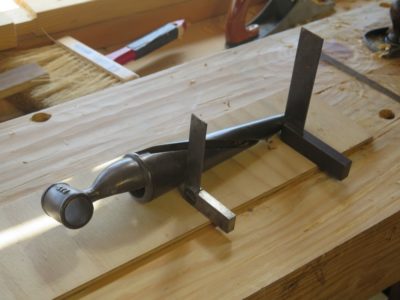

To guide my tapering of the ends I made a quick template based on my tapered spiral reamer, bought for a song at a tool flea market.
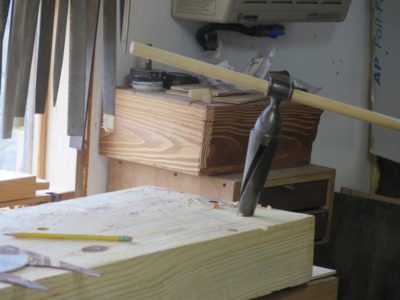
I laid out the holes for the legs by insetting them four inches from the side and end, then angled out at 12-degrees on the diagonal. I drilled 3/4″ holes all the way through from the underside, then reamed them with the spiral taper until the taper intersected with the top. In retrospect I should have made the angle a bit more, perhaps 16 or even 20 degrees, but I think this will suffice. If it does not, I will simply move the hole location and drill new holes.

Once I had the leg ends tapered with a drawknife and block plane I just drove them home into the reamed holes with a small sledge. They seated with a crisp thunk. I tried several heights for the bench with a series of mock-ups, and once I determined which height worked best for me I measured the legs and cut them off.

Rolling the bench over and putting it in place this step was finished. Now it was time to begin tricking out the bench.

Wow! that reamer is gorgeous! and suspect it works incredibly well to cut rather than scrape. Any idea on who made it (and sharpening challenges?)