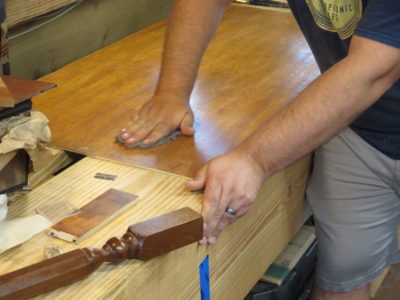
With the foundation laid for good finishing it was time to move on to undulating surfaces, the kind of finishing that gives many woodworkers fits and nightmares. Fortunately it is no more complicated or straightforward than finishing plain flat surfaces. It’s all about surface prep, varnish prep, and tool selection.
Switching to the “carver’s model” polissoir the surfaces were burnished in preparation for varnishing.
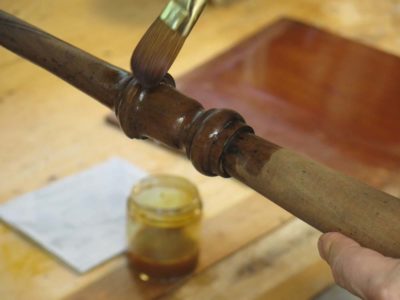
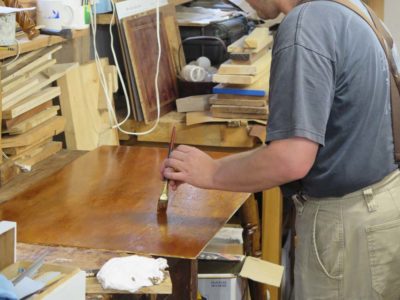
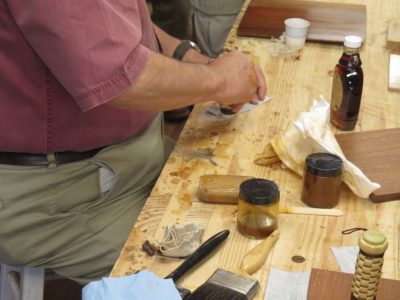
Then, on to applying the varnish. The true key to success is the right brush, a fine bristle watercolor “Filbert” with a rounded tip.
The Filbert allows for tremendously good “drape” of the bristles around the surface, not sqeegeing off varnish with the resulting runs like you might get with a square tip brush.
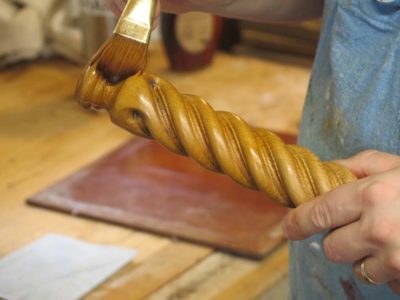
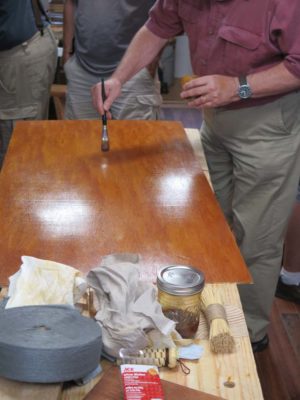
A few applications of the shellac varnish to these surfaces and they were ready to set aside, to be burnished with steel wool and waxed later on.
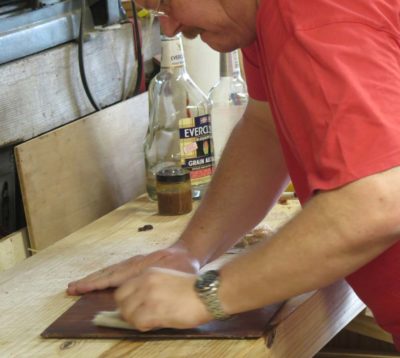
Next we revisited the luan panels we had started the day before, undertaking a light scraping with disposable razor blades followed by a brief but vigorous rubbing with 0000 steel wool. I have found scraping to be not only historically accurate (obviously not with modern disposable razor blades, but the concept and practice are still the same) but now to be an integral component in my finishing process.
Then another inning of shellac application, followed at the end of the day by the third and final inning. By then the surface was beginning to get some sparkle.
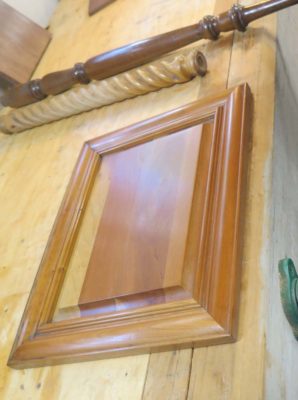
One last exercise was to finish a raised panel door. I do not recall where these came from but they have served me well in this regard for many moons. Again, a few applications of shellac followed by rubbing out with steel wool and paste wax yielded a luxuriant surface.
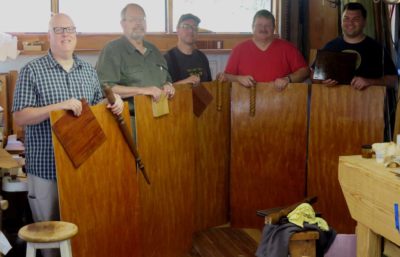
The large panels were rubbed out the third morning with steel wool and wax, and buffed with soft cloth. The result was, as one participant said, “The best looking piece of luan ever!”
By mid-day on Sunday the party started breaking up, but the students left with a new confidence and a sharpened set of skills. Folks may be reluctant to come to The Barn on White Run because of its remote location, but once here they always love it and go home with more knowledge and skill than they arrived with. That’s not a bad outcome.
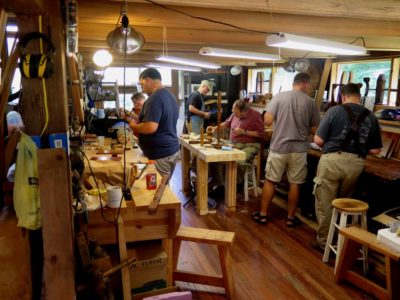
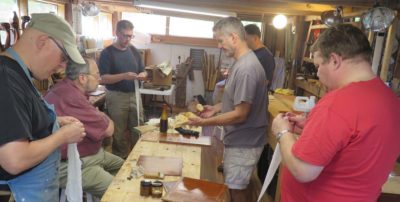
I recently hosted and taught a “Historic Finishes” workshop at the barn, with five attendees from around the country and my long-time friend DaveR as a teaching collaborator. The objectives were to help the students overcome any hesitancy about finishing by learning new habits and techniques, and the results of the exercises indicate success.
Our first exercise was the one that was most time sensitive in that it required three inning of finishing over two days, which was pushing the technology a tad. Fortunately the weather was cooperative. The task at hand was to take an essentially unprepared 24″ x 48″ panel of luan from Lowes to see what could be done with it, some well-prepared shellac varnish, and good brush. After a brief scuff sanding with 220 they began to lay down the 1-1/2 pound shellac as I have taught multitudes before them. The purpose is of exercise to overcome the trepidation in applying shellac spirit varnish.
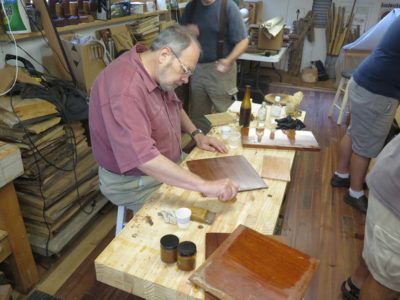
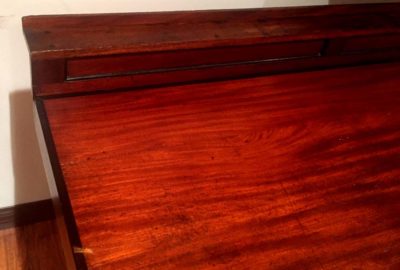
Next came the grain-filling of some solid mahogany panels with molten beeswax as the foundation for pad polishing. This was how they did it in the old days, and it is still my preferred technique. The wax was melted in using a tacking iron (I cannot believe I did not get any more of this on camera), then scraping off the excess and buffing it out with linen.
Even at this point the results are impressive and in some circumstances the finishing would be called complete.
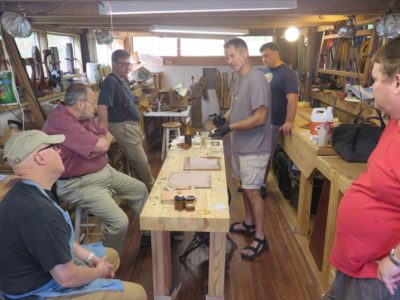
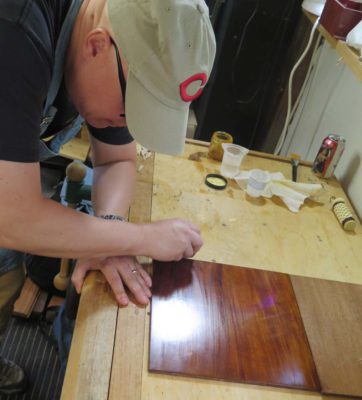
DaveR came on stage next to introduce pad spirit-varnish polishing, sometimes known as “French” polishing,
All eyes were glued to Dave as he walked through the process of this technique which has garnered much (undeserved?) mystical reverence.
He demonstrated the process of making a good pad, or “rubber,” which can last a finisher for decades, and before long they all set to making their own.
And the padding began.
And continued.
Before long we were seeing some mighty fine sheen.
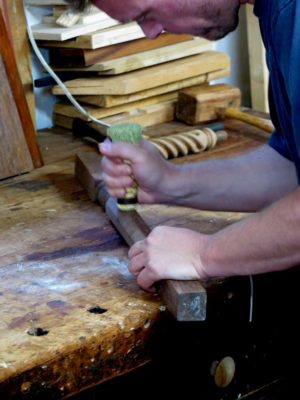
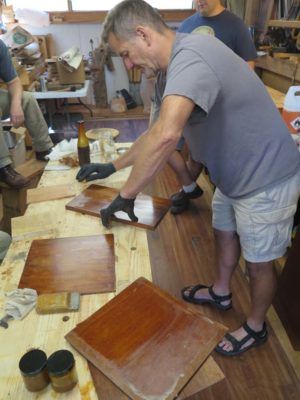
It was time to introduce the newest tool in the contemporary finisher’s kit, the polissoir. Everyone got their own brand new one that needed to be tuned up on a piece of fine sandpaper.
And out to work, first over bare scraped wood, then in concert with beeswax that had been scrubbed on to the surface.
Again, the final results were immediate and gratifying.
Up next, brushing carvings and other undulating surfaces.
After an astonishing amount of work from people on two continents – not to mention hundreds of thousands of dollars of investment – a surprise showed up at the front door today.
It was a FedEx driver in a big truck. Sign this, he said. And then five boxes were sitting on the front step. Inside were the first copies of the deluxe version of “With All the Precision Possible: Roubo on Furniture.” It’s the biggest (physical and mental) thing we’ve ever published at Lost Art Press. It’s also the most expensive book we’ve ever made (and probably ever will make).
The book is now sitting in front of me, and I’m still a bit bewildered. It’s like our deluxe edition of “Roubo on Marquetry” (now sold out) but more than twice as thick.
I’ll have more to report on the book as we get it into the mail to all the customers who ordered pre-publication copies. And we’ll definitely have copies to show off at the next open day on Saturday, Sept. 9.
P.S. FYI, this book is available for worldwide delivery. Choose “Outside USA” when checking out and we’ll contact you about the actual delivery charges to your address.
Jameel and Fr. John and crew posted a superb video summarizing 2017 Handworks, where I gathered with several thousand of my closest friends to celebrate hand tool woodworking. If you were there, this is a sweet taste of remembrance. If you were not there, it is a bitter taste of regret.
Offspring nuptials often cause woodworkers to deviate from their normal regimen of projects. I am no different. Over the past fortnight I’ve been making hundreds of wood wafers as coasters for wedding mementos.
Of course I outsmarted myself by carefully sealing both sides of the coasters to reduce splitting, but then found out the ink would not stick to the varnished surface. So I had to sand one face of each of the ~250 chotchkis on my disc sander to prep them for stamping.
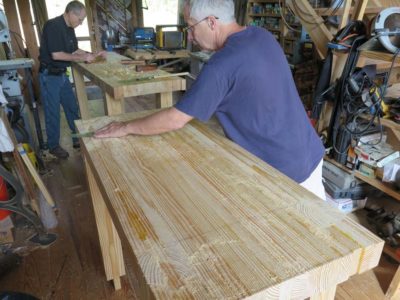
I’ll be ordering the lumber this week for the Sept. 4-8 “Build A Traditional Workbench” workshop at The Barn, so this is the last chance to register if you want to participate. I will close the books on this at 5PM Wednesday.
If you would like to join us and go home on Friday with a finished bench, contact me here.
In October I will be teaching a pair of three-day workshops at the Marc Adams School of Woodworking, a Monday-Tuesday-Wednesday session introducing 18th Century Parquetry, followed by the Thursday-Friday-Saturday workshop on Traditional Finishing. This is something of an experiment for Marc schedule-wise, and I very much appreciate his accommodating me in this.
I know for certain that there are openings for the Parquetry session but am less certain about the finishing one. I hope you can join me there and look forward to spending time with you there and, as a dear professor friend of mine says, “pushing back the frontiers of ignorance.”
Last week I got a note from “Mister Stewart” that the original tool shelf from the back of the H.O. Studley workbench had been found, shipped to him, and installed on the bench.
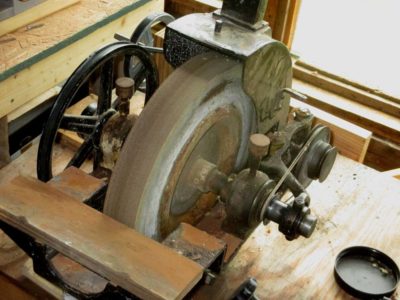
With the long-term desk and workbench projects finished, I took a few hours to do what I normally do after finishing big projects; clean the shop a bunch, and bring more assets on-line. One of the prominent additions was my mondo water wheel for grinding and sharpening.
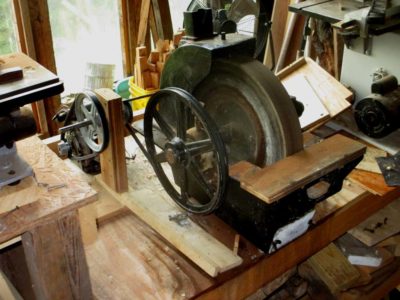
Since moving one of the tools whose inactivity I noticed the most was my 16″ water wheel, given to me by a farrier friend who had no use for it. It had been set up in my basement shop of the old house but I just never took the time to do any more than get it moved and in place in the barn. I was always so busy that I never set aside time to get it working again.
Part of this procrastination was that I had mis-placed the gearing sheaves to bring the wheel speed down to my preferred 100 rpm with the wheel turning away from me. As you can see from the picture, I did find that rig and dug out the motor so now it is up and running perfectly.
In the picture you can also see the rod with the diamond dressing stone for surfacing the wheel when necessary (attached to a jig, laying under the machine).
One pretty remarkable feature of the wheel is that the axle is linked to an arm-and-cam assembly that moves the wheel about 1″ from side to side when in use. Sometimes I have this hooked up, sometimes not. I just depends on the task at hand.
Obviously I did survive without this machine for three years, but I must say that since getting it back up and running I seem to use it at least once a day. Since I mostly camber my plane irons by hand on a 220 diamond stone I thought I could do without it, but I might have been wrong. I still camber my irons by hand, but there seem to be a multitude of tasks requiring a slow turning giant water wheel that hogs off material in a hurry.


 .
.


Recent Comments