On my recent jaunt through The Heartland I stopped to visit my old friend RickP in northwest Arkansas, and got to see in person the amazing table Rick researched over a two decade stretch and constructed from around 2010-2013.
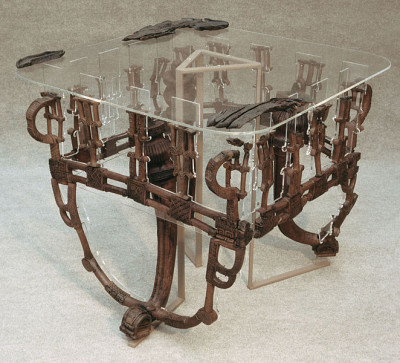
The original table, shown above, was excavated from the c. 800 B.C. archaeological site of Gordion, Turkey.
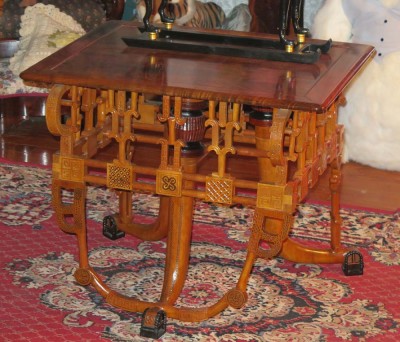
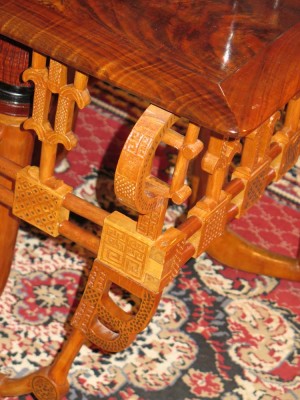
The table is a tour de force of design and fabrication, and one of the most astounding examples of contemporary woodworking I have encountered. While the design might be almost three thousand years old, the fabrication is obviously contemporary, as Rick is gladly still with us and approximately my vintage. The detailing on this table is simply eye-popping.
To me the most compelling overall design feature is the means by which the original builder three millenia ago figured out how to make a four legged table compatible with what was probably an uneven, perhaps even dirt, floor. What they did, both the original maker and Rick, I mean, was to combine two of the legs into one foot, in essence turning the four legged table, which would always be a problem on an uneven floor, into a three legged table, which would never be unsteady.
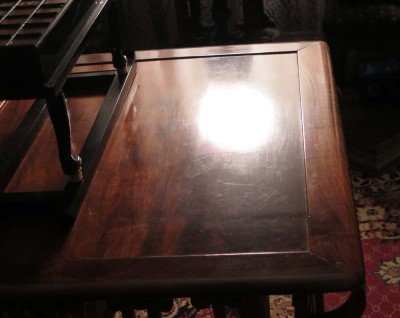
The original table was constructed of boxwood, if I recall correctly, while Rick used ancient kauri wood for the base and walnut for the top. In keeping with the flavor of the wood, Rick used kauri copal resin as the finish, employing a varnish component far more ancient than even the original table.
Rick just sent me a copy of the paper he presented at the American Institute for Conservation Annual Meeting two years ago, where I was part of a presentation at another session of that meeting even though our paths did not cross there. Rick’s paper will be available at some point at the archive for the papers from the Wooden Artifact Group of the AIC, and I hope in the meantime that Rick can someday get it into the more popular woodworking literary world.
I mean, who wouldn’t be fascinated by the prospect of replicating King Midas’ table? I know there are features of the table informing my future furniture-making designs.
Several months ago a thread discussion on Groopmail revolved around the question, “What can be used as a substitute for gold leaf?” My answer was short. “Nothing.”
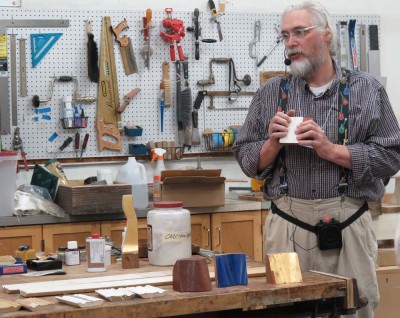
In response to much of the discussion I presented a brief demo about gold leaf at this year’s Groopshop, showing real gold leaf, which was the first time many of the attendees had ever seen it in the flesh; my preparations for the ground beneath the gold leaf, and finally the manipulation of the leaf and its laying onto the substrate. It was, in short, a more brief version of my talk at Woodworking in America last year.
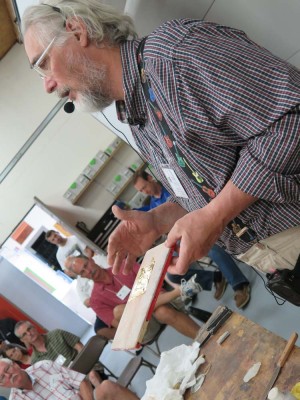
The actual demo was less successful than I would have liked, mostly due to the atmosphere in the room, but it did give a good idea about the process.
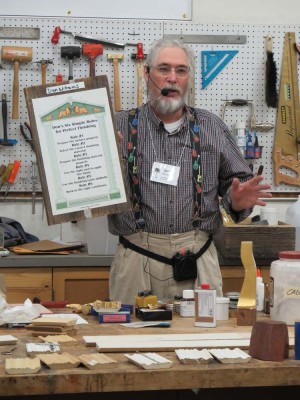
Gold leafing brings into focus the importance of the first of the Six Rules for Perfect Finishing — if the substrate is not well prepared, nothing else is going to work out well.
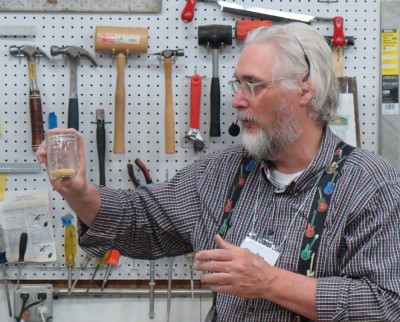
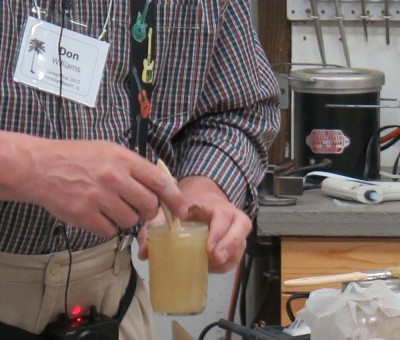
I moved through the preparation of the glue base for traditional gesso using a dilute solution of hide glue (I started out with a 10% solution of 444 gws glue granules in distilled water)
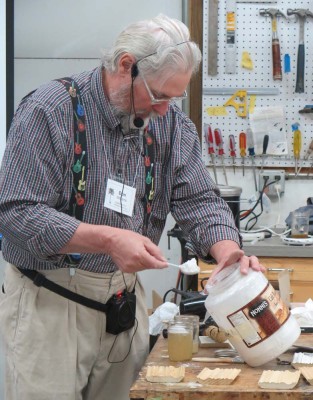
then the mixing and application of gesso itself,
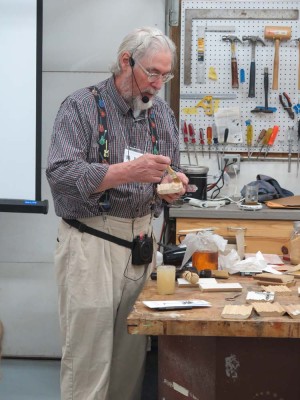
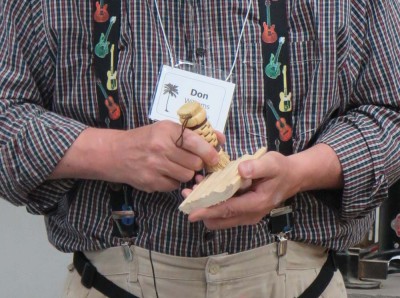
smoothing the gesso and applying the bole. I’ve found that a polissoir does a terrific job a working the surface after I use abrasives of scrapers to get it ready for the next step.
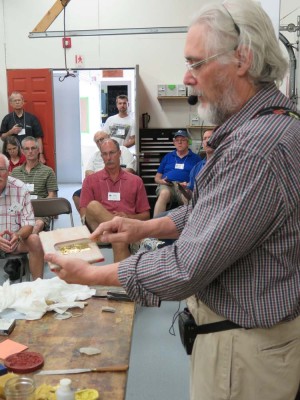
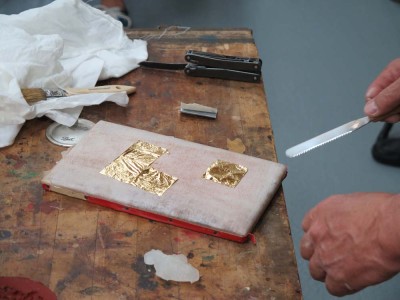
Then I moved on to the handling of the leaf itself on the gilder’s pad, readying it for the application over oil size or by water gilding. Like I said, the room was a bit iffy for the process, but at least they got the idea of how it is done.
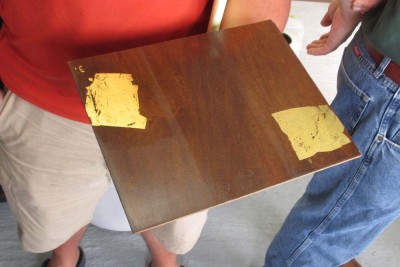
One of the things I did ex poste that was a lot of fun was to apply a layer of Finish Up to a panel and lay gold leaf into it immediately. Definitely something worth exploring further.
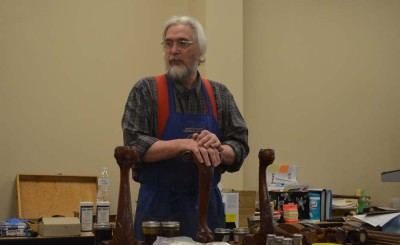
This year I was invited to be a presenter at the SAPFM Mid-Year Meeting in Knoxville. My topic was “Making New Finishes ‘Look Old’,” a theme that built on my presentation of four years ago, “Traditional Finishes.”
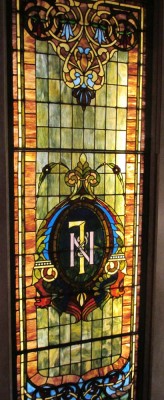
The host of the East Tennessee Historical Center was a wonderful choice, not the least of the reasons being some magnificent stained glass, for which I am a total sucker.
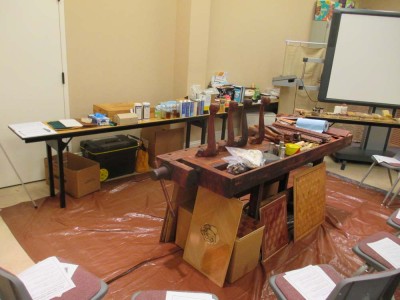
They also provided a near-perfect setting for theater-in-the-round demonstrating that I like so much.
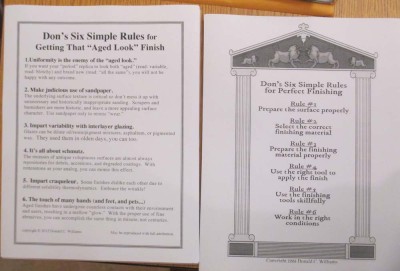
Just like my Simple Rules For Perfect Finishing, I created a set of Simple Rules for Getting That “Aged Look” Finish. There was great demand for the information, and I will no doubt include it in the upcoming Historic Finishers Handbook, the manuscript for which I will begin as soon as I get done with R2.
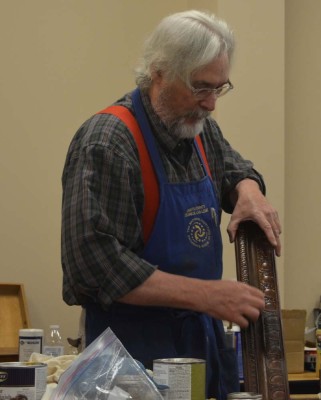
I touched on and presented the techniques for doing just that, including various approaches to hand rubbed finishes, shading and highlighting the varying surfaces that would be the result of generations of use and environment, adding the requisite schmutz that builds up in the crevices of furniture over the decades, and finally working out on the ledge of “controlled craqueleur” that understandably inspired fear and shaking heads throughout the room.
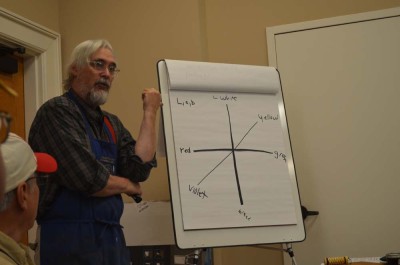
Our sessions went far afield at times — at SAPFM Mid-year the speakers give the same two-hour demonstrations three times in a row on the same day — including forays into color theory, gloss and transparency, refractive indices, and of course a cursory review of traditional finishing materials and methods.
It seemed as though a good time was had by all, at least there were no career-ending injuries. But at the end of the day, I was ready for bed.
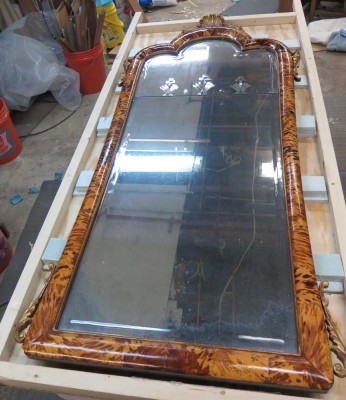
Immediately on my return from Cedar Rapids, I reloaded my duffel with clean clothes and headed off for week of work near Mordor on the Potomac. The purpose of the trip was completing the conservation of the second of the two tortoiseshell-veneer mirror frames. The process for conserving the second frame was conceptually similar to that employed for the first one a couple of months ago. The only substantive difference was that the areas of damage this time were larger but fewer and “cleaner”than for the first mirror.
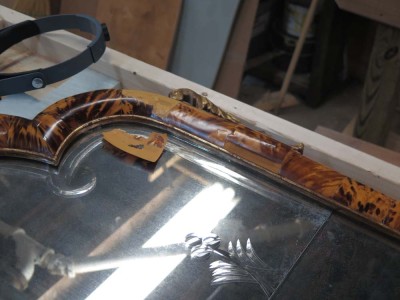
As before, once the mirror was in the work space the first task was to systematically work my way around it to document the specific areas of interest (read: damage) for the treatment.
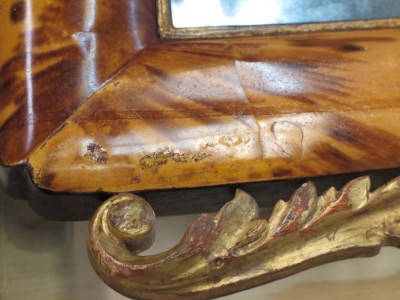
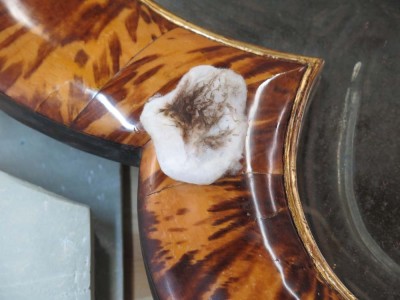
Once that was completed I proceeded to clean the surface in order to remove the accretions of oil, a traditional but ineffective, somewhat deleterious maintenance protocol and get it all ready for the next step. These depositions were dealt with easily through the damp wiping with naphtha on cosmetics pads from the pharmacy, almost instantly removing the molasses-like oil and dirt amalgam.
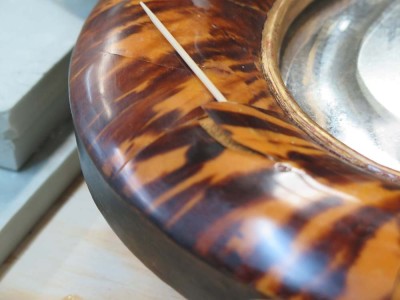
The incursion of oil underneath the lifted tortoiseshell veneers was resolved through gentle insertion of a toothpick or bamboo skewer to lift the affected area, then the insertion of blue shop paper towels and wicking them with naphtha, sometimes several times, to remove enough of the contaminating oil to render the glue margins acceptably clean.
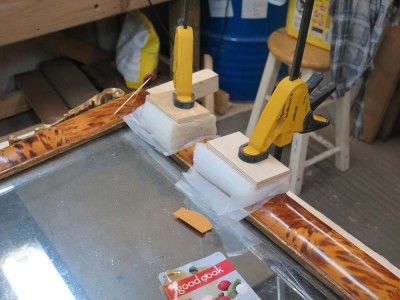
The lifted tortoiseshell was re-adhered to the frame substrate with 192 Special grade of hot animal hide glue from Milligan & Higgins, and pressed into proper configuration during gluing through the application of shaped polyethylene foam block cauls, with two pieces of food vacuum-pack wrapping membrane in between the tortoiseshell and the foam caul.
Once the glue was hard, I removed the cauls and separating membranes, cleaned off any wandering glue with distilled water on pads, then applied Mel’s Wax to the entire surface, which brought the mirror frame to life!
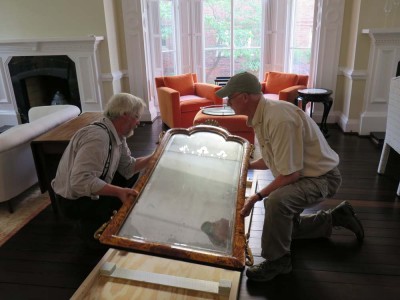
In a way, the most challenging part of the project was the transport of 300-year-old mirrors the few miles from the client’s home to my work space safely, and the handling of them at each end. To accomplish this I fabricated a custom tray/litter with XPS bumpers and supports below and above the engraved and mirrored glass, with the whole unit being suspended in air through the gentle application of winching straps.
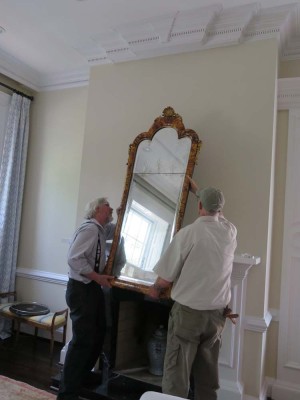
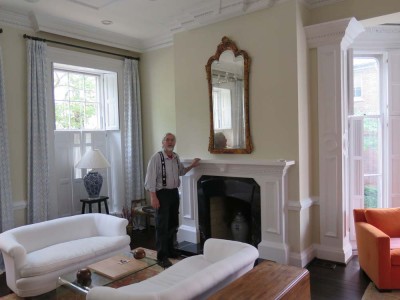
Safely completed and transported and re-hung in the client’s magnificent home, I joined the client in celebrating the project and the beauty reclaimed for the mirrors, and was delighted to be photographed alongside the second one.
The tortoiseshell surface of the mirror frame was replete with areas of delaminated and detached (lifted) shell veneer, with even more numerous areas that were delaminated but not detached as they were still adhered at their margins.
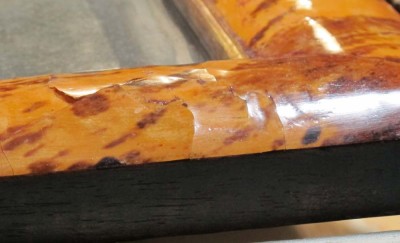
This was particularly prevalent at the seams of the shell pieces.
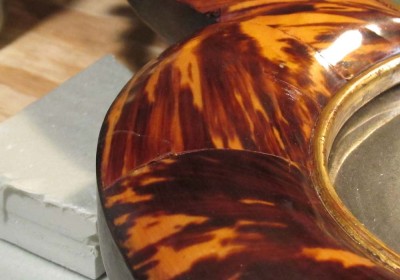
Nevertheless as most of these regions were stable I left them alone. They are not at imminent risk, so I can always return to them should the situation change.
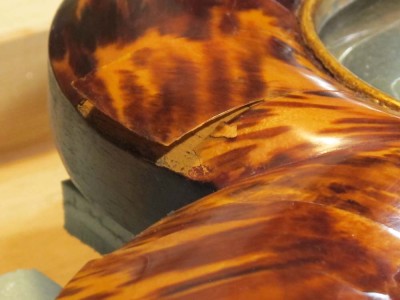
The main concern was those pieces flapping in the breeze, or in danger of becoming so. Those were the areas where I needed to introduce adhesive underneath them, then clamp them in place until it dried.
I chose Milligan and Higgins 192 Special hide glue for my adhesive; it has more than enough shear strength, and is much more tacky quicker than the standard hide glue (eliminating the need to add glycerine as a tackifying plasticizer). I soaked it overnight, 1 part glue to 2 parts distilled water, then cooked it twice on my coffee cup warmer before using it.
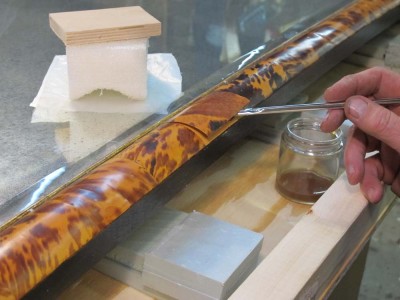
With my fingertips, or often with bamboo skewers and hors d’oeuvers toothpicks I gently lifted the edges of the tortoisehell and inserted my glue brush underneath, working it until there was excess glue present.
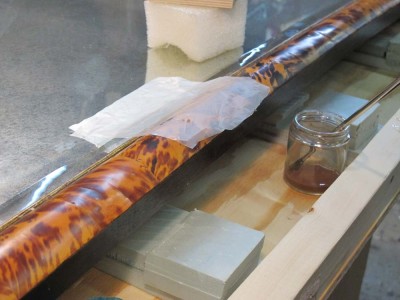
I then pressed down the shell by hand to swab off most of the excess glue, then laid down a piece of this plastic sheet (I really like food vacuum packing membrane for my gluing barriers; I bought several rolls on ebay for about fifty cents) followed by a shaped caul of polyethylene foam.
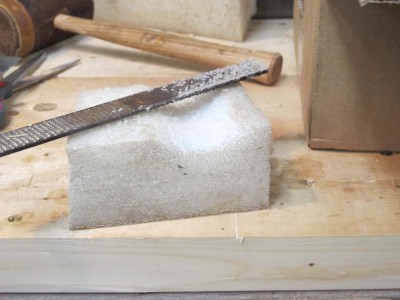
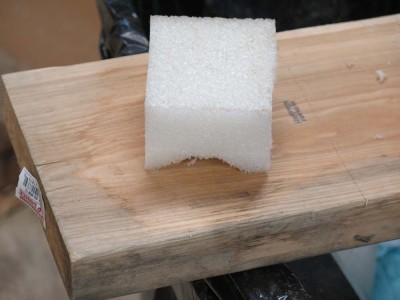
I made the cauls from scraps of foam left over form various projects, hollowed out with a few strokes of a convex rasp.
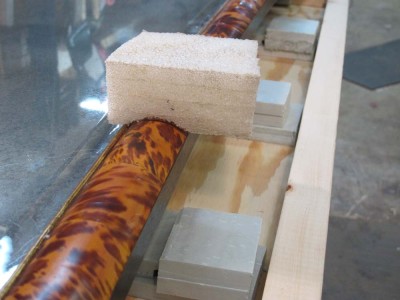
When in place, their concave shape provides admirable clamping pressure on the convex surface of the mirror frame.
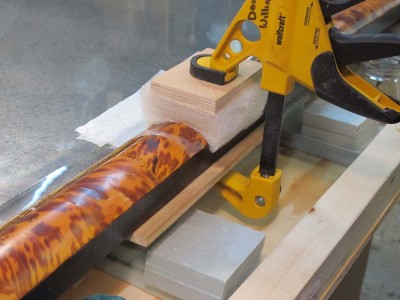
I placed a foam caul over each section being glued, followed by a piece of plywood backing and a clamp. Extreme clamping pressure was not needed, only enough to hold the shell in contact with the substrate until the glued hardened. I left it over night and removed it in the morning.
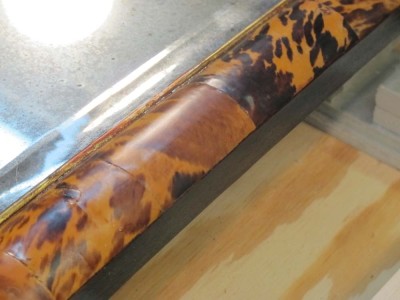
I was fortunate to have success with every glue-down, not always a certainly when working on a contaminated surface and substrate.
Cerusing, or glazing, is the technique whereby you apply a hyper-thin layer of pigmented medium on the surface of the wood in order to manipulate its coloration. “Glazing” is the more generic term for using the technique to change coloration is any direction, but “cerusing” is a term specific to the lightening or whitening of wood. Ceruse had been first used actually as a cosmetic known as Venetian Ceruse, a face “glaze” made from led white and oils to make the wearer look, well, pasty faced (think about the court of Queen Elizabeth I). Lead white was an especially prized pigment by the ancients in great part due to its translucency. Imagine how pasty-faced you could look after a lifetime of slathering lead white on your face!
Not surprisingly we do not use lead pigments widely despite their evident beneficial properties (oil paints made with lead pigments are nearly indestructible as the lead imparts tremendous durability) beyond very specialized application by fine artists making easel paintings. Instead we use a combination of titanium dioxide and calcium carbonate or similar benign pigments for our whites.
Like the earlier liming process, for cerusing the wood was planed and scraped but unlike liming it not scrubbed with a brass brush.
The key to this process is to prepare and apply a thin layer of essentially translucent paint evenly over the surface. In many instances of glazing the surface is first sealed to provide a barrier to the glaze soaking into the wood, but in this case the controlled “soaking in” is a critical component. If the surface is smoothly scraped this works fine. If the surface is sanded, the results can be more of a challenge as the comparatively rougher, more “open” sanded surface behaves differently vis-a-vie the glaze than the scraped surface.
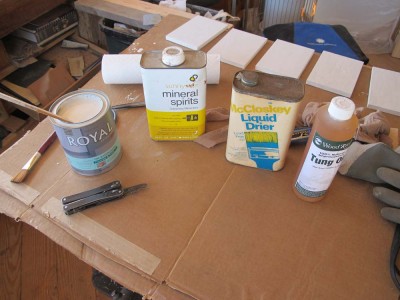
For these sample boards I prepared a white glaze from one part oil-paint primer, one part tung oil, and one part mineral spirits, with about 2% japan drier.
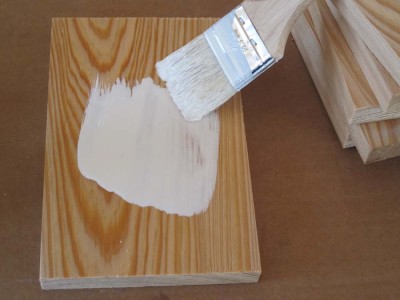
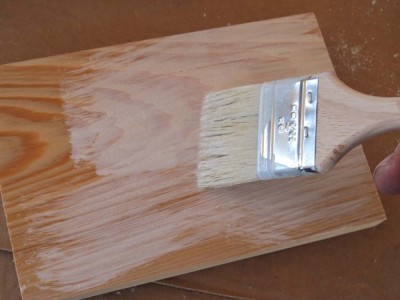
I slathered a thin layer of the glaze over the surface distributing it as evenly as possible with the cheap disposable brush, then worked it back and forth with a fine bristle brush, going one direction, then perpendicular to it, then diagonal and perpendicular to that, then finishing up with the grain with a very light touch. Excess glaze is not helpful, just put on enough to cover the whole surface to the visual intensity and depth that you want, keeping in mind that your working the surface with a brush will pull some of the glaze off. As you smooth out the glaze and pull it off with the brush, make sure to clean the brush frequently by rubbing it against a rag, which you will throw away when finished (make sure to do it properly, as the oily rag is flammable).
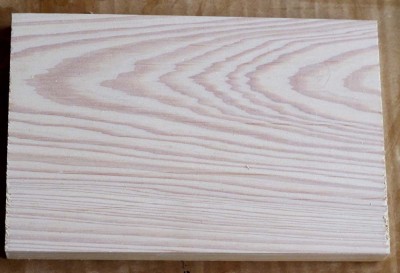
With a light touch and a good brush you can leave a perfect translucent layer on top of the raw wood, with just enough soaking in to bring it to life.
Once the glaze is fully dry, I follow it with a wiping of paste wax, and call it done.
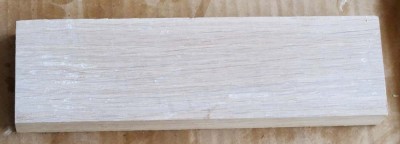
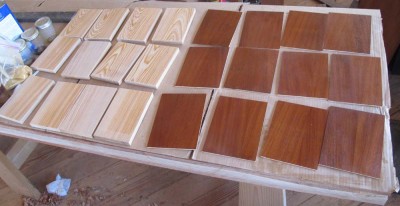
As you can see from the comparative samples of flat-sawn cypress and quarter sawn oak, a cerused pickling is well suited for bold grain.
The techniques of glazing will be mentioned regularly in this blog and upcoming presentations and writings, as it was both historically accurate, especially asphaltum and brick-dust glazes, and is an important tool in the kit to making new surfaces appear to be aged.
Stay tuned.
Several months ago I received an invitation from a South Florida custom millwork and fabrication shop to speak at a luncheon banquet celebrating their 25th anniversary. At first I was ambivalent about the invitation as I didn’t know the folks, but Mrs. Barn was very enthusiastic about the prospect of a trip to the warm sunny climes at the tail end of a brutal winter in the mountains. As my correspondence continued with my host and the themes emerged for the presentation, I too warmed to the idea. By the time we plowed through the snow on our way out of town I was really looking forward to it.
The audience was designers, architects, and contractors, and I did my best to turn them into historic finishing enthusiasts. As I told them at the beginning, “My task is to show you a door, and open it just a little bit so you can see inside there’s a party going on. And the name of the place behind the door? The Finishing Room!” They were very receptive.
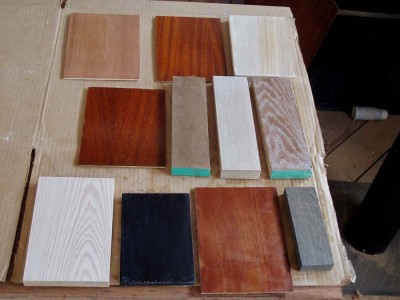
In the weeks leading up to the event I made dozens of sample boards so that every table had a complete set to fondle and admire as I talked about them.
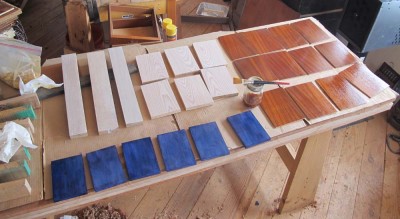
In coming posts I will walk you through the samples I made.
It was great fun and reminded me how much I love woodfinishing, and the delight I will take over the next three or four years while crafting my gigantic Historic Finisher’s Handbook.
Thanks AWC and Catie Q for the invitation, you guys were great hosts and I hope to see you again! (and Mrs. Barn loved basking in the warmth and sunshine). I think late winter trips to Florida may become part of the routine.
With the applied parquetry solidly glued down and stable, the final steps revolve around getting that surface flat and smooth. This is necessary since we started out with sawn veneers, which by definition will have some variations in thickness.
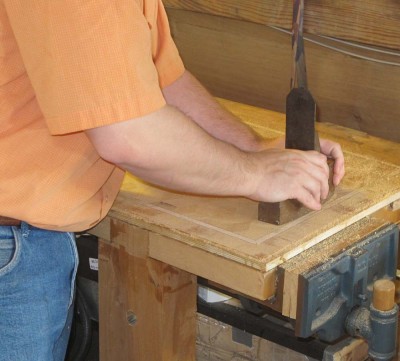
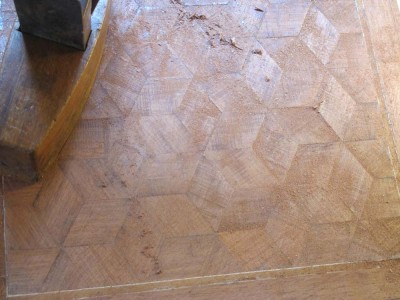
Since the grain directions run in multiple directions, the tool of preference for gross flattening in smoothing has been for over 200 years a toothing plane. A modern option includes a so-called “Japanese” rasp which is comprised of numerous hacksaw blades configured into a surfacing tool. Using this approach, the rough and irregular surface can be rendered into a flat but not perfectly smooth surface.
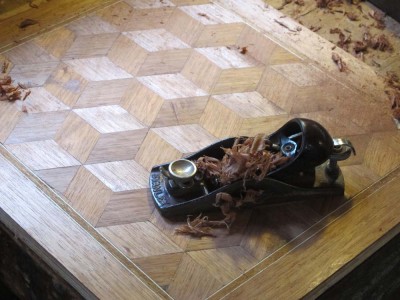
Following the toother or rasp comes the card scraper, either hand-held or handled, or even a finely tuned smoothing plane (I actually find my low-angled Stanley block plane to wrok perfectly for this) to yield a flat, smooth surface ready for whatever finishing regime you choose.
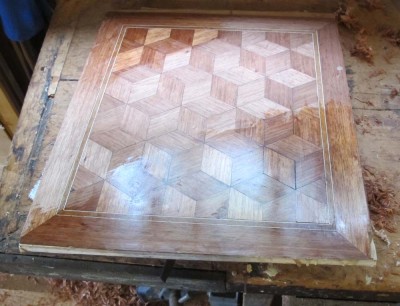
And, you are done!
In closing I want to thank Rob Young of the Kansas City Woodworker’s Guild for requesting and encouraging me to compile this series of blog posts to help explain the steps we were executing during the workshop I taught there. Thanks Rob!
Over the next couple of weeks I will be combining this long series of blog posts into a single tutorial which I will post in the “Writings” section of the web site, and will announce that addition to the archive here.
I am earnestly trying to wrap up some frayed threads in the blog posts, and this one and two more will complete the tutorial on simple parquetry, which I will combine, edit, and post as a downloadable document.
===================================================
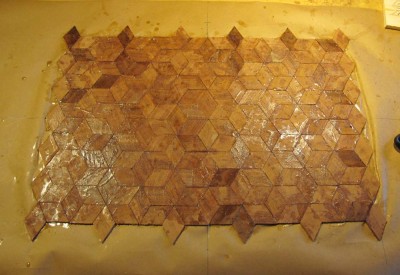
Once the parquetry composition has been assembled such that the area completed is larger than the field of the composition as it will be presented on the panel, the time has come to trim it to the exact size you want. But before that, you have to decide exactly how large you want the central field of the parquetry panel. I tend to work my way in from the edges of the panel as determined by the sizes and proportions of the furniture on which it will reside, then subtract a symmetrical border and a symmetrical banding.
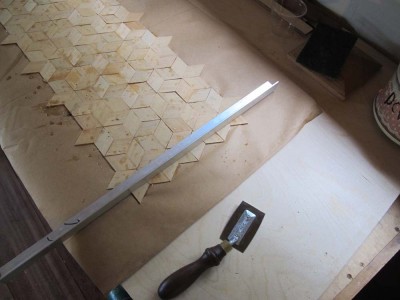
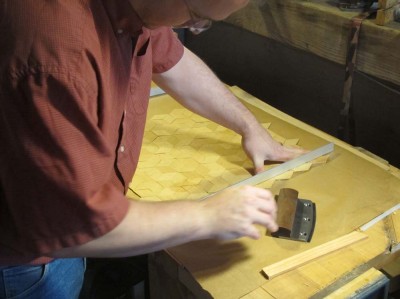
Once I have done that, I simply re-establish the center lines of the parquetry assemblage and precisely mark out its perimeter, and saw it with any of the veneer saws mentioned earlier. The desired end result is a rectangular and symmetrical composition. Once I have the field trimmed to the proper size, I re-mount the unit on a second, larger sheet of kraft paper using hot glue. It need be adhered only at the perimeter.
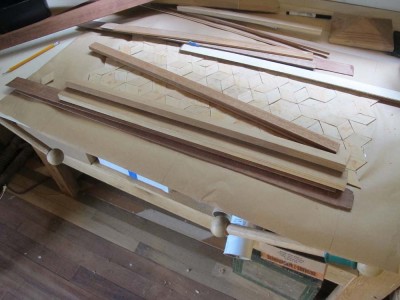
I tend to make my own banding, frequently making a simple stack of veneer faces with slightly thicker centers, assembled and glued between two cauls until they are set. Then I just rip of as many pieces of banding as the assembled block can yield.
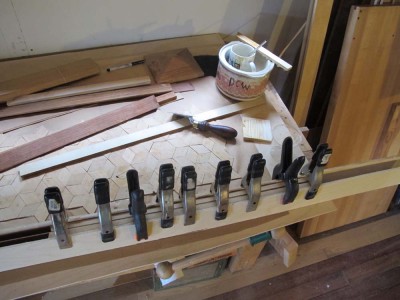

Once the banding is available, I cut them then trim the ends with a plane and miter shooting jig. Once the first piece is ready to apply, I place the entire composition on a large board with a corked surface. Then just like Roubo, I glue the banding down on top of this second piece of kraft paper, tight against the cut edge of the field, and “clamp” it in place with push pins, similar to those illustrated by Roubo. By the time I get all the way around the perimeter of the field, cutting then trimming each of the banding pieces, the piece is ready to set aside for a bit.
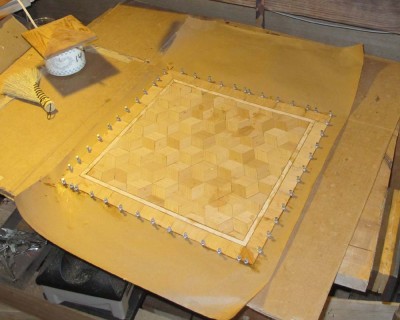
For the outer border, I tend to use a simple approach, often employing some of the original veneer stock in either the long-grain or cross grain orientation.
Once the banding is set I remove the pins then hammer veneer the borders in place, and the assembling of the parquetry panel is complete.
Up next – Gluing Down the Parquetry
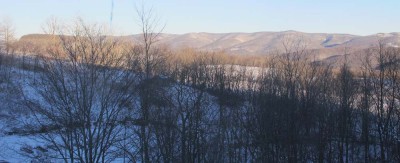
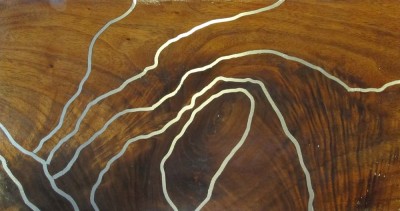
There was a beautiful sunny vista of the mountains outside my shop window late this afternoon, just after I finished taking the photographs for the PopWood article on wire inlay. The article was a lot of fun to write, for a technique I have been toying with for some time, with ever widening applications. I think it is in the upcoming April or May issue, so check it out when it arrives on the shelves.


Recent Comments