As with many woodworkers the students for the recent workshop were enamored with the mystique of shellac spirit varnish pad polishing, also known in the trade vernacular as “French polishing” although I am unpersuaded by the accuracy of that moniker (I have listened to impassioned recitations by French craftsmen referring to the practice as “English polishing” because true historic French Polishing is a wax spit-polish technique). To that end I asked my long time pal Knoxville Dave to stop by for the weekend and he was a great addition to the fellowship and learning experience.

Dave provided the hands-on instruction for the exercises of pad polishing through the weekend, beginning with constructing the pad itself.
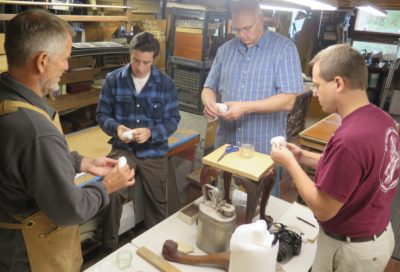
As is my (and his) preference the starting point is a roll of surgical gauze, cut into long strips then folded and rolled into the ball that is the core of the polishing pad.

Once the ball is formed to fit into the palm of the user, it is wrapped with a piece of fine linen to serve as the disposable contact surface for delivering the dilute shellac varnish onto the surface of the workpiece. (I am always on the lookout for fine linen rags at antique shops, and with great success in recent years. If I have to use new linen I rely on an ultra fine weave known as either “handkerchief linen” or “Portrait linen,” the latter being used by fine art painters. Still, I prefer well-worn tablecloths or napkins and have a good stash.) At that point the entire tool is “conditioned” with the introduction of the spirit varnish to saturate both the ball core and the outer sheath, not enough to be dripping wet but enough to leave a trace of the spirit varnish when pressed into the opposite palm. At this point the pad is ready for work.
It went into a dedicated sealed jar awaiting the combat to come. Dave and I showed our own polisher jar containers, mine has served me with the same pad for almost two decades.
Now it was time to prep the panels to be polished out. By the time we finished I think there were five separate pad polishing exercises to be completed.

The next world changer to emerge from the mists of the far distant past was to equip each student with a 1-inch polissoir and turn them loose burnishing the surface of smaller sample panels. The instructions were to press as hard as they could and rub with the grain until the entire board had an even sheen.
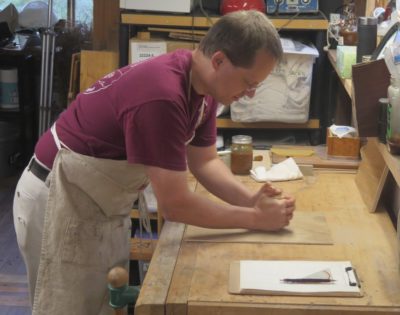
They did this to two panels; they set the first aside then scrubbed the second one with cold beeswax before wailing away on it with the polissoir, rubbing hard enough to turn the wax buttery and press it down into the grain interstices.
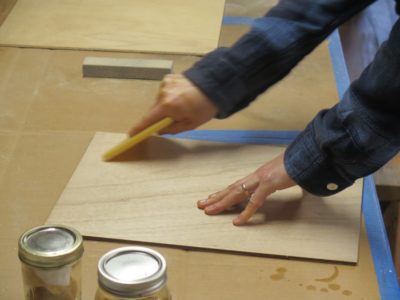
This was followed by second round of polissoir rubbing, followed by scraping off the excess and buffing out the final surface. Though this technique was often used simply for filling the grain, in this case I just had them remove the excess with a Roubo-esque scraper and then buff it out with a piece of linen.
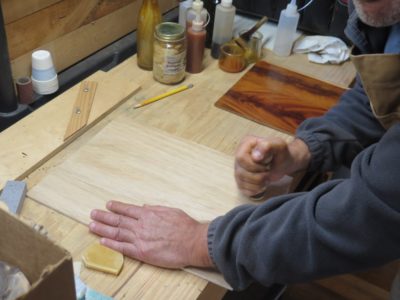
Even this simple exercise resulted in the first of many sumptuous surfaces for the weekend.

It was lovely.
NOTE: Every aspect of this workshop is dealt with, sometimes with ridiculous detail, in my completed upcoming book A Period Finisher’s Manual; certainly much more detail than the blog. In fact, the workshop has re-lit the fires of getting that beast finished and off my neck.
The first of the class exercises, which in fact became the foundation of a half-dozen exercises, was to take a 24″ x 48″ panel of cheap (not inexpensive, this is 2021!) luan plywood panel and get started building the finish on it using a 1″ flat watercolor brush. Trust me, the proof of the pudding is in the tasting and in the end this leads to a tasty treat.


Even before we started applying the finish was the surface prep. That alone was a paradigm threat as the prep work was accomplished by rubbing the wood surface with the tool most prominent two centuries ago – a pumice block. Sandpaper was expensive and to residents of a time where surface prep is done with a power sander, the performance of a pumice block is truly surprising.

With the surface abraded and smoothed, and the detritus cleaned, it was time to mix up and apply some varnish. Since I have hundreds of pounds of lemon shellac flour, that is what we used. We each mixed a jar of approximately 3-pound shellac varnish with the shellac flour and 190-proof liquor. (Approximately a lean 1/4-jar, then filled to the brim with alky.)


Soon enough we were applying the first of dozen coats of spirit varnish on the panels. I gave impassioned instructions about how to apply brushed spirit varnish so that there are no overlapping marks, and I must say that the participants each accomplished that task perfectly.

The first coat was immediately followed by a second, and a third, and a fourth. Then it was set aside until the end of the day.
Last weekend I hosted another Historic Finishing worship at the barn, an event commissioned by a group of guys who met at a woodworking class somewhere. Given the general level of disinterest in folks attending classes here I will no longer be scheduling any workshops other than ones that are commissioned. I am truly not complaining, just recognizing reality for what it is. As CS Lewis commented, “Reality is a ruthless instructor, it does not care if you agree with it or not.”
It took a long time to get the classroom cleaned out, prepped, and outfitted with a range of tools and exercises for the students. I’ll recount the experience over the next few days. It was a marvelous time, but since it was all about shellac and beeswax, how could it not be?
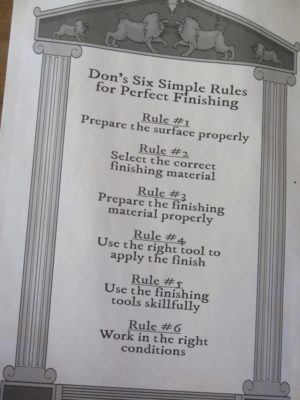
As always we will begin with a discussion of the Six Rules, handing ledger sized printouts for each to take home and guide their work the remainder of their lives.

I have distilled and refined the curriculum over the years into a dozen exercises, and think it is just about the max I can cram into 2-1/2 days. I suppose I should write this up some day in a syllabus format.
Stay tuned.
I think I am more or less back on track, compewder-wise. I took some advice from RalphB and placed a sledge hammer next to the keyboard and spoke to the compewder in calm but undeniably threatening terms. It has been behaving better ever since. Actually, compewder guru Tim had a session with it. — DCW
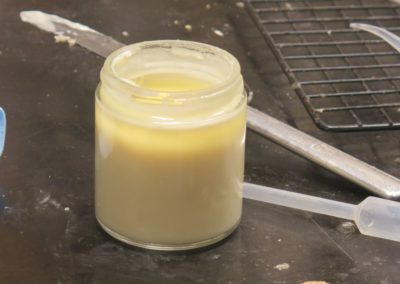
As we left the (mis)-adventure with the batch of Mel’s Wax having identified and solved the problem, I was left with a large batch of the misbehaving product to deal with. Of course my question was, “Can I recover this and make it useful?”
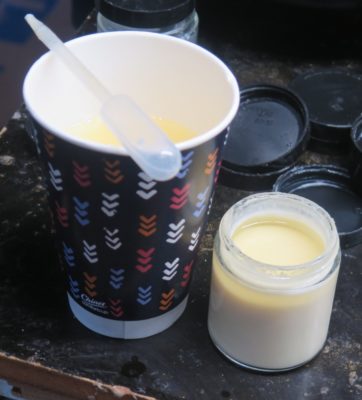
I first let the emulsions sit for a week or so then decanted off the excess solvent from the top of the jars with a pipette. The result was a couple of paper cups filled with nearly pure solvent which I merely disposed of as it was of no use to me. I was careful to not dip the pipette too far down into the liquid so as to leave the emulsion itself untouched. This cautious approach left a small amount of excess solvent fraction stratum on top of the liquid.
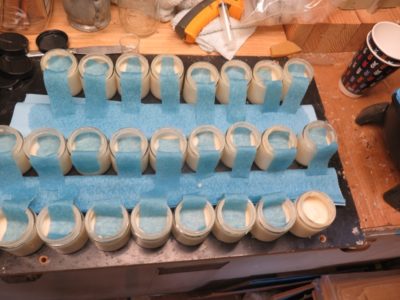
I decided to remove this excess fraction using techniques familiar with anyone who has ever undertaken some liquid chromatography, I simply wicked off the surface excess by draping in a strip of paper towel on top.
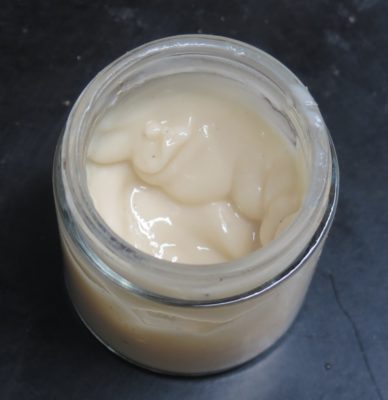

The ultimate result of this approach was to arrive at the balanced formulation with the emulsion performing and behaving exactly a it as supposed to behave and perform. Nevertheless this was not product I was going to sell given the log and winding road, so I now have couple dozen jars I will give away to friends and barn visitors.
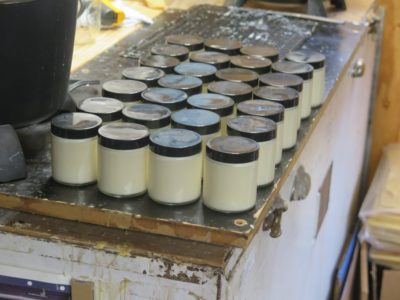
Thanks to a recommendation from my friend Steve Voigt I will be trying a new source for the solvent and will re-calibrate the formulation for future batches.

I’ve got one opening for a student in the six-day “Make A Gragg Chair” workshop, the last week of August, and two openings for “Historic Woodfinishing” over Columbus Day weekend. If you are interested drop me a line at the “Contact” page.
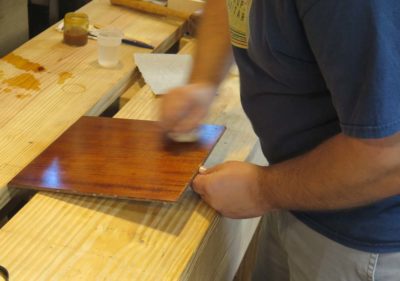
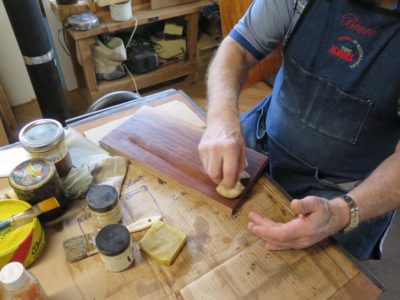
In keeping with my current “marketing” (non-) strategy for workshops, a while ago I was approached by a group of fellows commissioning a Historic Wood Finishing weekend workshop at The Barn. Once we set the schedule it turned out that there would be two slots open for anyone else who wanted to take the open places. If this interests you let me know. As always, the emphases will be on shellac and wax finishing for three days. The schedule for the workshop is October 9-11, 2021, and the tuition is $375.
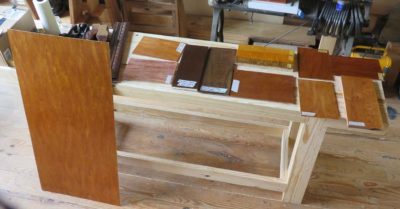
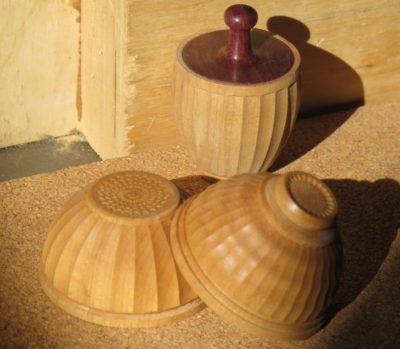
During his recent visit to help set up for next August’s Gragg Chair Workshop my pal John presented me with these three little vessels for me to experiment with as I build an inventory of fauxrushi experience. I can hardly wait to get to them. John has a Rose Engine Lathe and is always looking for new avenues of artistic expression with it. I made sure to send him home equipped with several wood chunks with which he can play, including a bolt from a holly tree, some tulipwood, and others. I await the results of explorations from his end.


With the two halves of the Kindle case ready, I glued on band of leather to bring the two of them together. The gluing was only to the faces of the case with the back edges unglued so that the case could be folded open with the two halves face-to-face.
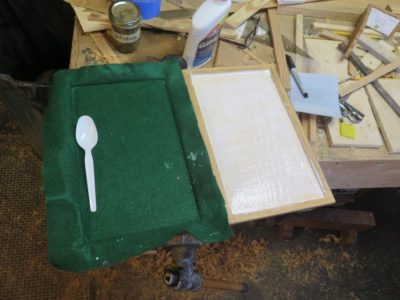

Once the two halves were put together I took some scrap felt from my rag bin and glued that into the cavity holding the Kindle. That was a nice effect, except for where I slipped with the razor blade while trimming the felt and cut off some of the cypress veneer. I hate when that happens, and will repair it when I get a chance.

With everything together and complete I spent a little time padding on some more shellac. I will probably repeat this periodically to build it up a bit more, but I wanted the case to get to work. I stuck on some velcro dots at the two corners to hold it together when not in use and called it “finished.”
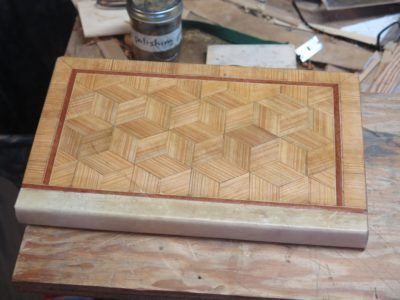

A few days ago blog reader (and the Lou Gehrig of the woodworking blogosphere) RalphB asked about my use of the pumice block to smooth the surface of my parquetry Kindle case. The use of pumice blocks is well documented in historical accounts, although explicit or specific details are often missing.
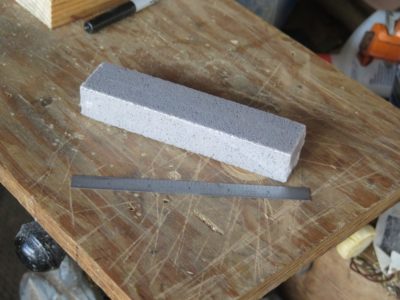
I use a pumice block from the plumbing section of the hardware store (I order them by the case). Normally they are used for deep cleaning of porcelain and enameled fixtures to remove mineral deposits and stains. They work equally well for evening out irregular wood surfaces such as those found when assembling parquetry or marquetry from sawn veneers, where regardless of the care in the initial veneer sawing a fair bit of irregularity is manifest.
I generally use a pumice block as the step following the toothing plane/Shinto rasp, moving the block in a circular fashion on the substrate, yielding a fairly smooth and even surface about what you might expect with 60 or 80 grit sandpaper. Following the pumice block with a card scraper and polissoir, the result is quite pleasing.


Recent Comments