Workbench Wednesday (a day late) — Bench #11 (2014), Portable Bench 2.0, Part 1
I guess it says something about the nature of life in the hinterlands, I literally did not remember that yesterday was Wednesday and posted the wrong thing. — DCW
=====================================================
At GroopShop 2014, which I hosted, the program included BillR and me building him a high performance portable workbench similar to my Workbench #2. The portable bench is strictly a power tool project, for the most part I used my cordless power tools, a pneumatic crown stapler and white glue.
This bench has several improvements over the original, and on Workbench #21(?) I take the concept even further in several respects.
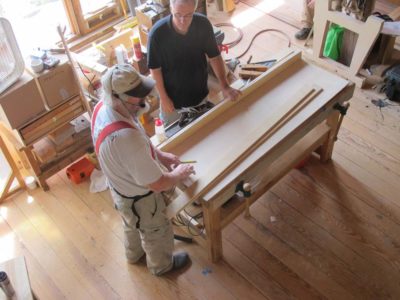
One of the primary modifications for this bench was to extend the length to a full five feet rather than the earlier four foot length, we kept the two-foot width. This not only provided a larger work station BillR needed for his project but also made the alignment of the legs much simpler. They simply abutted each other at their feet when folded as opposed to being off-set so they could be folded side-by-side in the initial effort. We used Tom’s bench as the platform for building this one, it was perfectly flat and the same size as what we wanted.
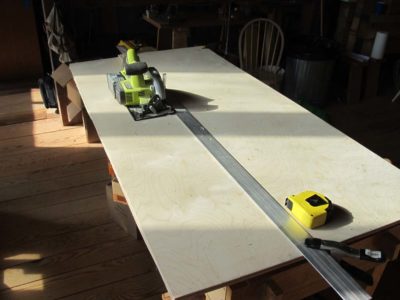
Another change was moving to 1/4″ thick ribs rather than 3/8.” The 1/3 reduction in rib thickness had no effect on the strength, that was all the result of the web height for the rib. So now the whole thing could be made from a sheet of 1/4″ baltic birch and a few pieces of 1/2″. I ripped the faces using my cordless saw and a straightedge, then ripped all the ribstock from the remainders.
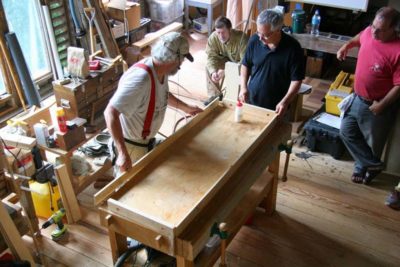
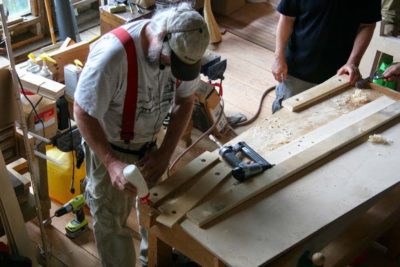
The perimeter was still made from 1/2″ b.b., with the ends doubled since I wanted to make this retrofit-able with twin screws vises. I pre-drilled the holes for the eventual tapping before I began assembly.The half inch edge stock made it simple to use a crown stapler to assemble the outer edges and make whole thing simple to build.
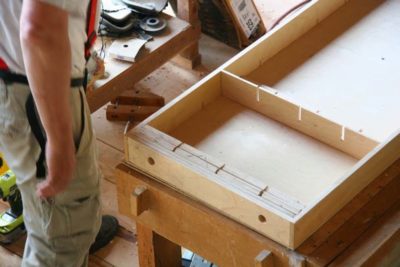
I also pre-drilled the holes for the vise screws to pass through the ribs.
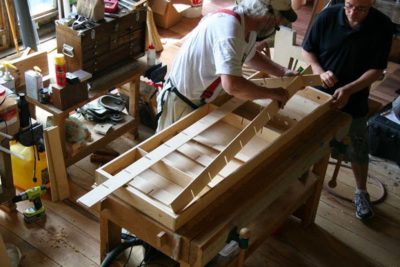
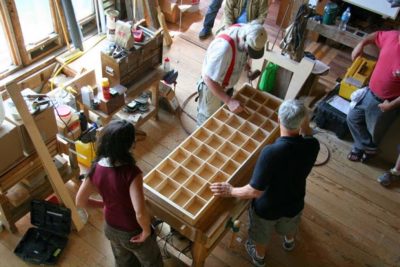
We dry-fit all the ribs and were ready for assembling the top. The last step before that was to mark the location of all the ribs on the underside of the face.
More next week.
(Thanks to JoshuaK for all the preceding pictures.)


Join the Conversation!