The days of preparation finally led to the departure for Arkansas, but not before I spent two days shoe-horning a boatload of stuff into my little S-10. In addition to the six-foot Nicholson bench I had nearly a score of tubs and boxes of tools, bench parts, supplies, and my suitcase and overnight bag. Oh, and a dozen pieces of the select SYP 4/4 x 10″ x 8″ I was delivering to my friend John near St. Louis. Somehow I failed to take a picture of the truck looking ready for a wheelie. Everything was packed so full and tight I practically needed to slather myself with shortening to get into the cockpit.
Day 1 of the trip ended at John’s after 14 hours on the road. Our brief time of fellowship was outstanding and very much a blessing. After we unloaded John’s lumber the next morning I hit the road again for a another eight or nine hours to get to NW Arkansas. Some of the traveling was through unfamiliar country so I was glad to have the robotic lady in the new smart phone there to provide instructions on the route.
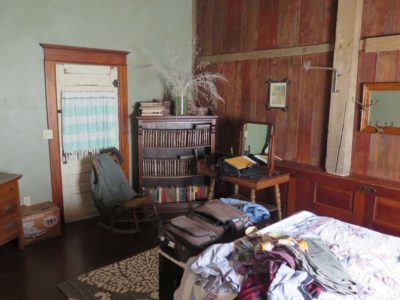

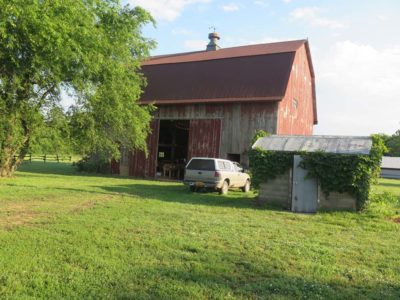
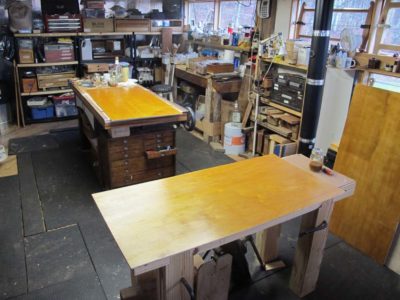
I arrived at Cam and Jane’s just before dark, and they had set me up in a charming guest room in their barn that they often rent out for social gatherings. The main room was going to be our workshop space for the week. Jane as the furniture maker and would be in the class, while Cam the metal fabricator was popping in and out throughout the week making sure everything was running smoothly and often getting some materials and supplies for us.


On Sunday morning I unpacked the truck then went to church with my hosts, and like visiting with John it was a delightful time of worship and fellowship. After Sunday lunch with the family I got to work getting everything out of its container and setting everything up for Monday morning. There was no wi-fi available to me through the week, hence my eight days recently of no blogging or emailing, but I was too beat to surf the web anyway.
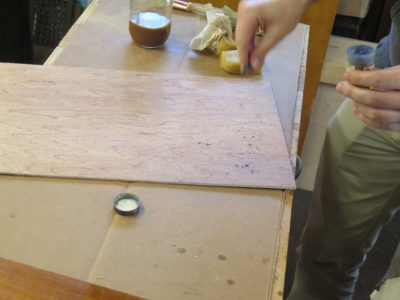
The point of the week in Arkansas was not to make a workbench, well, not the only point, but rather to use it to undertake a series of activities that would allow the participants to begin integrating traditional hand tool work into their regimens. Fundamental to this is the ability to make lumber pieces thinner (resawing), narrower (ripping), and shorter (crosscutting). And since virtually no woodworking involves only a single monolithic piece of wood, multiple pieces had to be brought together via joinery. I tried a few test-run exercises in advance to see if they could work out for the students, whose level of experience was unknown to me. So, beginning with a piece of the select 4/4 x 10 SYP I bought a couple months’ ago I gave it a shot.
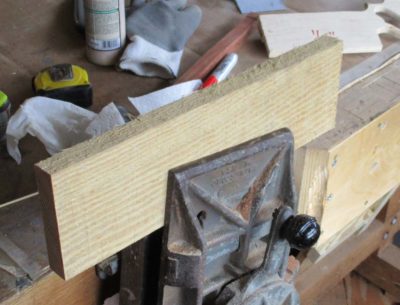

With an eye towards what could be accomplished in four days (remember, the first day would be as dedicated to making the workbench) I decided to have them first pursue a pair of winding sticks, which would emphasize resawing, ripping and truing, then make a planing stop. The first step was to use the kerfing plane around all the edges then resaw an 18″ piece of the 4/4 x 10 in half, yielding the stock for both of these exercises.
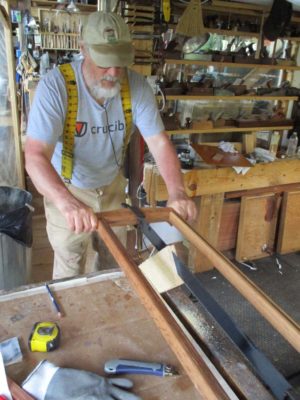

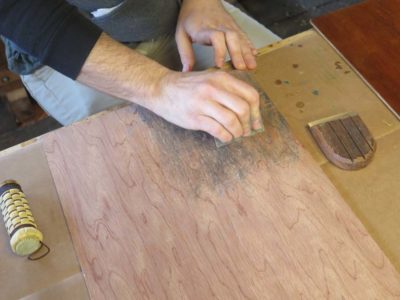
The Bad Axe frame saw has become an integral workhorse in my shop, and I am delighted to have this arrow in my quiver.
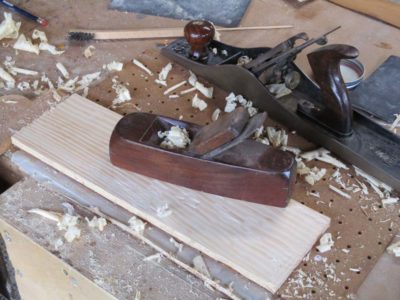

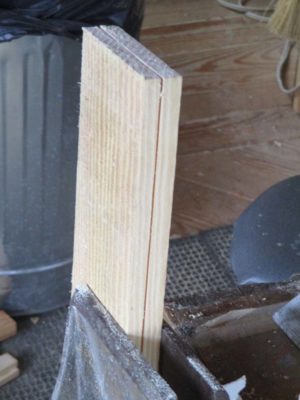
I planed the surfaces flat, then ripped one of the two pieces in half. By executing these process carefully and with precision the task of creating the winding sticks was nearly done. After all four sides of the two pieces were planed smoothly and placed against each other, then one of them switched end-to-end repeating the edge planing, both pieces were identical and parallel.
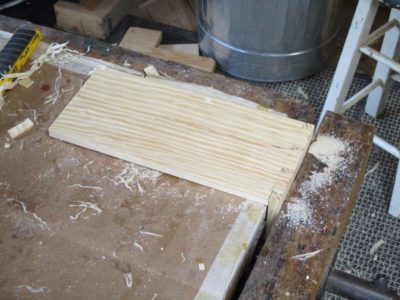
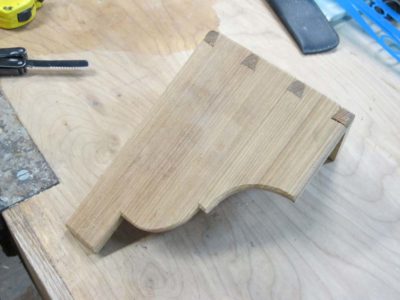
But I was not done with these two boards. I notched a doe’s foot in one end of each of them so that the winding sticks could serve double duty as clamping devices. Viola’, we have winding sticks plus.
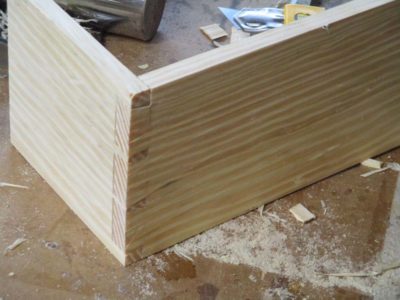
The remaining resawn board was crosscut at the 2/3 point, and the ends shot on the bench hook (I also was going to have them make bench hooks but that was so simple I felt no need to emphasize that here). I dovetailed them together and the result was a planing stop to fit into the face vise of the bench.

My own every-day planing stop was made from cypress many years ago has been tucked underneath my workbench ever since, and I use it frequently.
I was pleased with the simple straightforwardness of these projects, believing it would take them about 1-1/2 days to complete. That would leave 2-1/2 days for something slightly more demanding.
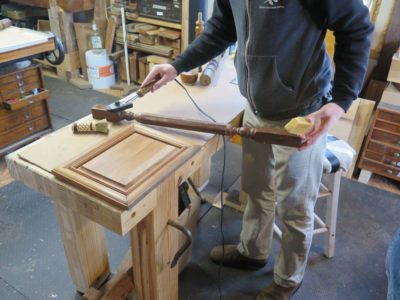
The final large scale undertaking for the trip to teach in Arkansas was to make the wood screw sets for both the face vise and the Moxon vise, enough for ten benches. There was nothing special about it other than the scale of the work, in total I made 20 long screws and 20 short screws.

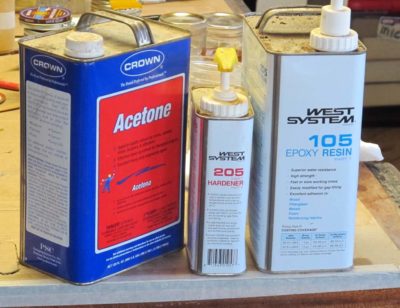
Again I doused the tulip polar dowels with acetone-diluted epoxy and set them aside, moving on to the octagonal knobs.
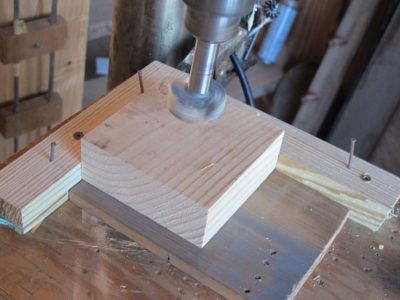

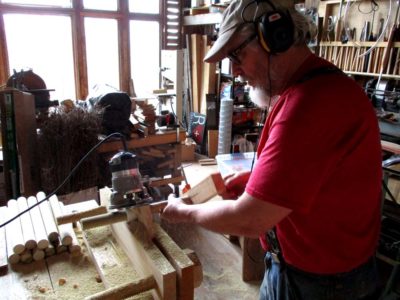
I ran off the 60 squares needed for the knobs (the face vise hubs were double layers) then moved to the drill press to punch the center holes into which would go the threaded dowels.
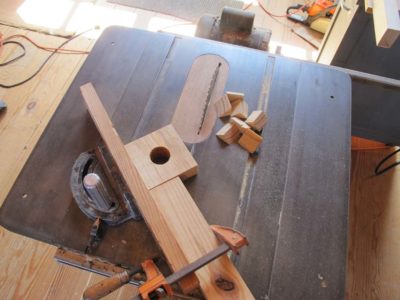
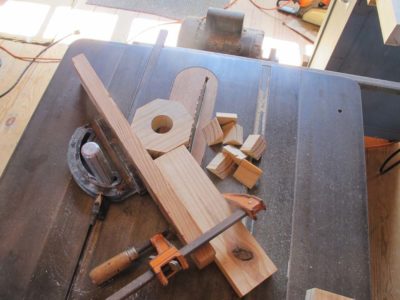
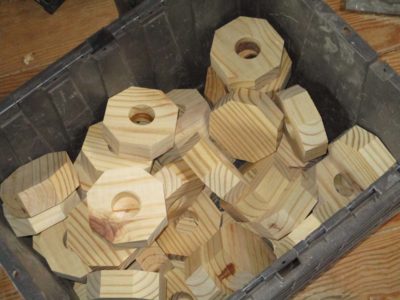
Once I had the requisite pile of holed blocks I returned to the table saw and octagonalized them. I must say that drilling the holes first made it a lot easier to handle them in this process, there was always somewhere to grab to hold them firm against the fences for the miter cuts.
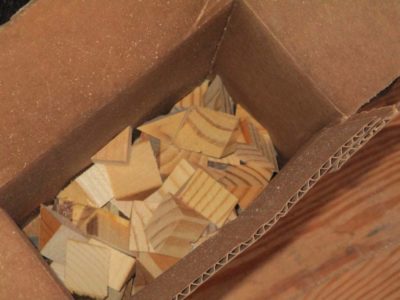
A pleasant by-product was a box of glue blocks from the off-cuts. I’ll set that aside and will no doubt use them over the coming months and years.
I dealt with the long screws a little differently from the short screws at this point. This had to do with the arrangement of the Beall thread cutter. With the long screws passing through a double thickness of stock for the movable jaw I could get close enough to the thread cutter for the threads to work fine by making a split handle to hold and turn them. This was not true for the shorter Moxon screws, so I fed them by using a small plumbers wrench as a grip to get the threads far enough toward the head.
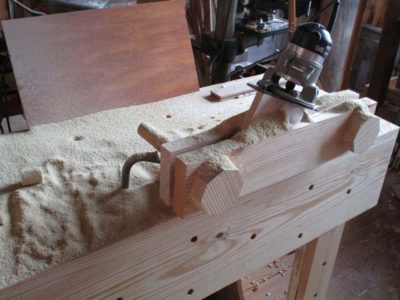
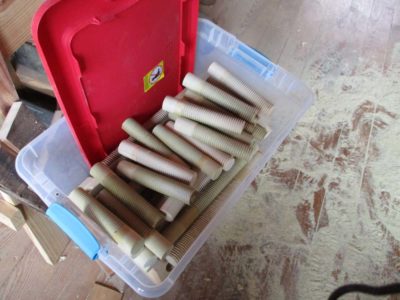
Off to the thread cutter, where a couple hours of concentration and labor ensued. Before long I had a large tub of thread stock.
I glued the knobs on them using yellow glue.
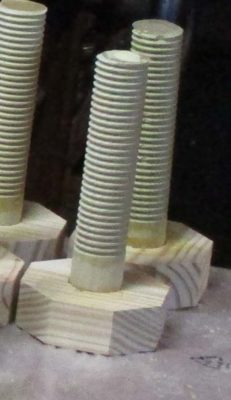
At this point the shorter screws were finished. As for the longer screw’s doubled knobs I trued up the octagons with a Shinto rasp and drilled the pass-through holes for the handles they were finished, too.
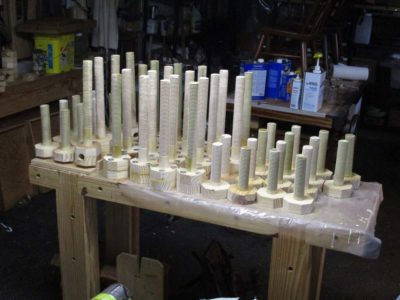
Two full tubs of vise screws and it was time to move on to the next thing.

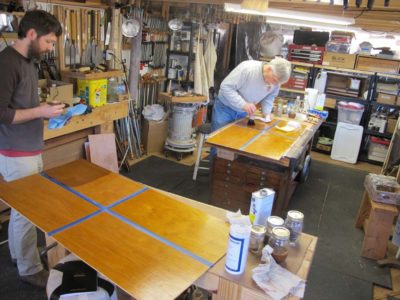
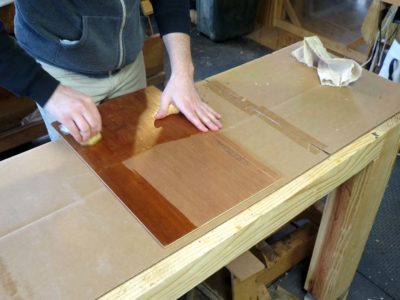
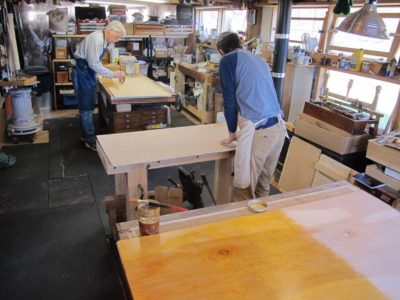
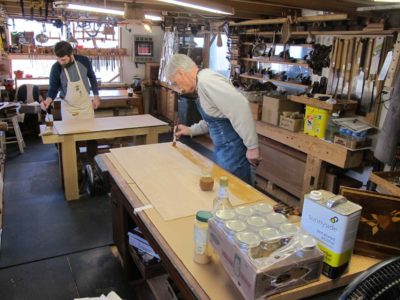
The final day of my finishing workshop is all about the final appearance, including rubbing out and adjusting color the shellacked big panel, which had more than a dozen coats and looked like this at the start of the day.

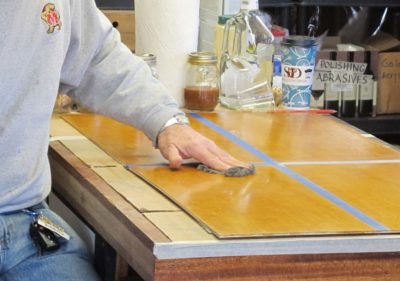
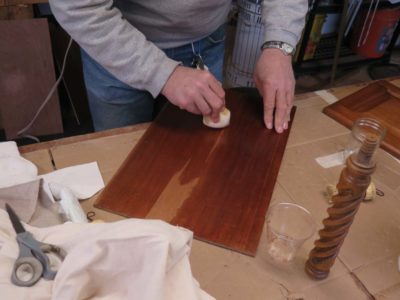
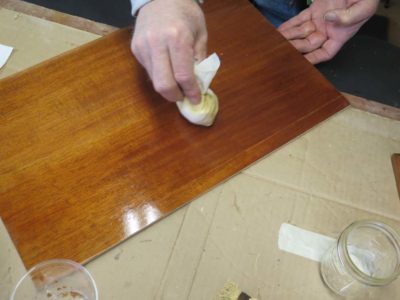
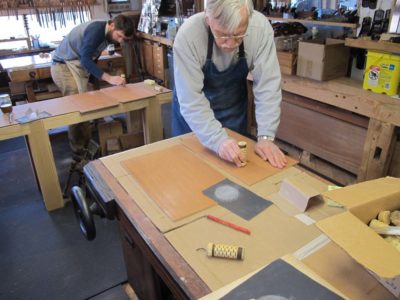
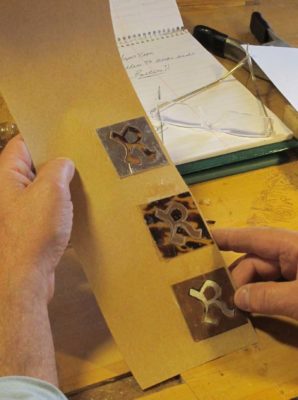
Beginning with the 24×48 panel subdivided into quadrants, each received a different treatment. One quadrant was left untouched as a reference point, then work began on the second one. It was rubbed with Liberon 0000 steel wool, then rubbed with more Liberon 0000 infused with paste wax. The result is wondrous, and this is one of my very favorite finishes. It glows visually and is irresistible for just rubbing your fingers over its surface.

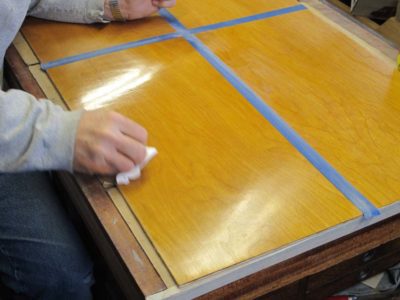
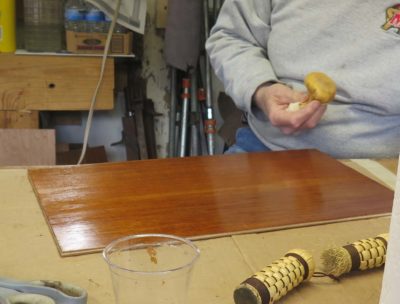
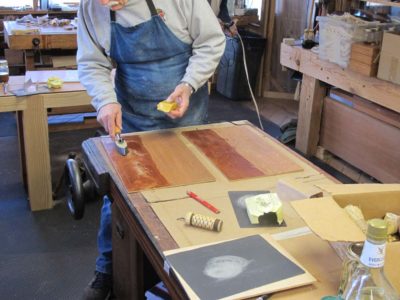
The third quadrant was polished with tripoli/rottenstone and mineral spirits, using a fine linen polishing pad nearly identical to that used for spirit varnish pad polishing. Any residue was wiped off and the surface received a light coat of paste wax. The resulting surface is absolutely spectacular.
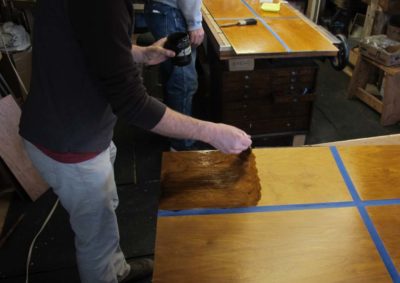

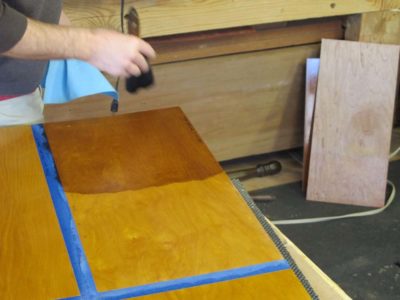


The fourth section was rubbed with dry Liberon 0000 to give it a tiny bit of tooth for the addition of colorant glazing. Two gazes were tried, the first being asphaltum thinned with naphtha and the second being waterborne shellac with goauche colorant. They work very differently but both students had excellent results of a gentle color shift. The final step was to seal the glazing with a brush coat which both saturates the color and provides an even gloss.
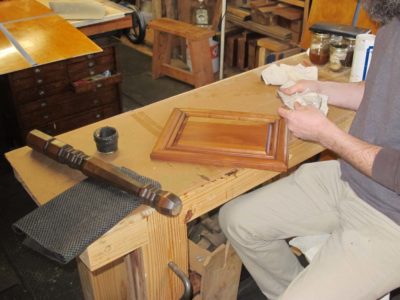
The final project completed was rubbing out and waxing the raised panel doors and the table legs.

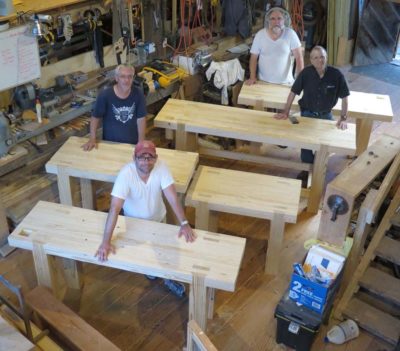
We took pictures of their gallery of work, and they headed for home. Both had very long drives, one to Louisville and the other to Syracuse.
The primary work of Day 2 was building up the finishes in preparation for the rubbing-out and toning of the final day.

The first task was to scrape the large shellacked panels with disposable razor blades to get them smooth as silk for the final application session to follow. True enough, disposable razor blades are not historically precise but scraping is, and using the disposable blades is the best way I can get the process integrated into the workshop. If done carefully the resulting surface is pretty much a flawless ground for the final layers of varnish.

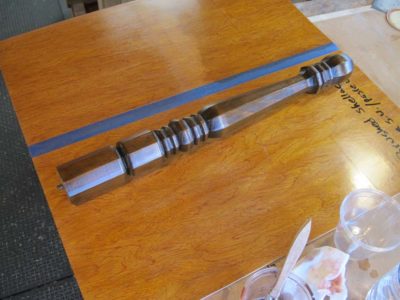
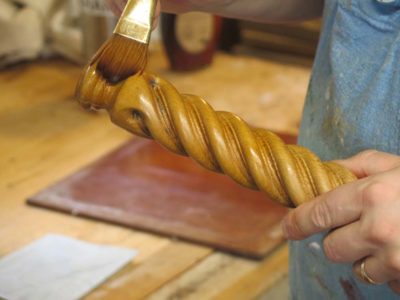
We then moved on to some tables legs to get a little time in on working with “in the round” components. These are often a challenge for inexperienced and old-time finishers alike, but one key to success in this regard is a light touch and the right brush. I’ve found that a rounded-tip brush, sometimes called a “Filbert mop” with good bristle drape results in a near-perfect application every time.

The fellows worked so fast we had time to insert a couple of exercises, one being the use of molten wax on tables legs. We let a hair dryer substitute for a red-hot poker, but the results were acceptable.

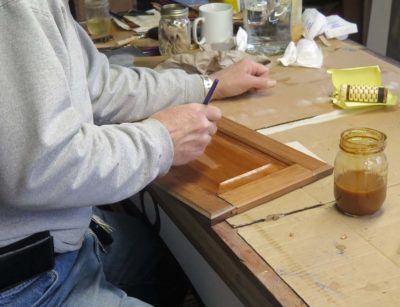
Raised panel doors are also a sometime headache, but once you get the hang of the routine it works out pretty well.
Finally it was time to start on the spirit varnish pad polishing, a/k/a “French” polishing. Each of the students constructed their own pad from cotton wadding, then charged it with the spirit varnish. (This led to a fairly involved discussion about the fabrics that are best suited for which tasks in the finishing room. I asked my long time friend and Roubo colleague Michele Pagan, a textilian for as long as I have been a woodfinisher, to write a blog post on the topic. I will post it probably next week.)

By tapping it on their palm they knew when it was ready to go. And, it gives a lovely sheen to the palm.


The boards they had prepared on Day 1 were partially wax-filled and partially raw-but-burnished wood. Since so much of spirit varnish polishing is “feel” there was not much to do but turn them loose.
Before long there was a-glist’nin’ all over the place.
Another exercise that frankly I have never been able to get perfect was to fill the grain with beeswax and powdered colorant, pressed in to the wood grain with a polissoir. I need to work on this concept a little more, although Roubo promises success.
And with that we were done with Day 2.
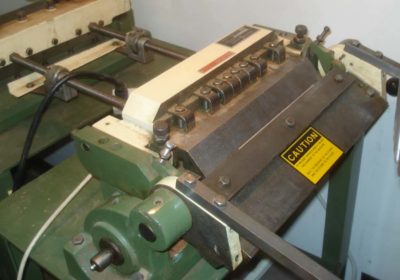
Six years ago when I wrote my article in American Period Furniture on making my own dovetail saw I had the advantage of access to an ultra-sweet 12-inch Houdaille precision shear and a matching 12-inch brake. I loved those tools and have been looking for the pair ever since I left Mordor, preferably for a modest outlay. Alas, even used these run about $2k for the pair, with the new showroom price north of $6k. If I ever find them for next to nothing I will still pick them up, but that is an unlikely occurrence. I believe Houdialle is now re-branded as Di-Acro but I cannot be certain.

Many moons ago I got a notice from Micro-Mark that they were discontinuing the very tool I wanted, and it was on sale at a very deep discount. The tool in question was a mini-shear/brake for sheet metal, precisely the kind of tool I could use when making, or teaching the making of, petite dovetail saws. The width capacity of the tool is 8 inches, which pretty much defines “petite” when it comes to saws.
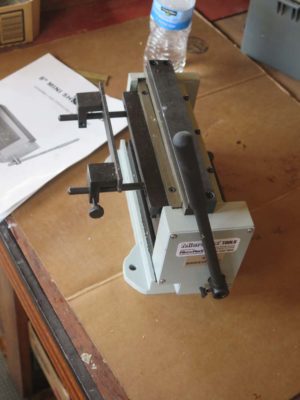
I recently unpacked it and gave it a try. Very, very nice. I am fairly certain that this unit was manufactured by Baileigh, as theirs seems identical in every way.
The uses of this tool are many, from cleanly cutting spring steel coils to length and width for the saw plates, to bending brass backs for the saw structure. I make saws with a folded 1/16″ back, which is a bit stout for this little tool, but if I anneal it first there seems to be no problem.
I’ll be using the tool in the near future as I build another saw in practice for the upcoming workshop Making A Petite Dovetail Saw, June 8-10. I’ve got one opening for that class, so if it interests you drop me a note.
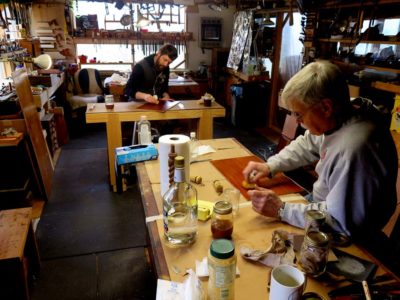
Recently I hosted my almost-annual three-day Historic Woodfinishing workshop at The Barn. Due to family medical emergencies three of the five registrants were unable to attend. This, combined with some seasonably chilly weather (holding this the final weekend of April was an experiment that will not be replicated), led me to relocate the event into my heated workshop rather than the unheated classroom space. That actually added to the intimate atmosphere of the session.
My syllabus for this workshop is pretty well established after this many iterations. Given the brevity of the schedule I restrict it to only two major finish materials, shellac and wax. Next year I am penciled in to teach a longer workshop at MASW so we can explore the topic more broadly, but for now this is what we cover. As always my objectives are to 1) present finishing as a structured enterprise, to familiarize the participants with my approach to finishing and remove any hurdles of intimidation, and 2) provide some hands-on/muscle memory experiences to impart confidence for once they are back home.
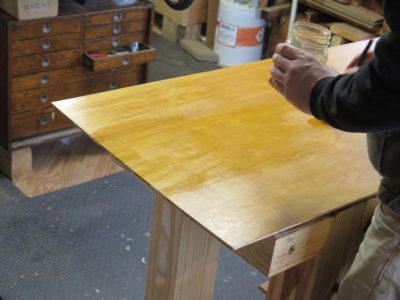
One of the foundational exercises is to brush shellac spirit varnish on a 24″ x 48″ plywood panel that is straight from the bin at the lumber yard with only the most cursory preparations of sanding with 220 paper for a coupe minutes. The objective is to build up enough finish in three sessions, two on Day 1 and one on Day 2, to provide a great base or polishing out on Day 3. Each of the three sessions results in about a half dozen applications of varnish. In between the first two application sessions on Day 1, the dried varnish is lightly rubbed with dry pumice to remove and nits that are there.

Other Day 1 exercises include burnishing a mahogany panel with a polissoir, with a polissoir and wax, and applying a layer of molten wax to fill the grain and serve as a final coating.
Thus endeth Day 1. Now on to Day 2.
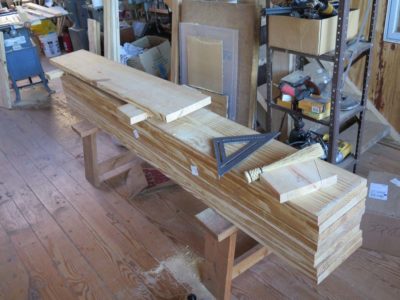
Since one of the goals for my Traditional Woodworking workshop in Arkansas this summer is to efficiently build a workbench for and by each participant, I actually did something I rarely do — make a cut list. Each workbench will consume six 8-foot 2x12s, and be accomplished in less than a day working in concert.
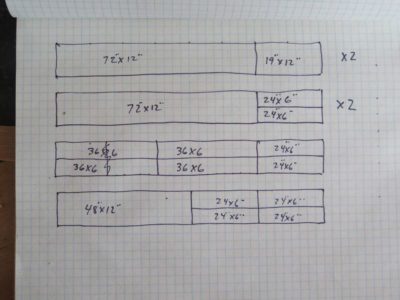
In case you are inclined to follow along and make one for yourself, here is a diagram of the cut list. Ideally the edge of each piece would have a crisp square edge, but since my big table saw is not yet set up I wound up planing them square ex poste and in situ part way through the construction. Each of the pieces ripped to “six-inches” is in reality simply the maximum width of a pair of boards you could render from the 2×12, so they turned out to be more like 5-5/8″ wide. Also, the 48″ x 12″ piece in the lower left corner should be ripped to approx 1-1/2″ and 10″, providing for a backing board for the front apron and a shelf nailer for the rear single-thickness apron, on which the top’s battens can be affixed.
After getting everything cut, the next step is to assemble the front and back halves, affix the ends, and incorporate the two 48″-long elements I just mentioned.
Stay tuned.
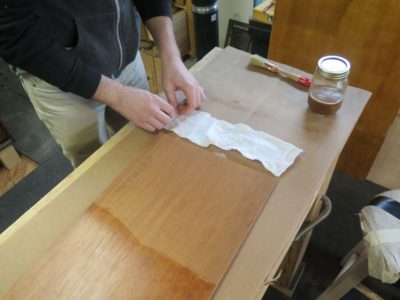
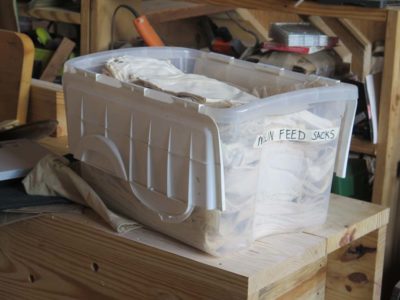 While preparing for the upcoming “Historic Finishing” workshop at The Barn the last weekend of this month I was struck by my good fortune in acquiring an excellent inventory of vintage finishing rags. This pile was particularly peculiar as it came from an antique shop twenty miles from town, out in the prairie of Nebraska. The main emphasis for the establishment was rural and agricultural collectibles, but in my browsing I came across a large box of muslin feed sacks. These had been carefully — almost lovingly — washed and folded, and were in astonishing condition. No holes, no stains, and a wonderful nap of both sturdiness and suppleness. In short, perfect for the finishing shop.

I bought the entire pile of these wondrous rags, I think for about 20 dollars. There were about 60 complete feed/seed bags in the box, which means a price of 33 cents apiece. I’ve seen similar items going for up to $10 at shi-shi antique boutigues (seriously who “decorates” with feed sacks?).
Students in the upcoming workshop will get to give them a test drive as each will make several polishing pads, some for applying spirit varnish, some for abrasion polishing with pumice and tripoli.
So always be on the lookout. You just never know when you might come across a box of treasure.
The complete 2018 Barn workshop schedule, which I will post every couple of weeks to help folks remember the schedule.
************************************************
Historic Finishing April 26-28, $375

Making A Petite Dovetail Saw June 8-10, $400
Boullework Marquetry July 13-15, $375

Knotwork Banding Inlay August 10-12, $375
Build A Classic Workbench September 3-7, $950
contact me here if you are interested in any of these workshops.

Recent Comments