By Day 3 we were deep into the woods of Fussyville as curved and tapered parts had to be individually fitted to each other. There was no straightforward way to do this, you just gotta nibble away and sneak up on it.
With the front seat rail being the easiest cross chair element to fabricate and fit, it was time to move on to the rear seat ail and the crest rail. One of these is simple, straightforward and only takes a short time to get roughed and begin the shaping. The other is a complete pain in the kiester. These can be addressed in whatever order you choose, and in fact the students chose different orders.
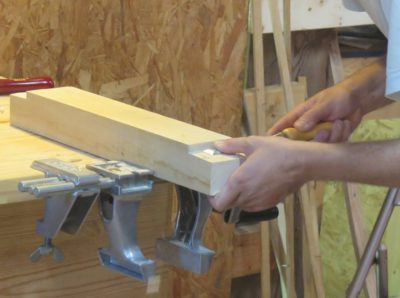

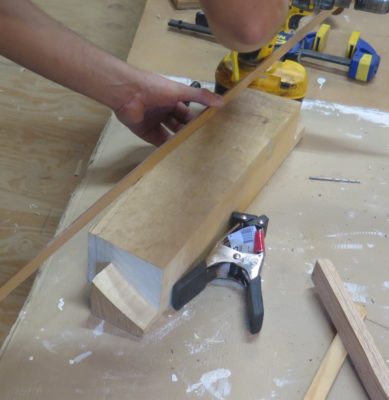
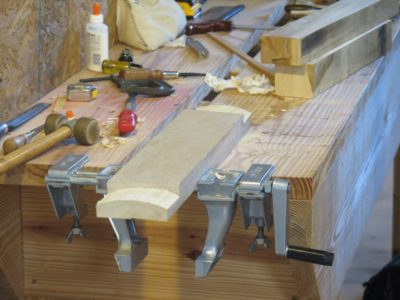
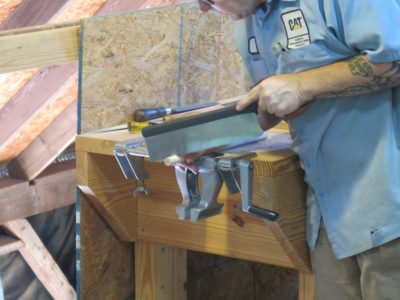
The easier one is the crest rail, which like the front seat rail is a glorified rabbet/lap joint for an element that is afterwards cut on the curve and the profile.
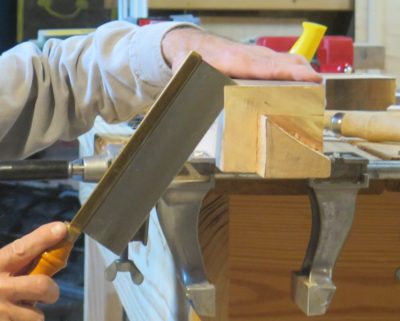
The royal pain is encountered when cutting and fitting the rear seat rail, an exercise that can take the better part of a day. I am convinced Gragg found a simple way to do this, perhaps even an easy way, but I have not yet re-engineered it so thus far. I’ve built eight chairs and every one is a struggle at this point.
Finally the pieces get screwed together temporarily in order to move on to the next steps. Though it might feel like you are on the home stretch now, unfortunately you have just barely arrived at the halfway point in the construction process.

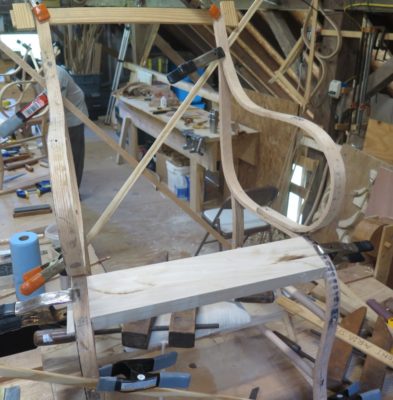
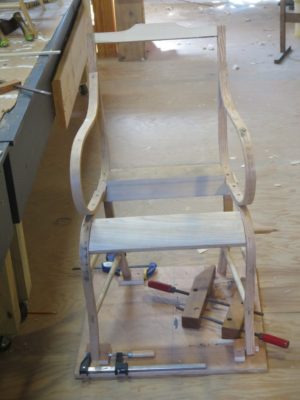
Early on Day 2 everyone had their side units assembled and thus began one of the more frustrating parts — getting the baby up on its feet. As I often say about Gragg chairs, you are not so much constructing a chair as you are assembling curvilinear sculpture in three-dimensional space.
To assist in the process I had constructed for each student an assembly jig including four stirrups indicating the location of the four feet. Combined with a few diagonal struts held in place by spring clamps, the correct posture was assured with the use of a bevel gauge to make sure each side was canting in the proper direction at the correct inclination. Now it was time to start fabricating and fitting the cross-chair elements, the front seat rail, the rear seat rail, and the crest rail. It sounds so simple but when you start fitting structural elements to curved and tapered components it suddenly is much less simple.
I learned two important items today to add to the “To Do” list in case I ever host this workshop again: 1) make a story stick for each student so they do not have to spend so much time measuring and remeasuring, and 2) have a fully dis-assemble-able chair so that it is quicker for me to explain how the parts fit together. I am working on that project right now. Perhaps a third thing is the hindrance of always working alone, repeatedly I would find myself forgetting to say out loud parts of the conversations going on inside my had, conversations that actually yield useful information about the “whys” and “hows ” of doing things.
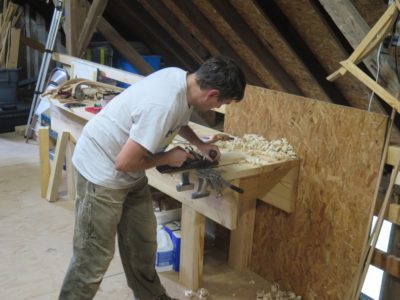
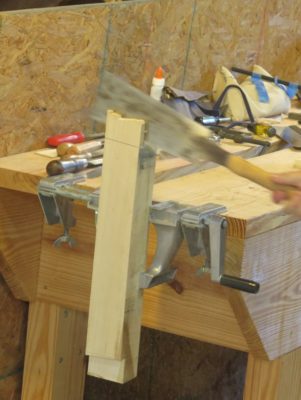
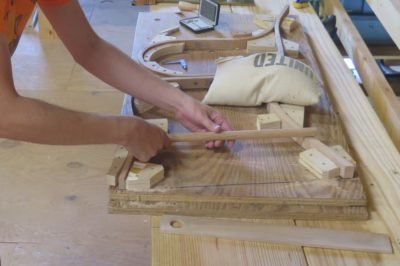
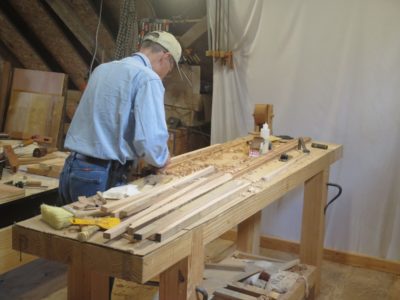
The easiest of the cross-chair structural elements is the front seat rail, so that is where I had the students begin. I had found that using a Zyliss vise is most beneficial to the Gragg chair building process so I made sure each workbench was outfitted with one. By the end of the class each student was a big fan of the tool.

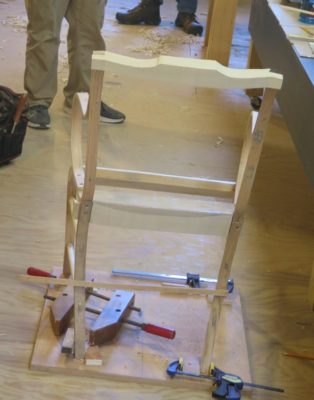
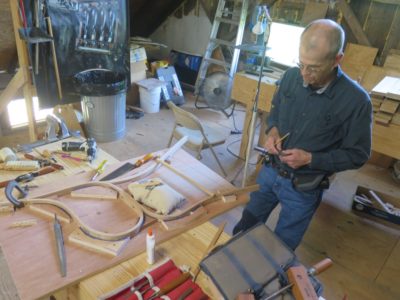
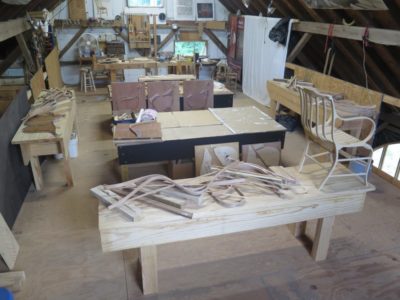
Near the end of the day it was a thrill to see the inventory of chair forms emerging on the assembly table.
Bright-eyed and bushy tailed everyone hit the ground running Monday morning, assembling the two side units that are the starting point for the chairs. I made an assembly jig for each person to use as I do not know how to actually build a functioning and symmetrical chair any other way. Although our records of Gragg’s working methods are scarce, I would pretty much bet the house that he built his chars in a similar manner.
The first steps in assembling the chair out of its multitude of parts were fitting the serpentine, curved arm, and rear leg together, requiring only some trimming with a saw and a rasp, and screwing the parts together.
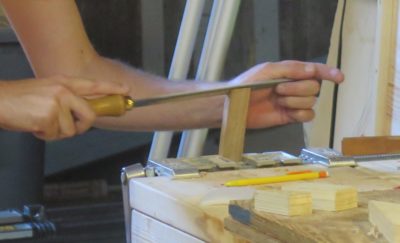
After that comes the first of many fussy stages, although not to the points of exasperation that were awaiting everyone in the days to come. This one involved laying out and cutting the stiletto tenons and their companion mortises for the side rungs. It was one of my improvements over Gragg’s original techniques as this was a much stronger and more robust joint than his full-sized drilled hole through the legs, many/most of which have fractured over the centuries.

Just to make sure it remains that way the joint is glued and pinned with a small brad, a construct I have found to perform superbly.
One final but not insignificant issue for the day and week was the heat. When I first contemplated this event eighteen months ago I thought the final full week of August would be a nice fit. Normally here in the mountains the last week of August is more likely to be the first week of autumn with chilly nights and mild days rather than the last week of summer. This was a central consideration given that the only place big enough for the workshop was the fourth floor, immediately underneath the asphalt-paneled roof. We’ve even had frost this week in years past, but not this time. It was the hottest full week I’ve seen here in twenty years. I kept as much air moving through the space as I could but it was just barely tolerable at times. Two participants preferred warm/hot weather, but for us Minnesota boys it was on the edge.

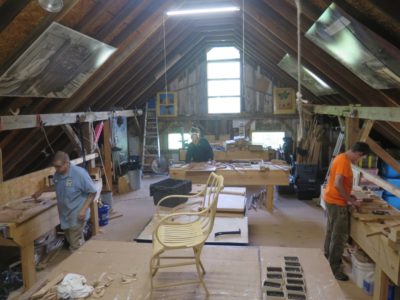
With the three students in-house by Sunday evening of last week, we began with a quick tour of the attic space we would be using for the chair building; it was the only space large enough for the four of us to be building four chairs simultaneously. We were delighting in the acquaintance-making yet tempered with the knowledge that the fourth student, one of my earliest and most ardent Gragg enthusiasts, had died suddenly and unexpectedly last month while I was preparing for the workshop. His memory was never far from my mind through the week.
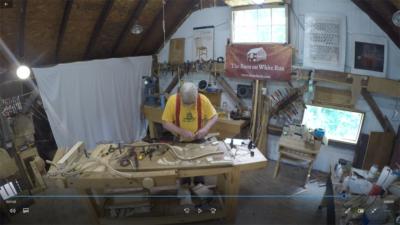
We then descended to my second floor studio where I treated them to the uninterrupted (except for my commentary) hour-long time lapse video of my “40-hour Challenge,” allowing them to see the entire process from beginning to end. With that, we were ready to hit the ground running Monday morning.
Next Monday will be the first day of the inaugural “Build A Gragg Chair” workshop at the barn. I’ve been aiming for this week for the past decade. For a couple weeks I have been preparing the space up on the fourth floor, the space normally used as my video studio. It was the only place in the barn with enough open space for four workbenches, assembly tables, and the steam box.
In addition to getting everything tidied up I built three additional assembly jigs and steam bent a few of the parts I forgot to do when my pal JohnH was here earlier getting all the parts bent for student use. That’s the only way we could get chairs built in six days, having all the individual steam-bent parts ready in advance.
It’s gonna be a gas.
I’m praying for cooler weather as last week was the hottest here in fifteen years; it was near 100 in the barn attic. It has since cooled down to normal and I hope it remains so, high 70s in the day and mid-50s at night.

I’ve got one opening for a student in the six-day “Make A Gragg Chair” workshop, the last week of August, and two openings for “Historic Woodfinishing” over Columbus Day weekend. If you are interested drop me a line at the “Contact” page.

I’ve signed on as one of the speakers for a Spring 2022 conference at the Winterthur Museum on the subject of marquetry. Like many other events over the past two years it has been scheduled, cancelled and re-scheduled, to the point where I am not fully informed myself. (In 2020, 13 of my 13 teaching and speaking gigs were cancelled. It was quite delightful to not travel much, hunkering down in Shangri-la instead [“social isolation” is any day ending in “Y” here in the hinterboonies]) I believe it is in late April but don’t hold me to that. I won’t discuss the other speakers yet as I think the Program is still being finalized, but my presentation and subsequent publication will be on the topic of Boullework.
I have already sketched out my presentation/demonstration in my mind, bringing it into realm of reality will occur over the next eight months. That progress will be documented periodically on this screen.
This is a demonstration-heavy gathering, so if the topic interests you it would be a great opportunity to interact with some very passionate and accomplished folks, both on the stage and in the audience.
Winterthur is a few miles north of I-95 in northern Delaware. I worked there while going through college and have many fond memories of it, both the grounds and museum are magnificent.
Stay tuned.
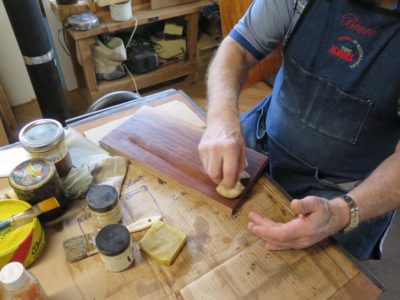
In keeping with my current “marketing” (non-) strategy for workshops, a while ago I was approached by a group of fellows commissioning a Historic Wood Finishing weekend workshop at The Barn. Once we set the schedule it turned out that there would be two slots open for anyone else who wanted to take the open places. If this interests you let me know. As always, the emphases will be on shellac and wax finishing for three days. The schedule for the workshop is October 9-11, 2021, and the tuition is $375.
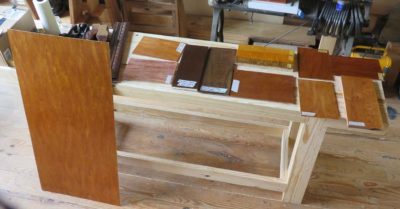
With all of the steam bending done for the Gragg chair workshop John and I spent a little time reorganizing the attic of the barn, now with only the months of waiting for the students to arrive. One more workbench to move across the room and it’s all done.

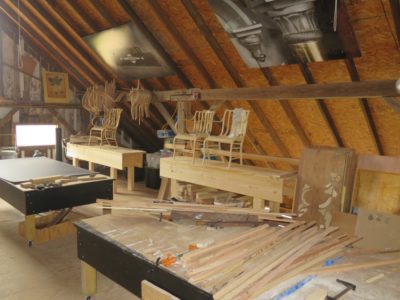
Yes, we hoisted one and made two new benches and began to place them around the perimeter of the space. At almost a thousand square feet it is a grand luxury for any workshop, and I have only Mrs. Barn to thank for it. I had intended to leave the level of the barn un-floored, but she recommended, correctly, that if I did lay down floor I would find it immensely useful She was correct, again.
So, at the workshop every participant will have a fully outfitted bench plus half of a 4′ x 8′ assembly table on wheels, which are themselves re-cycled platforms for the long-passed Studley exhibit.

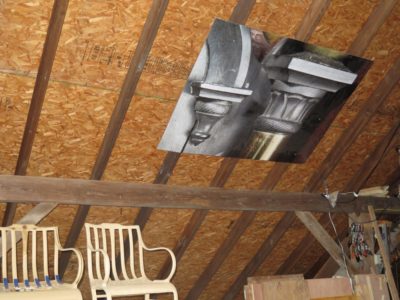
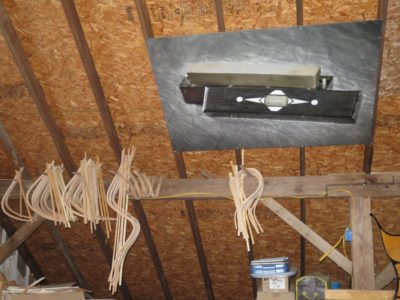
One final decorative touch was to tack the graphic panels from the exhibit over the benches. Whether these inspire or intimidate is yet to be determined.
I could probably maintain a steady stream of posts exhorting you to prepare for the ongoing (and upcoming) societal chaos, but since this is a mostly woodworking blog I’ll just keep it there. My commentary on the global status quo mostly remains reserved for private correspondence.
Since deciding to host and teach a “Make A Gragg Chair” workshop next August I have been focusing in on preparing the fourth floor space and the necessary chair-making elements for that enterprise. This week my dear friend John has come to work with me in both aspects, which include the mundane (tidying and reorganizing the space) and the sublime (steam bending all the elements needed for five chairs — I will be making one right alongside the students so they can witness the way I do things, not simply receive my instructions on that).
I described myself to some visitors last week as “someone who is congenial with well-developed social skills but is entirely comfortable being alone for weeks and months at a time with just Mrs. Barn for company,” I find the circle of friends whose company I seek out is pretty small. John is one of those men. Our week will be one of productivity, in-depth discussions of forbidden topics, and maybe even some way-out-of-bounds activities reflecting the fact that I live in a just-barely-free jurisdiction and he does not (some/many/most? “public officials” have clearly mistaken 1984 as an instruction manual rather than a cautionary tale.).

So together John and I will take a pile of sticks and turn them into chair parts.
Stay tuned.

Recent Comments