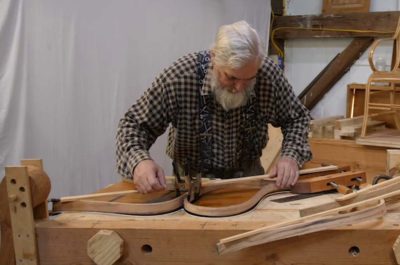
Our latest day of video recording dealt with the beginnings of assembling the pieces into a whole chair, including fitting the individual pieces together to fit the master template based on the many Gragg chairs I have examined over the years.
Once we moved on to fabricating the cross pieces things got fussy.
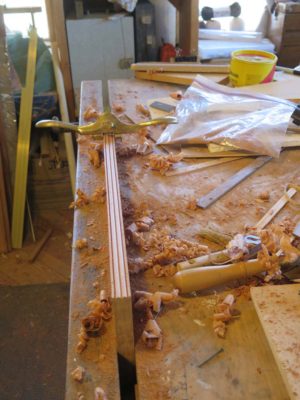
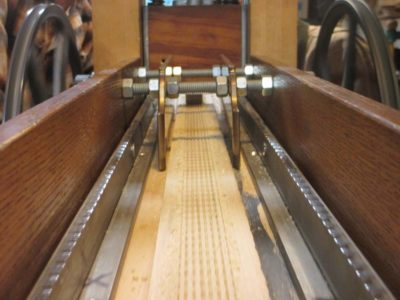
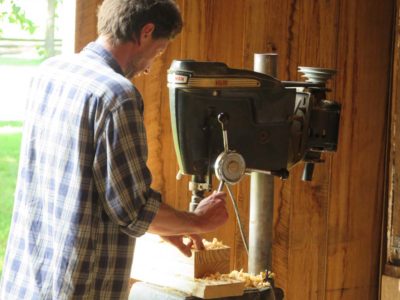
Chris wrapped up the day by taking some detailed footage of my shaving beam, my primary stock preparation tool for the project.
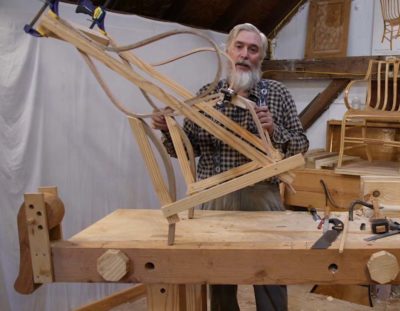
Our recent day of video recording for the Making A Gragg Chair was pretty much all about bending forms/jigs for the components of the chair. I showed how I make the forms and why I make them the way I do, including a discussion of “spring back” and how that affects my design and layout of the forms. Somehow that one topic managed to consume the entire day of work in the studio.
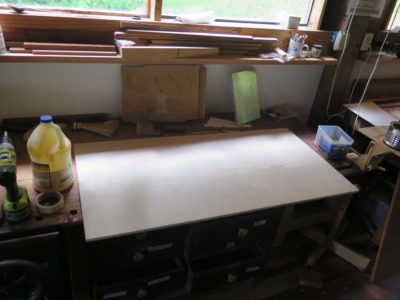
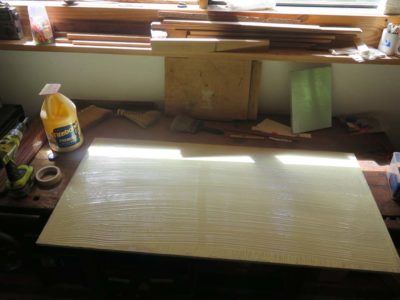

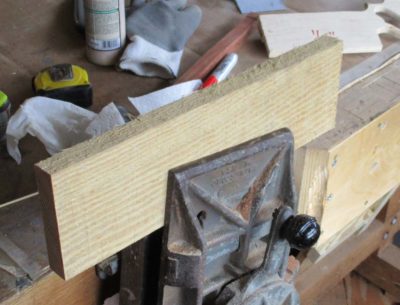
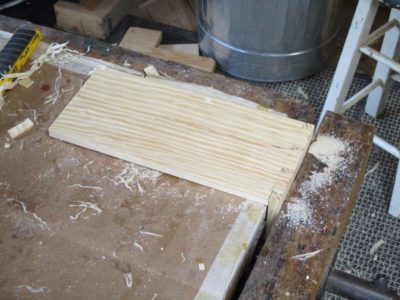
These three pictures were ones I took when I was prepping for the video shoot, but I replicated the process upstairs in the studio with the camera running. In them I am making some form stock, the 1-inch thick double laminated sheet I make from two pieces of 1/2″ baltic birch plywood. The finished product is what I use to cut the actual bending forms themselves. I begin with two pieces of 24′ x 48″ x 1/2″ plywood and slather PVA on one of them, then screw them together with decking screws and fender washers.

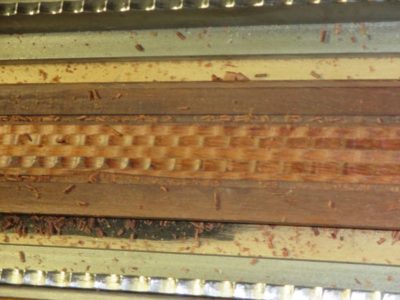
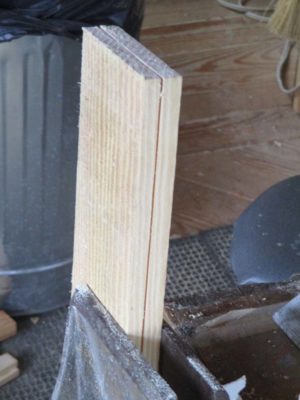
Here is that panel after finishing along with another double laminated panel made from two pieces of 3/4″ baltic birch type plywood that serves as the ground for the bending forms. Once they are dry overnight I remove the screws and washers and they are ready to go. I got all of this material from the closest big box home center.


Here are some images from the session in the studio.
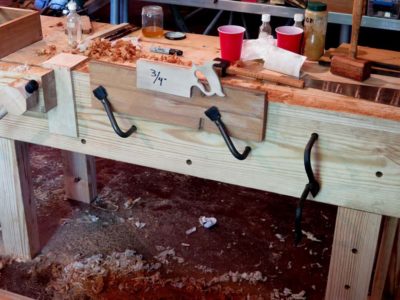
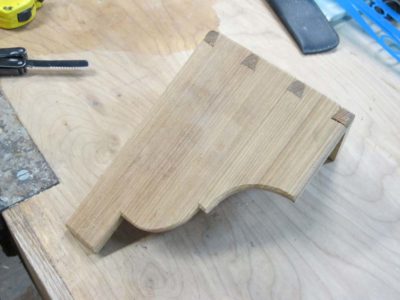
Though a minor piece of real estate on the desk, the roundels were certainly visually prominent. Thanks to my four-jaw chuck on the lathe making them was a breeze.
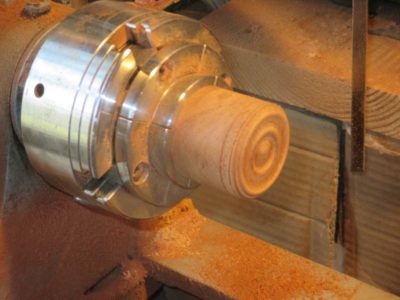

My first step was to make a cylinder from some of the mahogany then turn the roundel profile on the end of the cylinder. Once the profile was satisfactory I scored the lip of the roundel with a turning chisel then sawed off the circular wafer right on the lathe.
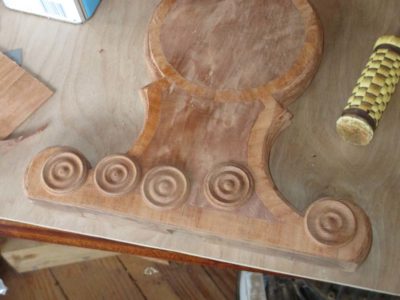
I repeated the process until I had excess roundels, then glued them in place.
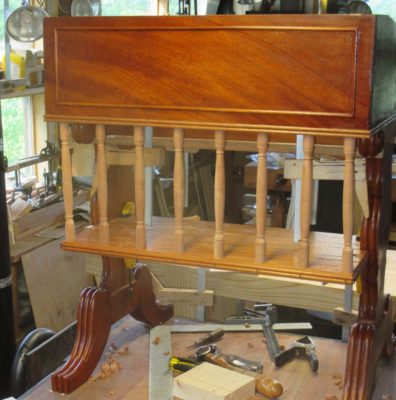
In addition to the roundels there were bits of applied moldings to the field and bottom perimeter of the writing box and along the edges of the shelf. After spending numerous hours making the curved moldings on the legs these seemed like a holiday.

I simply cut the moldings on the edges of a board then ripped them off for application to the surface of the box.


The half-round string moldings in the field of the writing box allowed me to use a set of pinch clamps I’d made years before. These were featured in a Popular Woodworking article some time ago.
The only construction left to accomplish was to complete the top of the desk, then it would be on to the best part — finishing!
Sometimes you get lemon peels, sometimes you get lemon meringue pie.
Thanks to a clearing on the calendar we’ll be convening the second Ripple Molding Soiree and Camp Out at The Barn the week of September 3. As before the agenda will be to explore the theoretical and practical aspects of making ripple moldings and their machines.

I think all of last year’s participants are coming, including at least one newly completed ripple molding machine in tow. For this year I know one of the participants is feverishly interested in making a bench top molding cutter to produce diminutive moldings and I am going to work on my prototype from last year and another Felibien-esque c.1675 model vaguely similar to the one we resurrected last year.
As before there will be no tuition fee, this is a mutual learning experience rather than a teaching/classroom event. We’ll share whatever material costs are incurred and pay for our own meals (normally for a workshop I provide or pay for the mid-day meal). If you are interested in participating feel free to drop me a line.
PS if this goes well my pal JohnH and I are hoping to teach a “Make A Ripple Molding Machine” workshop some time in 2019 and also make an instructional video on the same topic.
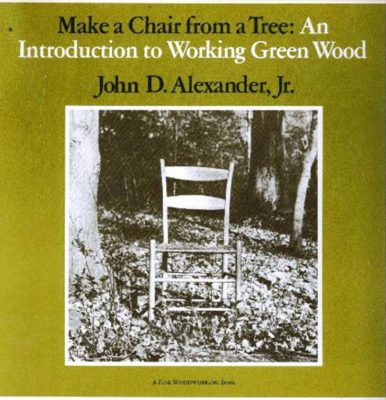
Like a multitude of fellow craftsmen my interest in traditional woodworking was fostered by the book Make A Chair from a Tree by John D. Alexander, Jr. I probably bought it shortly after it as written, then a few years later I also purchased the excellent companion video. I cannot recall now if that video included some delightful bantering with saw maven Tom Law, or if it was Tom’s video on saw sharpening that featured bantering with John Alexander. Either way it was an engaging and delightful foray into learning. (Actually one of my great curiosities is why the producers never made any more videos; their video with Tod Herrli is simply one of the best instructional videos I have ever seen on any topic.)
I never really became chair maker, my Gragg chair adventures notwithstanding, but the approach of thinking through then executing a project resonated with me. Mr. Alexander’s blend of historical understanding, winsome wit and practical craft applications served him well as an evangelist for the cause.
The chronicle of his entire journey is recounted here by the inestimable Kara.
I read recently of his death not too terribly far short of 90 years, and reflected on the transforming power of solid scholarship blended with infectious enthusiasm. Our paths never crossed in person, but I offer my condolences to those who knew and loved him.
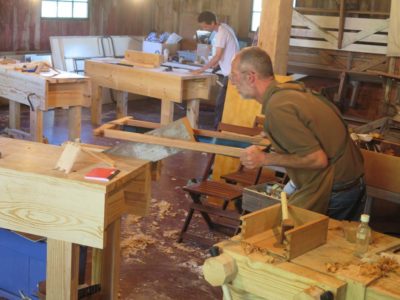

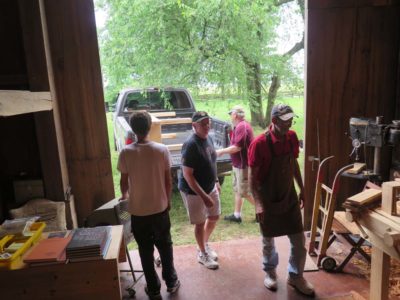
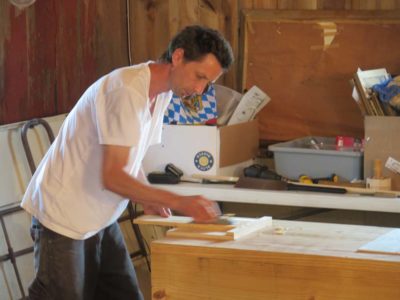
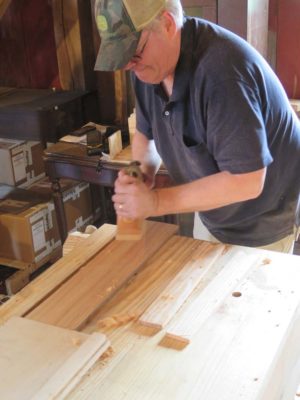
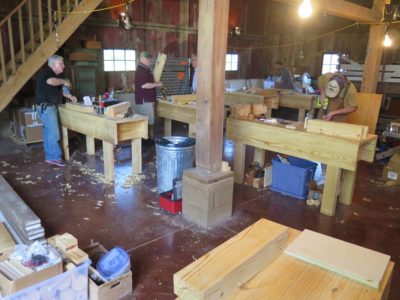
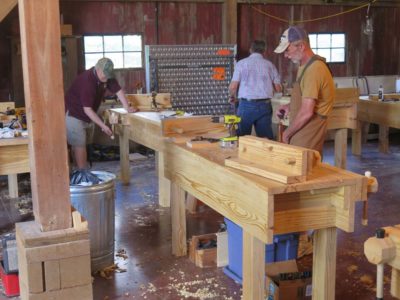
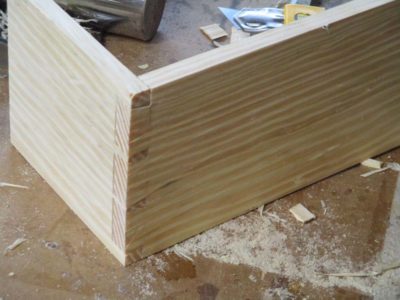
At this point the participants were barreling along, full steam ahead. The project to build a water-tight box for sharpening stones was probably a bit too ambitious on my part, but they were game and worked long and hard. Resawing and planing the vintage cypress soon filled the space with the pungent and pleasant odor of this magnificent wood, still fill of aromatic extractives even after 180 years.
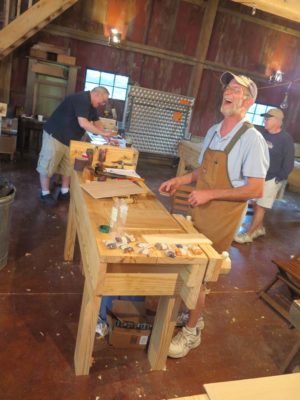
The pieces of the box began taking shape all over the place. The pace of work was intense, and even the friendly chatter subsided a bit as the concentration on tasks at the bench increased.

The fragrance of the wood was augmented with the scents of alcohol and beeswax as the finishing exercises were also progressing.


But mostly it was about fashioning wood into an artifact.
The day concluded with a couple of special events, namely “Don’s Greatest Hits,” a Powerpoint presentation of notable projects over the past decade or so, followed immediately by a rib-fest cookout at Jane and Cam’s house. We ate spectacular ribs until we could not move, and that was followed by gallons of freshly homemade ice cream. We were barely ambulatory by the end of the evening.


Day 5 commenced in the shop much the way Day 4 had ended — feverish work making as much progress as possible. You could tell by the growing mounds of detritus that something was happening in a big way.
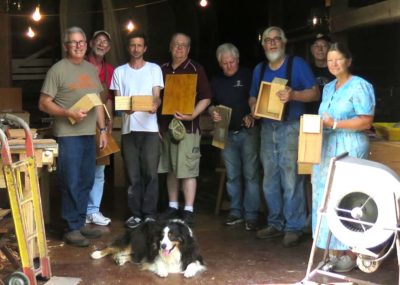
No one actually finished their boxes but all promised to do so once the got home with their new benches to work on.
We spent some time loading the aforementioned benches and the place cleared out before suppertime. It was a grand week of fellowship and learning and I departed exhausted and content. I only had two long days of driving to get back home to Shangri-la.
Heartfelt thanks to the students and my longest time friend Rick and Jane and Cam for making this event happen and memorable.
By Day 3 the participants were pretty much on auto pilot. My task was to circulate and help where I could, and encourage at all times. The only deviation from the inertia already established was that I had promised to integrate a little traditional finishing into the mix, and we were so busy on Day 2 that I never got to it, so they got a double dose on Day 3.

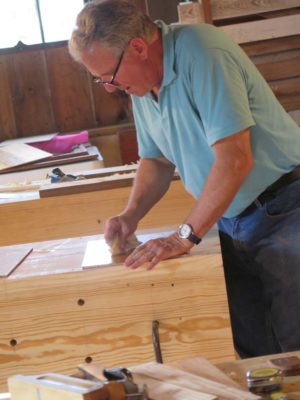
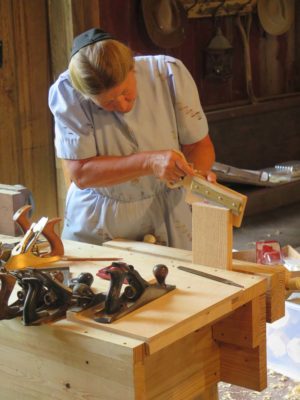
As usual my emphasis was on burnishing with polissoirs, wax grain filling, brushing shellac, and pad spirit varnish polishing. Clearly Dave was getting a good laugh about something, which is entirely appropriate since finishing is about the most fun you can have in the shop.
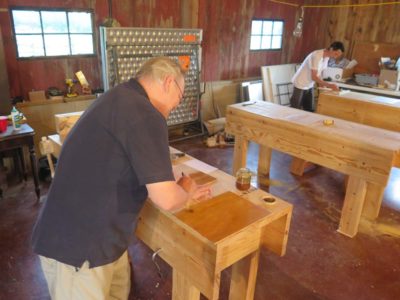
I think everyone was new to the methods I demonstrated for them to mimic.

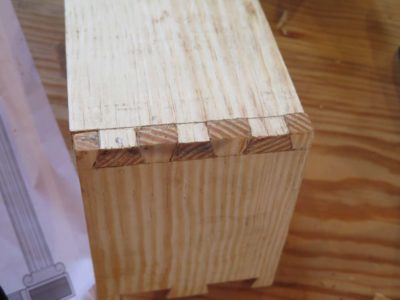
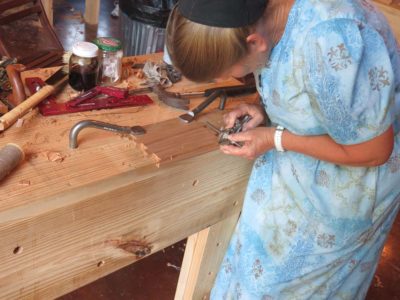
Once finishing time was over it was back to the sawing/planing/joinery exercises for the middle of the day. Jane was thrilled with her first really good dovetails, as she should be. She had the mechanics down pat already, but needed just a bit of guidance to get over the finish line with great results.
Then it was on to diving into the sharpening stone box, made from some of my prized stash of c.1840 11/4 cypress that came from the staves of an old railroad water tank in southern Georgia. The material was resawn and sized for the boxes and progress was made on every front.

We went back to finishing to conclude the day. This group of students was really enthusiastic, some of them arrived as early as 7.30 in the morning and stayed until 7 in the evening.
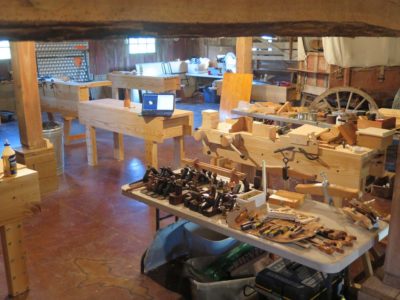
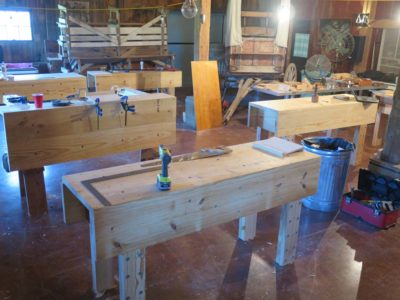
On the syllabus for Day 2 was to finish up the workbenches quickly and get started on the initial pair of pratica, namely the winding sticks and the planing stop. But in the lull of battle preceding the gathering of the students I reveled in just walking around, admiring their productivity yesterday.
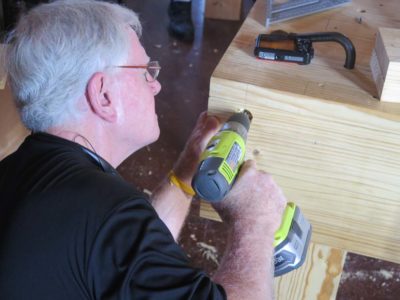
The benches soon received their finishing touches of holdfast holes and threaded aprons to accept the screws for the vises. I learned after the fact that a good drilling jig would have been very helpful for these holes. A few of them were slightly off kilter, and a good jig would have saved a lot of headache in the end. I’ve already got the design in mind and will fabricate it as soon as I get home.

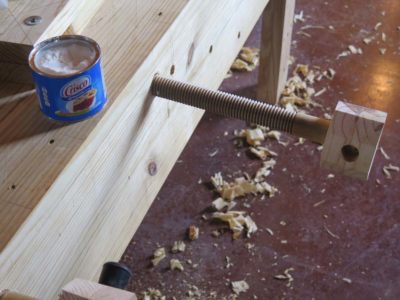
Soon the holes were drilled and threaded and the screws lubricated and tested in them.
The double-thick jaws were laid out and drilled with a drill press that was brought over from the shop and the vises installed.
After this the Moxon vises were a cakewalk.
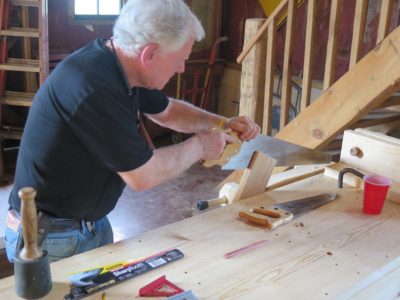
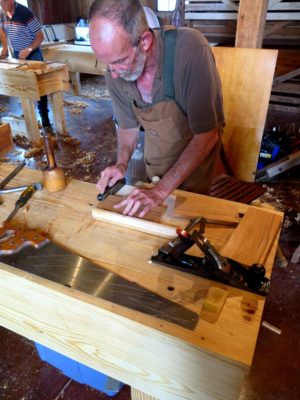
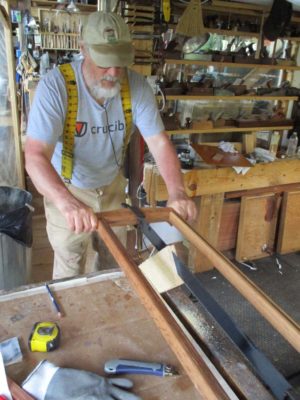
The benches were then given their first real workouts with the resawing, ripping, and crosscutting of the pieces for the winding sticks and planing stop. All variety of saws were employed, with my giant c.1800 two-man frame saw the the new Bad Axe version receiving great acclaim.
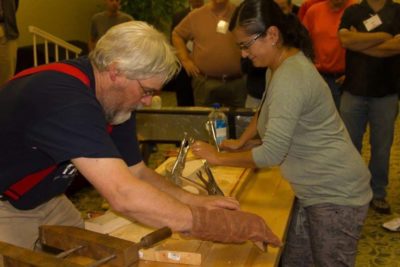
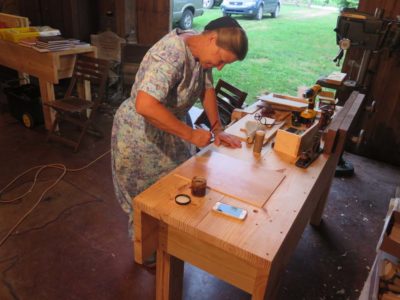
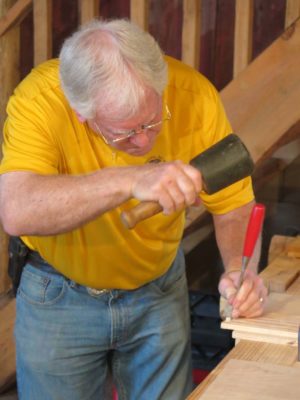
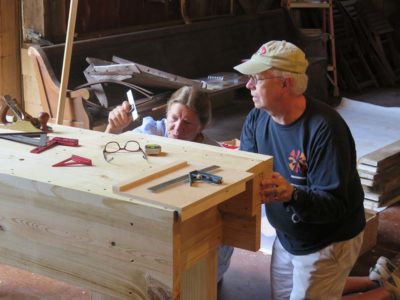
One of my treats for the day was giving Cam a lesson on saw sharpening. He’d finished up his work in the metal shop for the day and dropped in to see what we were up to. Being a skilled metal worker Cam took to it like a fish to water and the results were gratifying.
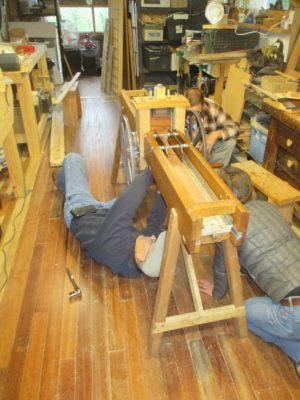
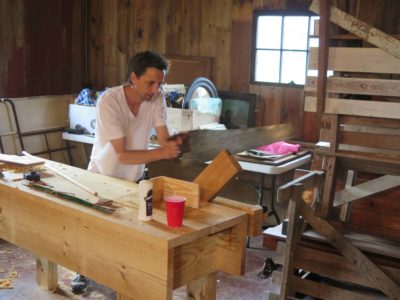
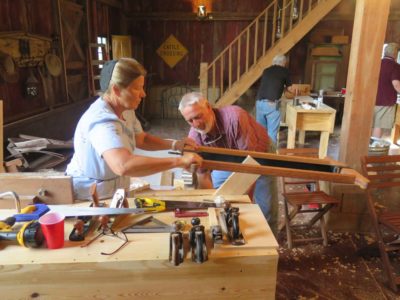
This is one of my favorite images for the week, with husband and wife working alongside each other in their own tasks. A profound model for us all.

With prep time barreling down the rails, and given the zero interest thus far in September’s workbench building workshop at the Barn I’ve decided to cancel that event and use the week for ripple moldings instead. It might be or might not be a reprise of last year’s First Annual Meeting of the International Ripple Molding Association or it could be just me and my friend John noodling on ripple cutters in the shop. I really need to concentrate on perfecting my machine and maybe building another one, and I’ve asked videographer Chris Swecker to mark his calendar just in case John and I decide to make a video as we make both the machine and the moldings.
If you might be interested in joining in, let me know.
The point of the week in Arkansas was not to make a workbench, well, not the only point, but rather to use it to undertake a series of activities that would allow the participants to begin integrating traditional hand tool work into their regimens. Fundamental to this is the ability to make lumber pieces thinner (resawing), narrower (ripping), and shorter (crosscutting). And since virtually no woodworking involves only a single monolithic piece of wood, multiple pieces had to be brought together via joinery. I tried a few test-run exercises in advance to see if they could work out for the students, whose level of experience was unknown to me. So, beginning with a piece of the select 4/4 x 10 SYP I bought a couple months’ ago I gave it a shot.

With an eye towards what could be accomplished in four days (remember, the first day would be as dedicated to making the workbench) I decided to have them first pursue a pair of winding sticks, which would emphasize resawing, ripping and truing, then make a planing stop. The first step was to use the kerfing plane around all the edges then resaw an 18″ piece of the 4/4 x 10 in half, yielding the stock for both of these exercises.

The Bad Axe frame saw has become an integral workhorse in my shop, and I am delighted to have this arrow in my quiver.
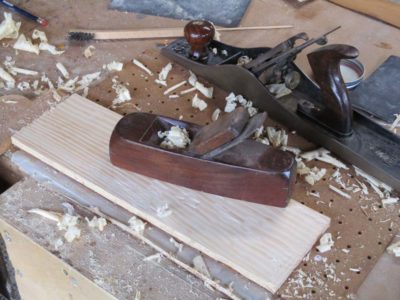

I planed the surfaces flat, then ripped one of the two pieces in half. By executing these process carefully and with precision the task of creating the winding sticks was nearly done. After all four sides of the two pieces were planed smoothly and placed against each other, then one of them switched end-to-end repeating the edge planing, both pieces were identical and parallel.
But I was not done with these two boards. I notched a doe’s foot in one end of each of them so that the winding sticks could serve double duty as clamping devices. Viola’, we have winding sticks plus.
The remaining resawn board was crosscut at the 2/3 point, and the ends shot on the bench hook (I also was going to have them make bench hooks but that was so simple I felt no need to emphasize that here). I dovetailed them together and the result was a planing stop to fit into the face vise of the bench.

My own every-day planing stop was made from cypress many years ago has been tucked underneath my workbench ever since, and I use it frequently.
I was pleased with the simple straightforwardness of these projects, believing it would take them about 1-1/2 days to complete. That would leave 2-1/2 days for something slightly more demanding.

Recent Comments