Shiny vs. Finished
As my Year of Metalworking unfolds I am drawing on lessons from my far distant past. About forty years ago I started a stint working with Don Heller, Silver Objects Conservator at Winterthur Museum. A gruff, curmudgeonly fellow with a heart of gold, Don spent a lifetime as a traditional silversmith before coming to the museum. While most of his job was caring for the stupendous collection of silver artifacts in the museum, a much smaller component was teaching the graduate students of the University of Delaware Art Conservation Graduate Program (I was the first recipient of the undergraduate degree from the same program). Don was constantly vexed by a student or two who only wanted their projects to be, “shiny, not finished.” By this he meant that they wanted to short-cut the process instead of working systematically through the time honored practices of moving deliberately through the steps of getting from Point A to Finished. Instead they would simply make it “shiny” while leaving behind all the marks of the intervening processes, marks that needed to be removed in order for it to be “finished.”
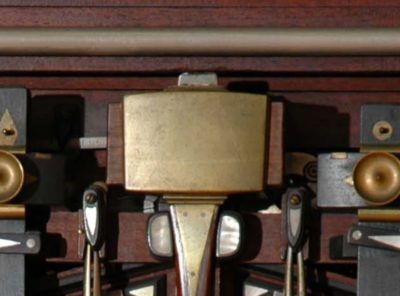
I am once again reviving those lessons from Don in working the shell castings for the Studleyesque infill mallet heads. When they arrive the side surfaces have been cleaned of their cast texture, but that is just the starting point for me. (NB – My assessment of Studely’s original is that the surface is essentially straight from the sand mold, lightly cleaned. Whoever cast the shell was a genius.)

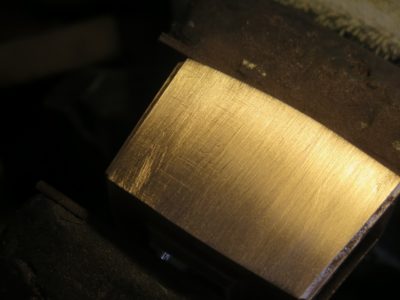
Harkening back to Don’s instructions I step through ever finer abrasive papers to get to the point I want. I do this by first using 80 grit working perpendicular to the pattern left by Bill Martley in his cleaning of the original casting. When I get to the point that none of the original “direction” from Bill is evident I can move to the next step with a finer abrasive.
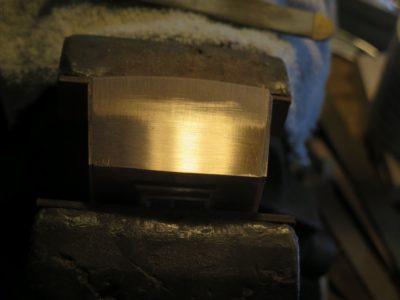
Then I switch to 150-grit paper, working perpendicular to my 80-grit pattern until all the 80-grit markings are eradicated.
Then 220-grit, perpendicular to the 150-grit until all the 150-grit tracks are gone.
Then 320-grit.
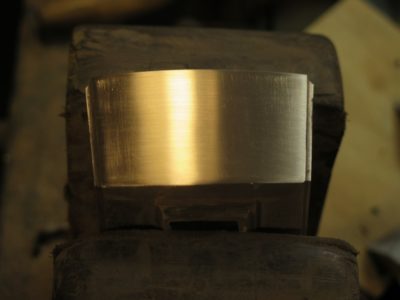
Then 400-grit.
Then 600-grit. And all the evidence of the previous steps has been eradicated, but that absence is proof of their being executed. Finished, not Shiny.
At this point the surface is ready for my final treatment of it.

Yes, that’s obviously a good way to do it — now that you’ve explained it even I can see that :-)
Reminds me of how I’ve improved my edge-honing skill / system this last year; I’ve been playing around with 3M self adhesive abrasives on glass and started using honing guides after 30 years. I work through the grits for the various bevels and the only way I’m able to gauge my progress is by the sheen / luster / shade of gray on the facet I’m working on – and by feeling how much the finished edge wants to cut me.
There is something alluring, something deliciously delectable about shiny bronze, tho’. For anyone attracted to this sort of deviancy I can recommend Chris ‘Clickspring’s’ YouTube channel. He’s the Australian guy who’s built a replica of the Antikythera Mechanism and his polished & blued fastenings are just … well, see for yourself.