I recently went through my inventory of tordonshell to see about matching some for a friend’s project.
I can make it pretty much any way I want, matching almost any pattern or dimension required.
At this point I am always working out the finer details, such as toughness, longevity and so on, and experimenting with different chemicals to perform the same functions as those I use already. One of these days I hope to derive the perfect method for re-creating traditional tortoiseshell guitar picks.
If I get all the compewder stuff right I will post my 2003 article on the subject early next week. I have scanned it and am now formatting it and trying to get the transfer to the host server right. Wish me luck.
You can find the background on this initial offering by Barn Attic Productions/Seed and Fruit Media here along with the first episode.
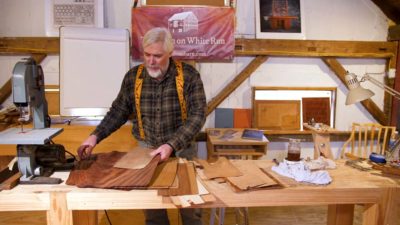
In this episode of my recitation and demonstration of the techniques I use to undertake sensitive veneer repairs — sensitive to the artifacts, not your feelings — such that the compensation (that’s museum-ese for “repair”) is visual harmonious while leaving the maximum of the artifact fabric intact, I demonstrate and discuss the importance of three things: grain, grain, and grain.
If your conscience is pricked by viewing this for no cost feel free to click on the “Donate” button, any proceeds from which will go toward enhancing the rapidity of producing new videos. For those of you who have already shown that generous spirit, I am deeply appreciative.
Recently I have been spending some time trying to impose order and completion to the Barn library, which might be a fancy way of saying I have been throwing away boxes full of paperwork from my career at the Smithsonian. My departure was six years ago, and at this point I am pretty certain I no longer need any organizational files from that era. As a result I have about a dozen cubic feet of fire-starting material.
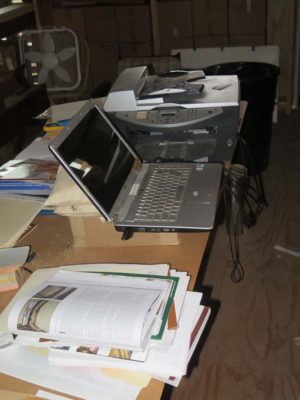
An unexpected(?) result of all this commotion has been that I’ve (re)discovered a number of things I have written over the years. Not Schwarzian by any measure, but a fair pile nonetheless. Articles in magazines, chapters of books, handouts for presentations, and monographs for newsletters, etc. While the Writings page of donsbarn.com already has a goodly number of these missives, there are even more that have not arrived there yet. So I have set up my ancient laptop and scanner to capture these electronically and make them ready to post both on the blog and in the “Writings” section.
I should have the first one ready to go in a couple days, and hope to post a new one each week.
Oh, and I am working on readying some more material for the Shellac Archive as well. I still have a full “banker’s box” of material to scan. All tolled I have about 8,000 pages of shellac stuff.
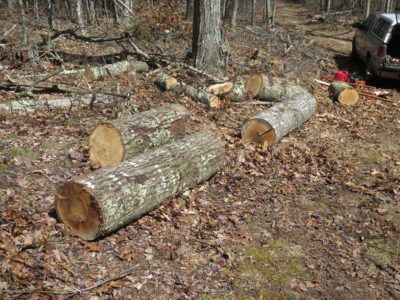
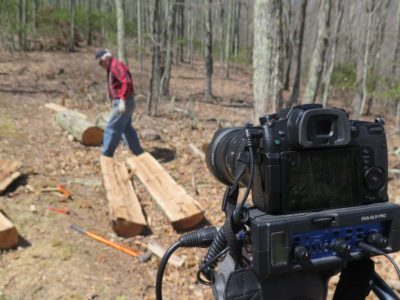
In concert with both ongoing firewood harvesting and shooting a video Building A Gragg Chair I replicated some of the work undertaken at my neighbor Bob’s house five years earlier, this time with oaks felled up the mountain from the barn. There were three large trunks that had nice lower sections and and one smaller but straighter one about fifty yards away, set-aside for the harvesting efforts. Interestingly the larger trees, grown in a dense forest setting, were quite problematic with lots of wind and interlocked grain. My yield from them was about a quarter of what I got from Bob’s “urban” trees. I have no explanation for this phenomenon.
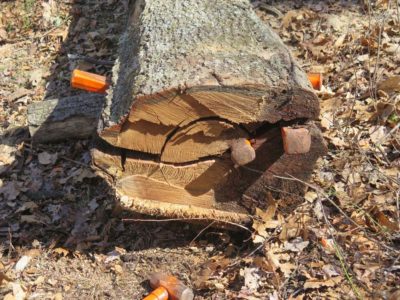
The largest of these trunks was also the largest disappointment. While seemingly sound and straight, the first split caused me to go, “Hmmm.”
As the splitting proceeded the disaster was readily apparent as the entire trunk segmented into an interlocked mass of uselessness, and ate all of my wedges and guts to just get torn apart. The pieces were cut into short bolts for the firewood splitter.
The two smaller of these three trunk sections were better, but still not great. The wood was straighter and more sound, but with more interlocked grain than I expected.
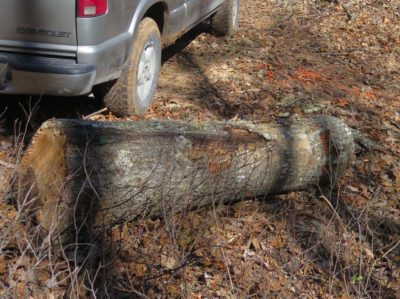
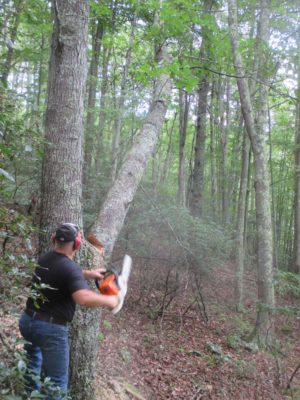
The smaller, straighter trunk was, I hoped, a somewhat different story. It had grown in very tight setting, much, much more crowded than the larger trees and the grain showed it. I was hoping it was more promising than the first trunks, which mostly wound up as firewood. More about that later.
I guess it says something about the nature of life in the hinterlands, I literally did not remember that yesterday was Wednesday and posted the wrong thing. — DCW
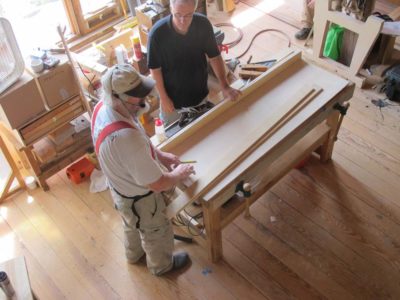
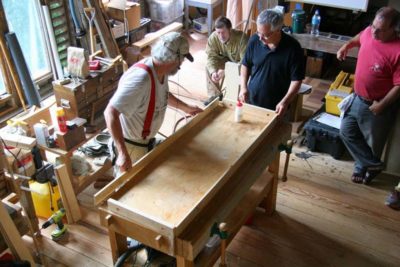
At GroopShop 2014, which I hosted, the program included BillR and me building him a high performance portable workbench similar to my Workbench #2. The portable bench is strictly a power tool project, for the most part I used my cordless power tools, a pneumatic crown stapler and white glue.
This bench has several improvements over the original, and on Workbench #21(?) I take the concept even further in several respects.
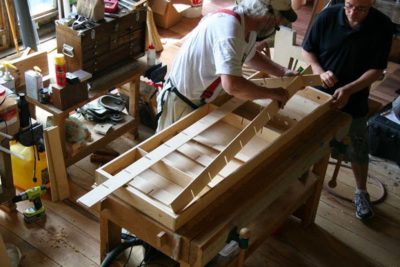
One of the primary modifications for this bench was to extend the length to a full five feet rather than the earlier four foot length, we kept the two-foot width. This not only provided a larger work station BillR needed for his project but also made the alignment of the legs much simpler. They simply abutted each other at their feet when folded as opposed to being off-set so they could be folded side-by-side in the initial effort. We used Tom’s bench as the platform for building this one, it was perfectly flat and the same size as what we wanted.
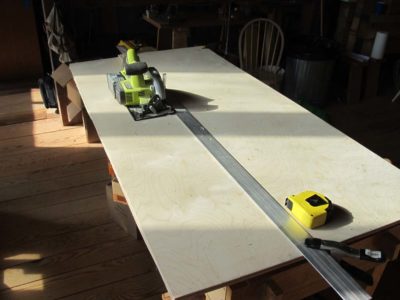
Another change was moving to 1/4″ thick ribs rather than 3/8.” The 1/3 reduction in rib thickness had no effect on the strength, that was all the result of the web height for the rib. So now the whole thing could be made from a sheet of 1/4″ baltic birch and a few pieces of 1/2″. I ripped the faces using my cordless saw and a straightedge, then ripped all the ribstock from the remainders.
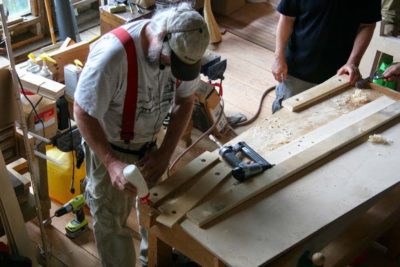
The perimeter was still made from 1/2″ b.b., with the ends doubled since I wanted to make this retrofit-able with twin screws vises. I pre-drilled the holes for the eventual tapping before I began assembly.The half inch edge stock made it simple to use a crown stapler to assemble the outer edges and make whole thing simple to build.
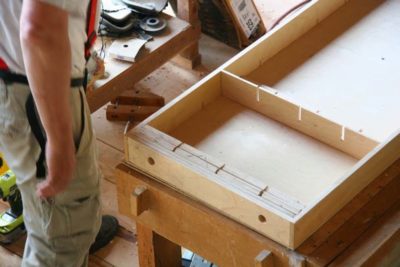
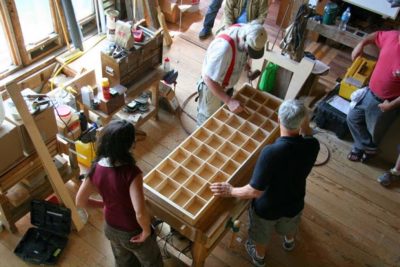
I also pre-drilled the holes for the vise screws to pass through the ribs.
We dry-fit all the ribs and were ready for assembling the top. The last step before that was to mark the location of all the ribs on the underside of the face.
More next week.
(Thanks to JoshuaK for all the preceding pictures.)


Recent Comments