I’m pretty convinced of the efficacy of hanging tool cabinets versus a floor-level tool chest. As I was setting up my studio on the barn I had a pile of large surplused drawers and made two of them into a tool cabinet for my Japanese tools.
A few weeks ago I finally had to admit, “Well, this isn’t working.” Not only were the drawer/doors too big for easy access, the space in front of them was simply too convenient for me to pile stuff there, blocking the door completely and rendering the interior tools inaccessible.
Something needed to change, and it was a “one of these days” moments.
Many years ago I was contacted by a lady who was cleaning out her late father’s garage. In it was a box she thought I would find interesting and useful. Apparently back in The Depression he owned a factory/warehouse building and one of his tenants, a pearl button maker, simply disappeared, leaving behind all his inventory. She said it was a box of pearl button blanks and offered it to me provided I pay for postage which I gladly covered.
I arranged for the shipping through parcel delivery service and waited for the arrival of what I figured would be shoe-box size of who knows what. Much to my astonishment two weeks later a two-foot cube of a box arrived filled with a couple hundred thousand pieces of mother-of-pearl!
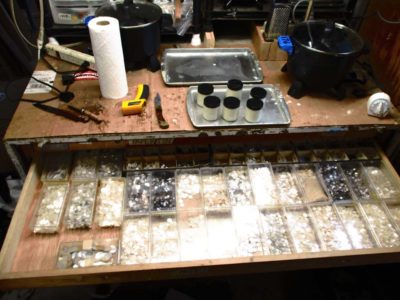
I sorted it into storage containers which now fill three drawers of my large map case. I haven’t done much with it other than that and using it for the occasional inlay, but perhaps the time has come for me to inventory it more completely and offer it through the donsbarn.com store. There’s no way I can use it all.
Recently when I left the barn to head down the hill for lunch I was struck by the brilliance of the noonday sky, and the apparently perfect conditions for contrail formation. It is unusual to even see more than one jet airliner every couple of hours, so the sight of a couple dozen contrails was noteworthy.
Saturday was a chilly, wet morning but Mrs. Barn, Dr. Barndottir and I joined a group of our oldest friends, and several thousand others, laying Christmas wreaths at Arlington National Cemetery. It was both a sobering time of reflection on the last full measure of devotion by those who wrote a check and signed it with their blood, and a joyous time of fellowship with friends.
Now that we are a good month into wintry weather here in the hinterlands we have at least a few data points for evaluating the work on the cabin over that past year.
Last January I hired a local electrician/chimneysweep/handyman/spelunker to work with me to insulate the walls of the crawlspace underneath the cabin (actually he did the overwhelming proportion of the work, mostly because he loved squirming around in the spaces where I would not even fit). We also installed a heavyweight vapor barrier and a sump pump to lower the moisture encroachment and empty the pond that had been constructed underneath the kitchen.
Then, over the summer we had the log cabin portion of the home re-chinked, which involved chipping out the thousand linear feet of c.1965 chinking that had been done skillfully but improperly. The new chinking both enhanced the aesthetics of the cabin but also, as we hoped even more, would provide a much “tighter” envelope for the domicile. Given that we live in a windy region and in previous winters we could literally observe tissues in the living room waving in the breeze on a stiff winter night, anything to slow down the wind through the house was a good thing.
The effects on the home are notable, one curious and the other remarkably beneficial. As to the first, the subsequent “dry out” of the crawl space resulted in shrinkage of the sub flooring and thus buckling the underlayment beneath the vinyl flooring. As a result I will almost certainly have to re-floor the new part of the house (c.1985), probably with some selection from the tongue-and-groove bamboo menu.
As to the issue of tightening the log cabin front half of the house, it is nothing short of astoundingly good. There is no observable flow of air through the space. Admittedly, we have plastic taped over all of the c.1985 triple-track windows (which provide excellent ventilation open or closed) we hope to replace with high efficiency units this coming summer.
Combined, all these elements result in a cozy home for the first time since we bought it two decades ago. It has always been charming, but now it is cozy, too. Mrs. Barn is now comfortable walking around the house in normal attire and footwear rather than bundled with multiple layers of wintry clothing. One important outcome for me is that we will probably only need about half as much firewood as before. A full morning charge in the wood stove’s large firebox suffices pretty much for the full day, adding only the occasional piece of firewood from time to time, and a second full charge at bedtime will keep the house warm though the night. In previous winters I needed to load up the stove again late in the after noon then get up around 3AM to re-load the wood stove in order to be comfortable in the morning. Now the house stays about 68 degrees through the night with a nice bed of glowing coals ready to start up again first thing in the morning.
My routine and rhythm of life in the shop has been disrupted for the past three months due to travel, processing firewood, and running back and forth to work on the house with the termite damage. (In fact I have not spent any quality time working in The Barn since early September)
The damage itself was both isolated and pretty straightforward to repair, but we decided it was time to replace the 35-year-old cedar shingle panel siding on the house. Two loads were soon on-site, the trim lumber (I would salvage all the trim I could but bought enough that I could replace it all if needed) and a palate full of shingles. Bought any premium cedar shingles lately? I had not bought any for many years and the sticker shock was breathtaking.
When opening the exterior wall of the first encroachment I found what I expected. Much to my delight the damage was confined to the area immediately under and adjacent to the one window. The framing around that window was pretty much shot and the wood frame of the vinyl clad window was lightly riddled but still structurally sound (we were not so lucky with the window on the other side of the house).
I took out the window and executed my standard epoxy consolidation protocol, namely soaking the affected area with West System epoxy diluted 1:1 with acetone for greatest penetration, then following that up with straight epoxy, and finally, if needed, epoxy bulked with wood dust filler.
I removed all the affected materials and burned them out in the fire pit and began the reconstruction. Needless to say everything was borated to the max, repeatedly. Fortunately I was careful enough to leave the interior fabric intact, needing only to remove the trim around the window. I would have been grieved to need to remove all the interior sheetrock.
But soon enough the repair in that area was completed and a carful check of the rest of the wall revealed only one area at the corner needing a little attention from a tiny smidge of rot, about the size of a golf ball right at the corner where the side wall and front wall met. There was no structural compromise, but I still impregnated and filled the area.
Then it was off to the races with the new cedar shingle siding.
One of the great joys of living in the mid-Atlantic region is the 42-year-old organization known as The Potomac Antique Tools and Trades Association, or PATINA, which meets every other month in McLean VA on the outskirts of Mordor. I have had a long and fruitful relationship with this group and find their bi-monthly swap meet and demonstrations sessions to be a genuine delight. Their annual mid-March flea market and auction near Frederick MD are worth the drive from wherever you might be coming from.
The recent PATINA meeting was the fulfillment of all that and more!
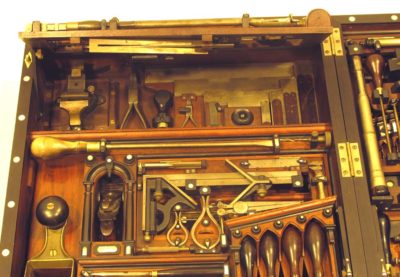
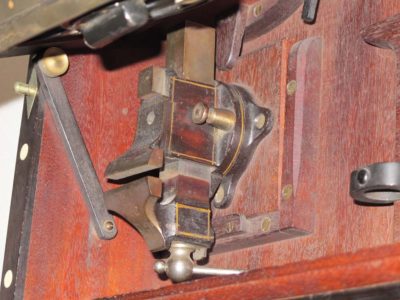
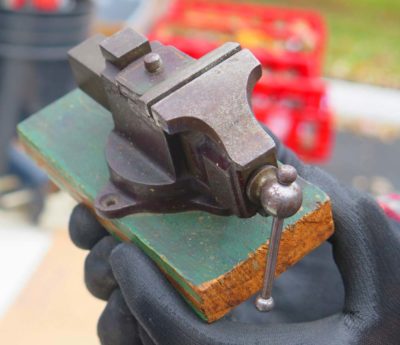
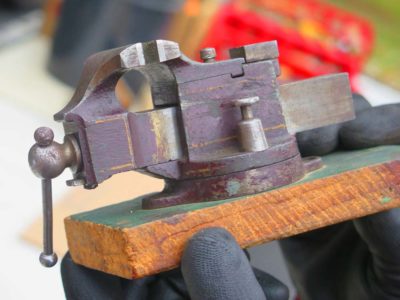
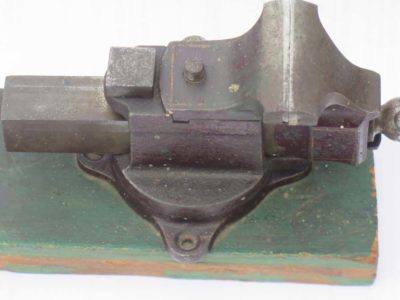
Let’s back up a year or ten, reflecting on my research into Henry O. Studley and his tool cabinet and workbench. Experiencing it, up close and personal, it is even more spectacular than can be captured in images. The nooks and crannies can be appreciated only in 3D in real space. One of the tools it contains is this little 1″ x 1″ Prentiss vise mounted on a Cuban mahogany block, tucked up away and entirely out of sight to the normal viewer. I love this vise and have been looking for a sibling without success since I first saw it almost a decade ago. I’ve been in the neighborhood a time or two (more tomorrow) but never found the exact house address.
Thanks to the ongoing project at our daughter’s house near Mordor I was in town for last Sunday’s PATINA meeting and flea market (I bought a few useful items).
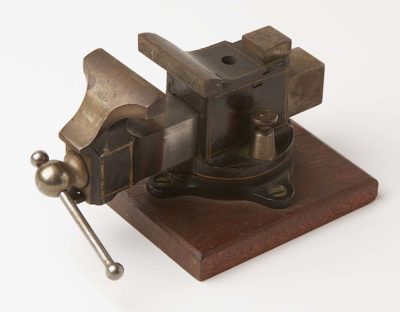
And then my friend JohnD summoned me over to his table. A fellow named Kevin had strolled in and showed him this. John knew what it was and also knew I would pop my eyes. I did.
Holy cow!
I offered him five bucks cash, no questions asked. He declined. I think John was dickering with him for a while. I would love to own this but cannot justify the money it would take to reach a fair price. But at least I got to look at it closely on this grey, drizzly day.
You just never know what you will find at a PATINA event!
Friday was a combination of several benches going together, others being palletized for shipping home, and the completed ones going into vehicles for transport home.
Early in the day the push was on to get together as many criss-cross leg vises as possible.
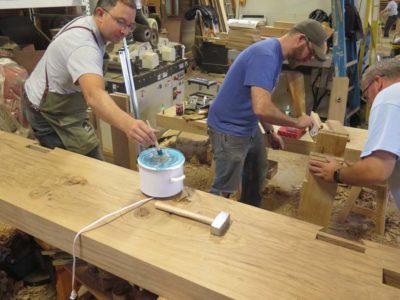
Once that was done it was time to merge the legs and the top. One group used hot hide glue as a lubricant and adhesive for the joints, even though the latter utility was/is superfluous.
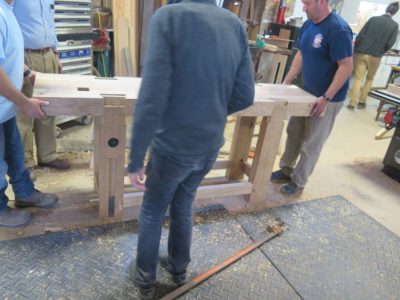
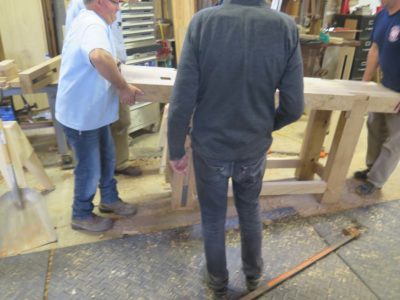
But for most, it was a simple process of placing the top over the leg tenons and rocking the entire unit up and down, switching from end to end. Slamming the entire mass down eventually drove the top mortises onto the leg tenons soundly.
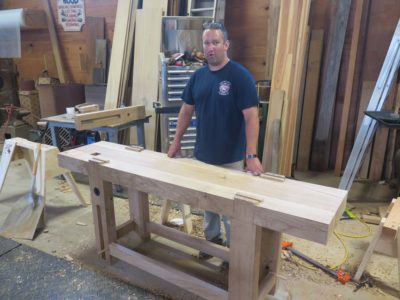
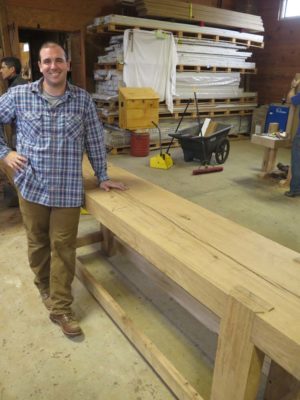
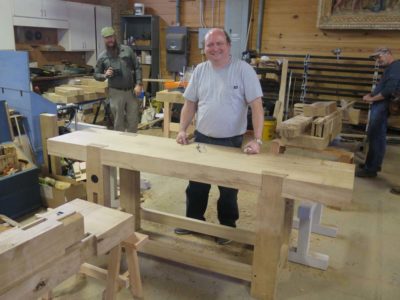
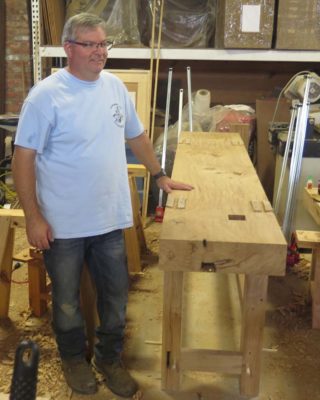
There then began a round of slamming tops followed by proud portraits of the makers and their new benches.
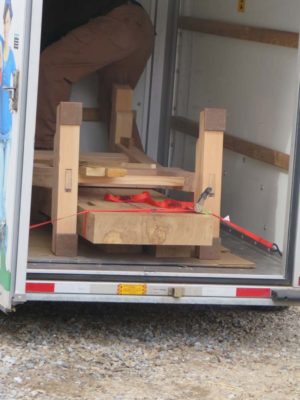
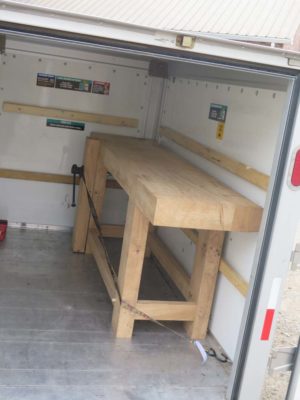
And out the door they went, some on to trucks, others into trailers, and some on to pallets for shipping home.
By 2PM the place was pretty much emptied and the tidying began. Then all of a sudden another FORP was finished.
I was recently watching some videos on shop layout and came across my friend Stump Nubs’ hilarious riff on the constant need for many of us woodworkers to tinker with our shop layout.
You just might enjoy it and laugh just like I did.
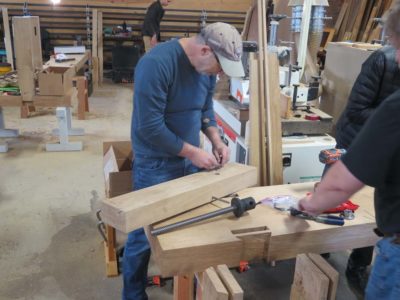
Day 4 of FORP III was another one of feverish work as the participants were striving to start putting their benches together. Which meant, of course, the final fitting of all the joinery.
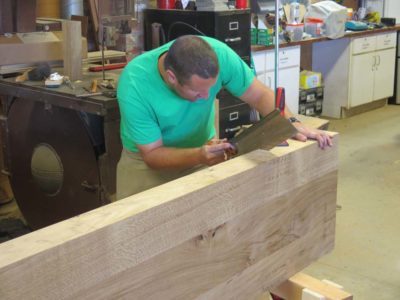
One image that was prevalent during the day was sharpening tools to get the joints as crisp as possible; numerous sharpening stations sprouted around the room.
Another snapshot that amused me was this tray of analgesics that was emptied at some point in the day. This was hard physical work, the kind few of us were used to at this level of intensity.
The buzz of activity was the air that we breathed throughout the day.
One of the benches I followed ws the one being built by this father-and-son team, whose tool kit had not arrived for reasons I never quite knew. Nevertheless, I was pleased to make my own kit available to them and they put it to good and successful use.
Meanwhile around the room twenty tales were unfolding and moving towards completion.
This is one of my favorite pictures from the week, with Will providing some useful ballast to Horace’s bench.
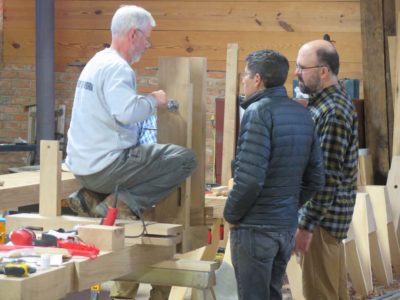
Jameel and Jeff provided the real-time, real-space tutorial on installing the Benchcrafted criss-cross leg vise that was part of the package of every bench.
Tim the mechanic was the first guy across the finish line, and hearty congratulations abounded.
John and Phil were next to finish, and I think this will be a treasured family memory for generations yet to come. The excitement was rising for another half-dozen benches ready to assemble Friday morning.
That evening was the open house with a cajun stew for supper, and my Gragg chair on display or anyone who wanted to give it a try.















Recent Comments