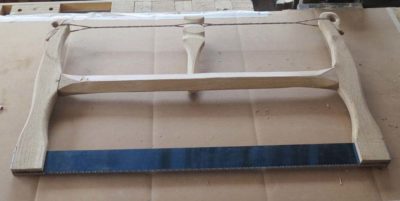
Aside from the fact that my first effort in producing a joinery bowsaw based on the Bad Axe saw plate didn’t look like Roubo’s, only one of several features rendering this prototype useless to Mark in designing a production run, it was way too heavy at over six pounds. That extra weight was fine for when the saw was engaged but sure was a nuisance when trying to maneuver it in between cuts.

So, I went back to the starting point and recut all of the wooden elements to both be slimmer and look like the saw Roubo illustrated in Plate 12, Figure 3. In the end the only dimension that remained unchanged as the length of the saw plate. Everything else was thinned, widened, thickened, or narrowed as I felt necessary.
The resulting weight reduction of almost 25% was noticeable immediately.
I literally enlarged this image to almost life size when creating the template. Again I used some of my stash of clear white oak left over from the fabrication of the Studley bench top for that exhibit five (!) years ago.
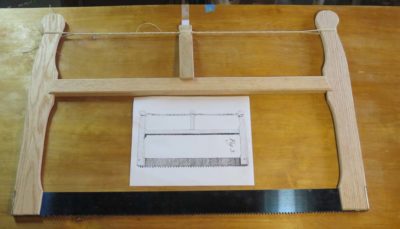
The cutting and configuration was straightforward in the gross sense, but I spent a lot of time getting the template for the end pieces just so, reflecting the illustration Roubo created for the tool. This is a tricky proposition, as the proportions and details of tools are not always perfect (see Plate !! for confirmation) but it had to be closer than the Art Nouveau-ish version I created for the first one. Once I was happy with the shape and proportions of the arms I made a solid template from which I could make as many tracings as I wanted.
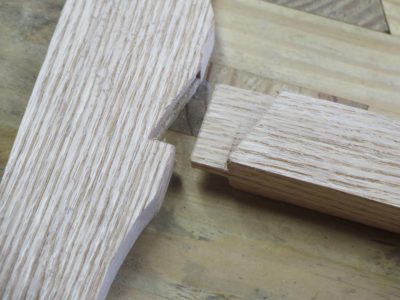
Of particular interest to me was the juxtaposition of the stretcher to the end arms; the only way the saw made sense in the flesh was to have the stretcher be notably thicker than the arms. So that is how I made those three pieces. In the end I made the stretcher about 1-1/16″ and the arms 3/4″. I fussed over this detail for a couple weeks.
Notching the arms to receive the stretcher was also an issue as I had to make sure the strength of the arms was not compromised by too large a mortise. I accomplished this by making sure the loose mortise-and-tenon assembly was quite thin, just a bit over a quarter inch and shallow at a half inch. Since the joint’s only purpose was to keep the pieces in alignment that worked out just fine. All the stress was in compression so the tighter the windlass was turned the more solid the bow structure became. Unless, of course, it broke. Hence my fussing.
But that was not the worst of it as noodling and fabricating the stirrups for the end of the saw plate was way more problematic.
Stay tuned.
Some time ago I was asked by Mark Harrell of Bad Axe to build production-able prototype versions of the bow saws Roubo featured in L’Art du Menuisier, Plate 12, Figures 3&5. He was considering adding them to their product line and I was delighted to collaborate with him as I would be with any tool producer.
My first effort two years ago resulted in some success but some failure, so in recent weeks I have been trying to extract more of the former and expunge the latter. My first attempt yielded a prototype that was unsatisfactory in the important aspects of the tool; 1) it was way too heavy, 2) did not look anything like what Roubo described and illustrated, and 3) had plate fittings wholely unsuited for manufacturing (yes, I know I spell wholely different that the dictionary; the dictionary is wrong). So, I went back to the bench and started all over again.
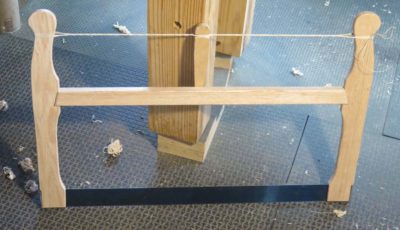
In the coming days I’ll walk you through my successful attempt at Version 2 of the Joinery Saw..

I am delighted to report that after a few weeks of being out of stock, as of ten minutes ago I am now replenished with Model 296 polissoirs and they will begin shipping again immediately.

Ditto the whisk brooms.
Friday was a combination of several benches going together, others being palletized for shipping home, and the completed ones going into vehicles for transport home.
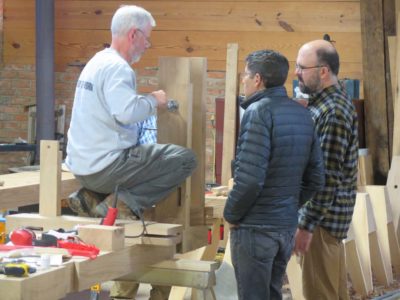
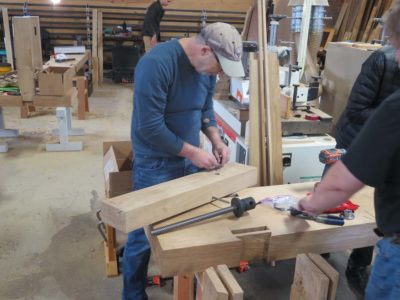


Early in the day the push was on to get together as many criss-cross leg vises as possible.
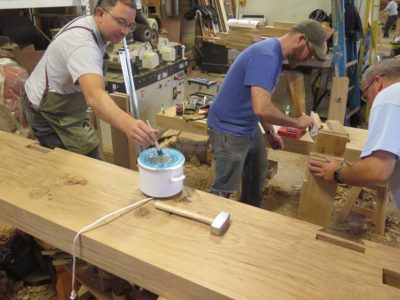
Once that was done it was time to merge the legs and the top. One group used hot hide glue as a lubricant and adhesive for the joints, even though the latter utility was/is superfluous.
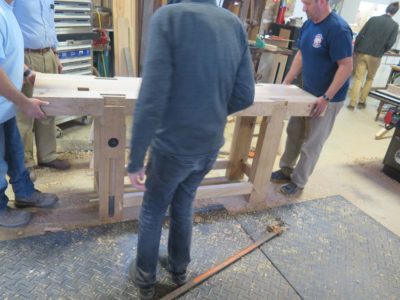
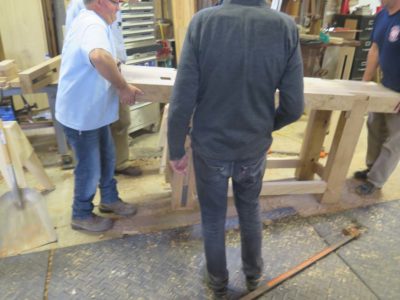


But for most, it was a simple process of placing the top over the leg tenons and rocking the entire unit up and down, switching from end to end. Slamming the entire mass down eventually drove the top mortises onto the leg tenons soundly.
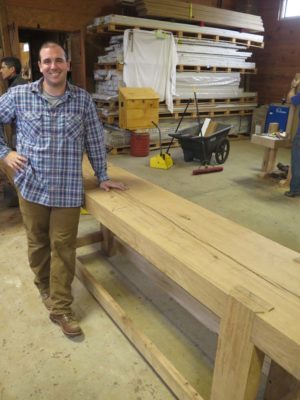
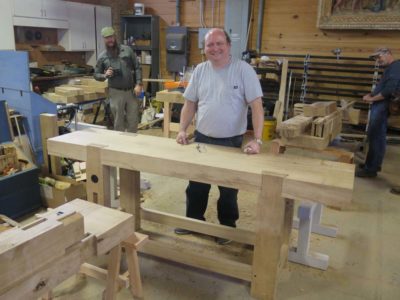
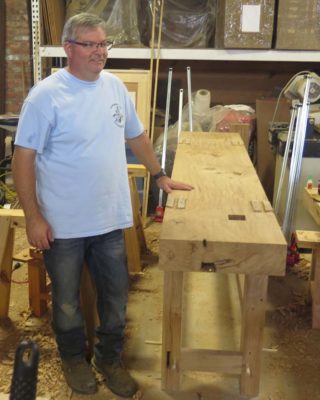
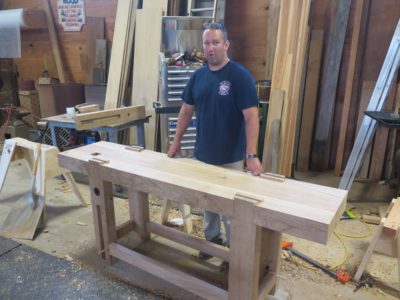
There then began a round of slamming tops followed by proud portraits of the makers and their new benches.

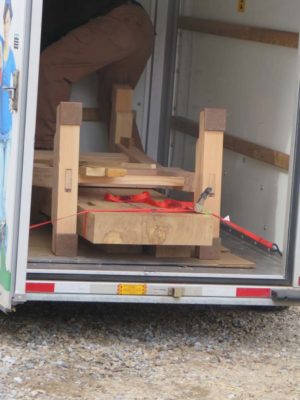
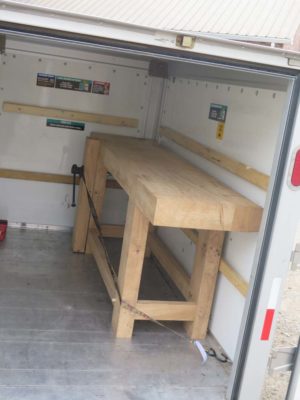

And out the door they went, some on to trucks, others into trailers, and some on to pallets for shipping home.

By 2PM the place was pretty much emptied and the tidying began. Then all of a sudden another FORP was finished.
Day 4 of FORP III was another one of feverish work as the participants were striving to start putting their benches together. Which meant, of course, the final fitting of all the joinery.

One image that was prevalent during the day was sharpening tools to get the joints as crisp as possible; numerous sharpening stations sprouted around the room.

Another snapshot that amused me was this tray of analgesics that was emptied at some point in the day. This was hard physical work, the kind few of us were used to at this level of intensity.


The buzz of activity was the air that we breathed throughout the day.


One of the benches I followed ws the one being built by this father-and-son team, whose tool kit had not arrived for reasons I never quite knew. Nevertheless, I was pleased to make my own kit available to them and they put it to good and successful use.


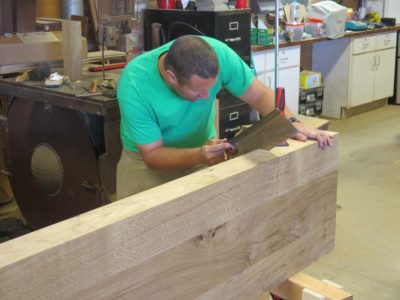


Meanwhile around the room twenty tales were unfolding and moving towards completion.

This is one of my favorite pictures from the week, with Will providing some useful ballast to Horace’s bench.

Jameel and Jeff provided the real-time, real-space tutorial on installing the Benchcrafted criss-cross leg vise that was part of the package of every bench.


Tim the mechanic was the first guy across the finish line, and hearty congratulations abounded.


John and Phil were next to finish, and I think this will be a treasured family memory for generations yet to come. The excitement was rising for another half-dozen benches ready to assemble Friday morning.

That evening was the open house with a cajun stew for supper, and my Gragg chair on display or anyone who wanted to give it a try.
Day 3 of FORP is pretty much an extended schizophrenic moment as the participants are settling into the routine of work and fellowship, knowing what and why they are doing what they are doing. The morning generally starts out smoothly with restrained purposefulness but as the day goes on there is a palpable edge to the atmosphere as the sentiment, “Oh crap, I’ve only got two more days to get this done,” wafts into the shop.
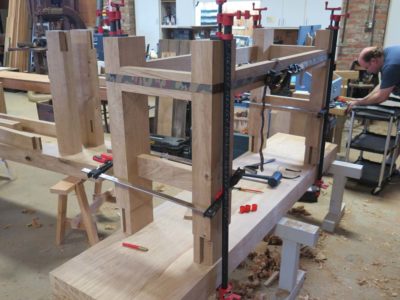
Wednesday was Mortise Day and the intensity was thick. At the beginning of the day everyone was first wrapping up their base assemblies so they would know where to put the mortises.

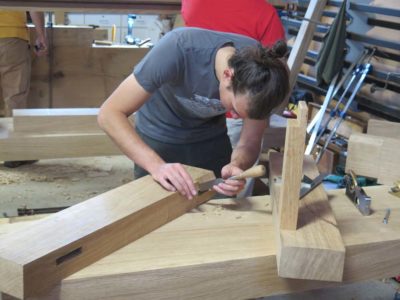
There was a fair bit of tenon trimming also, especially for the dovetailed tenon cheeks.
Oh, and lots of checking to make sure “square” was really square.

Around mid-morning Chris gave the sermon on executing the double tenons. There were two major steps and some folks did one first (sawing the outer dovetailed tenon) and other went the other way (drilling out the waste for the inner tenons).
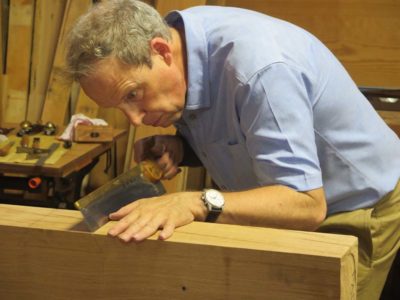
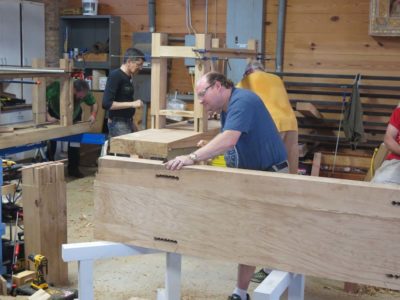
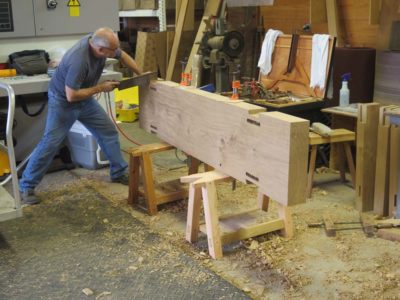
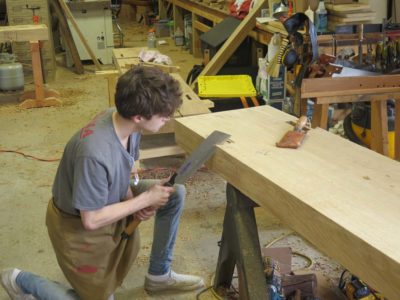

There was a lot of deep breathing as this was the start of irreversible steps. For the most part everyone had on their game faces for sawing the dovetail shoulders. Except for Brian #4 who was never more than a moment away from a hearty laugh. I think the class had something like five Brians, four Andrews, and three Tims.
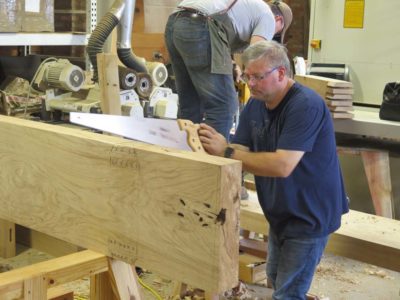


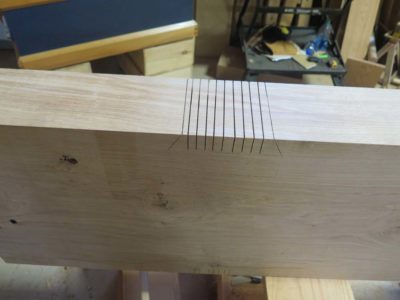

Once the angled cheeks were cut the waste was kerfed to facilitate removal.
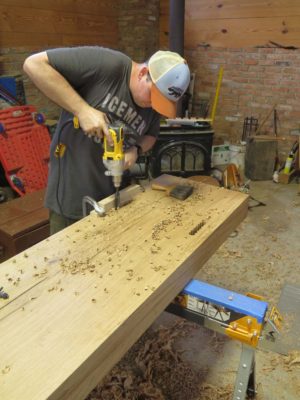

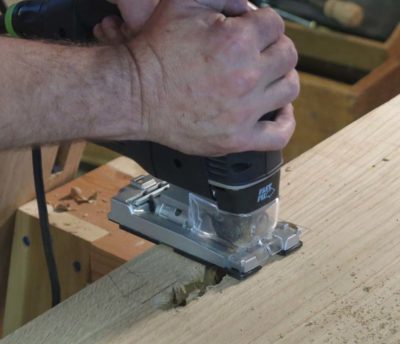
For the inner mortises the waste was drilled out and for many the edges of the joint were established with a saber saw, a technique I have never employed.


Then the chopping began in earnest.
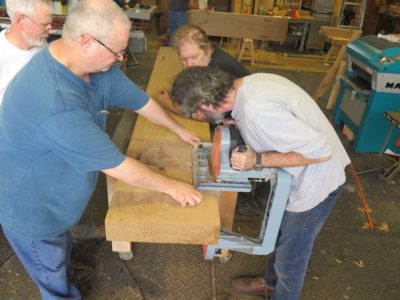
Somewhere along the line Schwarz encountered this beast of a hand-held bandsaw, using it to trim the ends of the slabs and kerf the outer mortises.
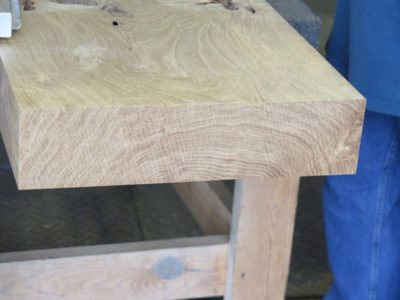
I included this picture just because the wood was so remarkable.

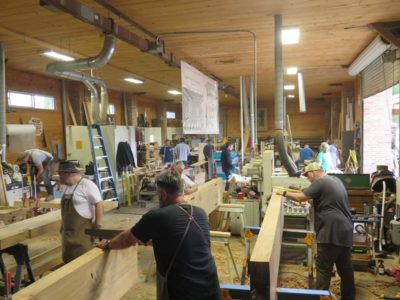
Yes indeed, the joint was jumpin’ this day.
I thought I had been told to arrive at 9 the first morning, so I did, only to find out that the first students arrived before 7AM to stake out their work stations and set up, so the bee hive was buzzing long before I got there.
As I came to learn throughout the week the students body was an amazing mix of folks; a chemical engineering professor, a video production entrepreneur, a lawyer/lobbyist, three professional woodworkers/furniture makers, a cybersecurity geek, a geophysicist, a playwright, a CPA, a custom floor maker and his furniture design student son, a fireman, a mechanic, an energy engineer, an electrician, a high-end custom home builder, a rancher, two surgeons, a military helicopter pilot, and maybe another couple of folks I cannot remember at the moment. There was no shortage of interesting things to talk about during meals and breaks.
Frankly put, the gallery of student set-ups was a dizzying cornucopia of horses and tool inventories, with the former ranging from old-school carpenter’s horses to sooper high tech devices the likes of which I had never seen.
Take a look.
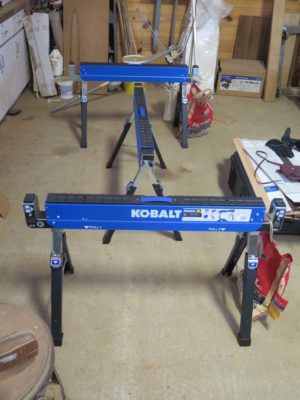

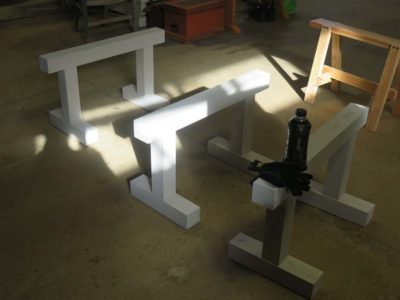
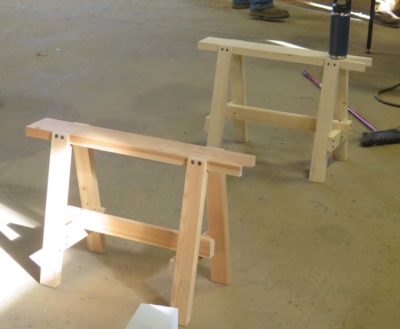


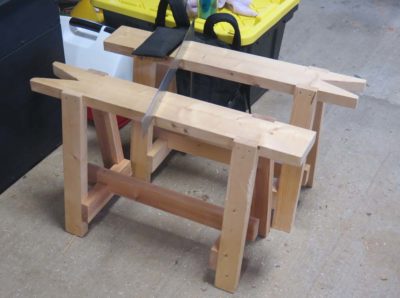


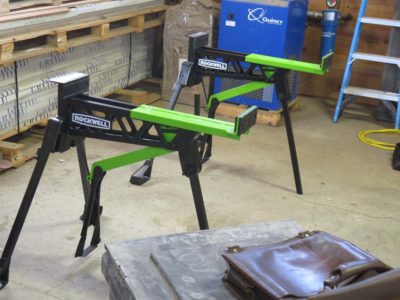
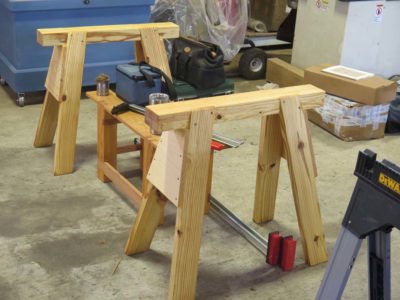


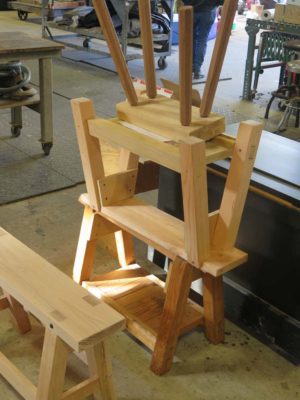

As for tool inventories and their containers they ranged from several ATCs and Dutch cabinets to plastic tubs to simple canvas bags. I’ll take a look at them in another post.
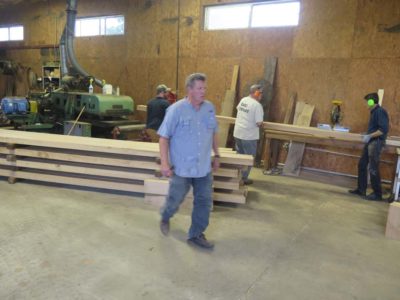

As I arrived the last of the bench tops were being fed through the Stratoplaner, the prehistoric minivan-sized machine that planed all four surface of the 300-pound slabs simultaneously. One by one these took their places in the appropriate work stations.
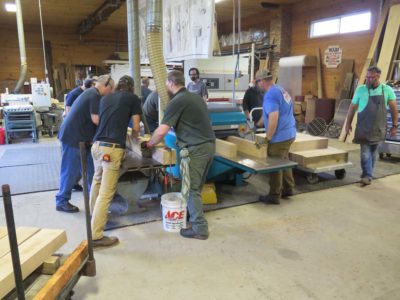
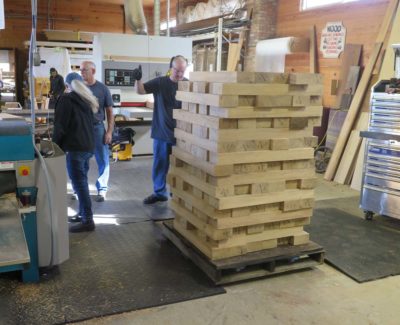
In short order the preparations for the 80 legs commenced.
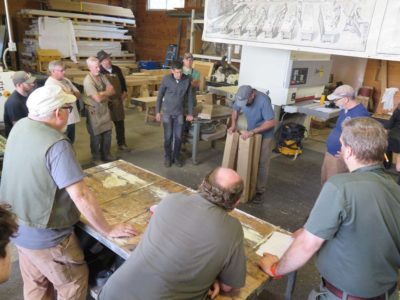


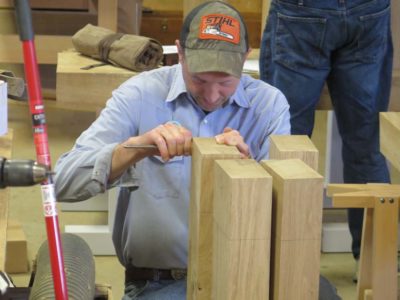

A quick tutorial on laying out the double tenons on the tops of the legs (and keeping track of them!) was followed by the soundlessness of eighty sets of tenons being laid out.

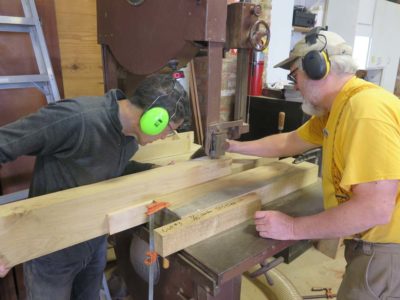
While that was underway Will Myers and Father John Abraham prepped the stretcher stock, and once again Jeff Miller and I tag-teamed to make jigs for cutting the tenon shoulders. Which we did. A lot.


As the day closed the air was filled with the sounds of wailing away on the valleys between the double tenons and the scriiitch of planing the edges of the tops square and true so the double mortise layout could be executed.
And that was Day 1.
We recently convened the third iteration of the French Oak Roubo Project in Barnesville, Georgia, chronicled at some length by the Brothers Abraham. It was even more frenetic than in the past as there were several more benches being built (21) and fewer instructing enthusiasts, so we were all a-hopping.
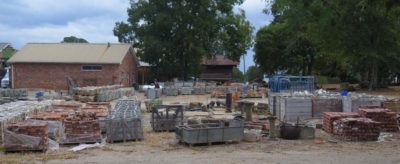
Once again our incredibly generous host was Bo Childs, a renowned importer of French architectural antiquities and manufacturer of uber-elite interiors in the style of the ancients. The setting is intoxicating with artifacts hundreds of years old scattered around the lot.
I arrived on Saturday night in order to put in a solid day of work preparing on Sunday. (Driving straight through downtown Atlanta at 8PM after dinner with dear friends was a real treat, at one point there were 16 lanes of traffic, none of them moving.) None of us like working on Sundays, preferring it to be a day of fellowship, meditation, and rest, but some times reality intrudes.


The Abrahams had already begun the stock preps several days earlier with Bo on the bandsaw (he is an artist with that thing) and those benches that needed gluing up were mostly already done.
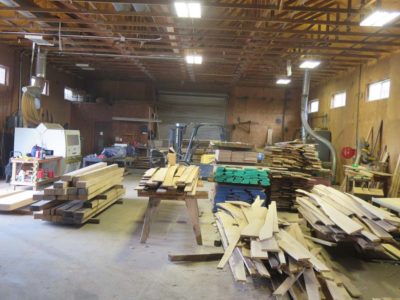
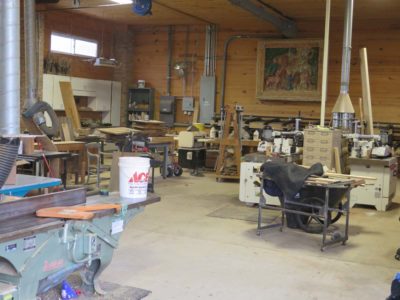
As the final bit of sawmilling and gluing-up was completed, the undeniable reality was that our work spaces for the coming week serve as a functioning commercial millwork shop the rest of the time and these spaces needed to have some discipline imposed on them.

Slowly the students began to trickle in and the piles of 5-1/2″ thick white oak slabs grew.
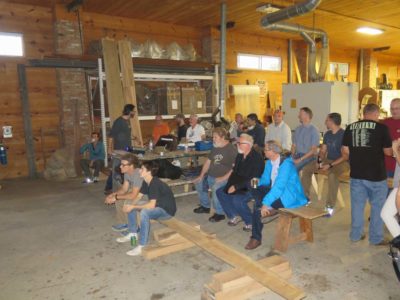
The festivities began at 6PM with a barbeque, and the The Schwarz took the stage to introduce the program of the week.
Two of the students from the recent workshop have posted photos on their Instagram pages.
LenR posted an impressive glamour shot, and JohnH posted an image of his entire collection, although just short of the finishing line. It was indeed a great weekend, and I look forward to actually getting my two sets finished next month. At the moment I am just swamped with other priorities.
I’m thinking of diving in to the Instagram swamp; I am so old fashioned that I think of “social media” being conversing or corresponding with an actual human. Silly me.
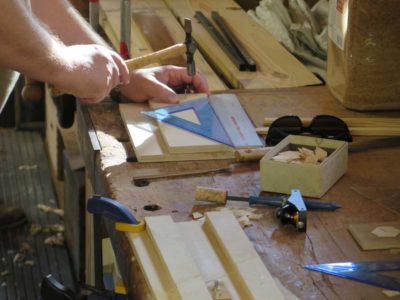
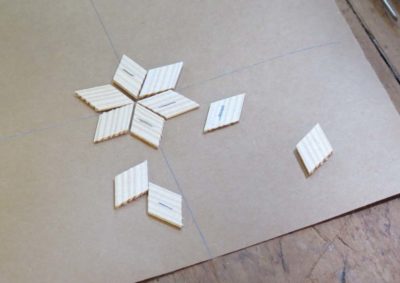
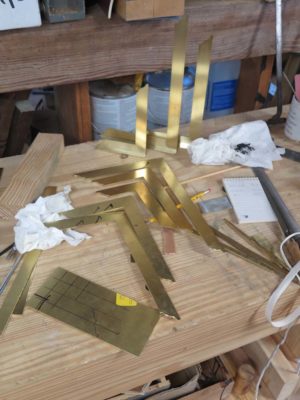
Given the prominence of 60-degree angles in the worlds of parquetry and Roubo benches, during the “Making Roubo Squares” workshop earlier this summer I made a couple of 30-60-90 brass triangles, as did the participants after I demonstrated the lesson they learned in seventh grade Geometry class: the hypotenuse is exactly twice the length of the base of this right triangle.

I finally got my first one ready for battle, albeit without the decorative flourishes I had been wanting. I simply did not have the time at present but car return to add them when I do get the time.
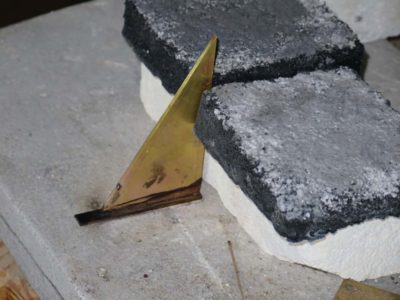

I soldered on the lip for the base, then just cleaned up all the edges and surface and it was ready for action.

Get to work, you triangle you!


Recent Comments