The complete 2018 Barn workshop schedule, which I will post every couple of weeks to help folks remember the schedule.
************************************************
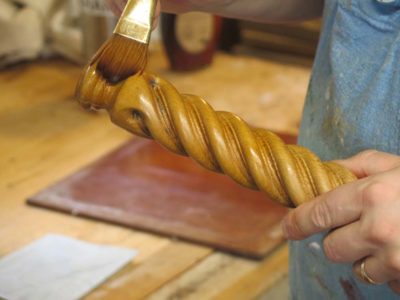
Historic Finishing April 26-28, $375

Making A Petite Dovetail Saw June 8-10, $400
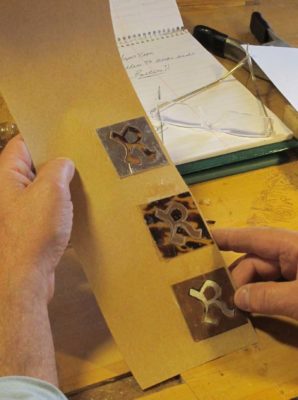
Boullework Marquetry July 13-15, $375

Knotwork Banding Inlay August 10-12, $375
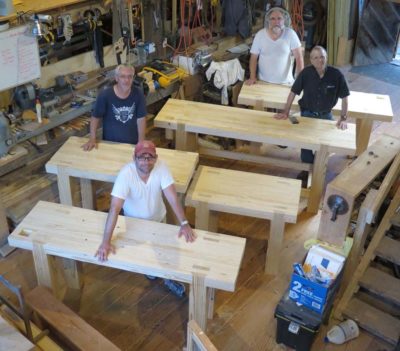
Build A Classic Workbench September 3-7, $950
contact me here if you are interested in any of these workshops.
I’ll get back to my recounting of WW18thC 2018 tomorrow, but for today I wanted to pick up the thread of the project to interpret an early 19th century mahogany writing desk.
With the full-size prototype built in southern yellow pine from my pile of bench-building stock it was time to move on to the real thing in mahogany.
But first I had to break my hip and lose more than half a year of shop time. One of my favorite jokes of all time involves a Calvinist who trips and breaks his ankle. “Finally,” he says, “I am glad to get that over with.” There’s nothing like some predestination humor to get the day started right.

As I wrote many moons ago I wanted to not only build the early-19th century desk with period appropriate technology, using power equipment only for “apprentice work,” I also wanted to use the best vintage lumber I could find. Casting my net as widely as possible among my circle of woodworking friends I was able to acquire small amounts of spectacular sweitenia from more than a half dozen sources. No single source was enough to accomplish the project, but en toto I obtained enough to build several desks, which I eventually will in hopes there are clients out there who want one.

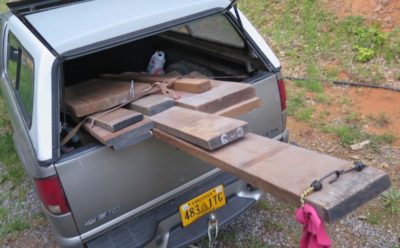
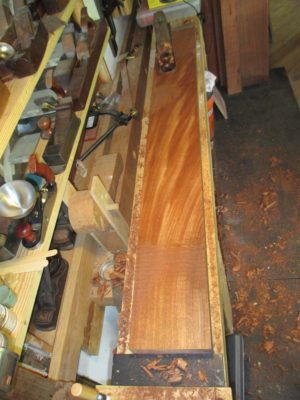
The most difficult piece to find was the single slab of 30″x 20″ 5/4 mahogany for the desk top. Three stalwart friends responded and soon I was getting quizzical looks from Rich the UPS driver as he pulled up with securely swathed slabs of wood. You can get a sense of the scale as I believe that is my #8 in the frame.
Perhaps the most surprising source for lumber was the orthopedic surgeon who repaired my hip. As we were meeting for my final “turn me loose” appointment he asked me what I was working on, and I told him about this desk project. Although I knew he was a decorative turner I had not known he was an enthusiastic furniture maker in years past, and he told me he had a storage unit filled with vintage lumber he had acquired over the years. A couple months later we got our calendars to intersect and I went to meet him there, and wound up buying all the mahogany he had. He told me that this stash could be traced back to pre-WWI sources and based on the quality of the lumber I believe it. Similar stories accompanied the rest of the acquisitions as the lineage of mahogany inventories lives on in perpetuity, it seems.
Since the writing box of the desk was veneered, having just the right board for for making those veneers was crucial. Fortunately that was one piece I had in-hand already, having acquired it perhaps forty years earlier at an estate sale for a woodworker who had no end of fabulous lumber. Alas I did not have the money to buy more than a few pieces, and this was one of them. I was saving it for just the right project, and this was it. This dense, hard, and spectacular Cuban mahogany was nothing but delightful to work with.

Ditto the flame veneers needed for the outside surfaces of the legs. I cannot even recall when I bought four slabs of crotch lumber, but they too were waiting for just the right project.
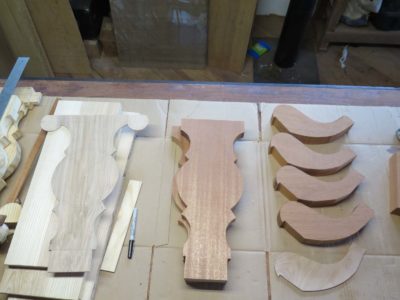
The structure of the desk was simple enough and I soon had all the pieces cut and ready for fitting assembling. But before final assembly could happen I needed to address all the hand-cut curvilinear moldings on the edges of the legs.
Stay tuned.
Renowned furniture maker Peter Follansbee presented two sessions at WW18thC, the first concentrating on the making of 17th century carved frame-and-panel chests, the second on making chairs. Peter looks like someone who planned on attending a Dead concert and found out he wandered into a woodworking shindig.
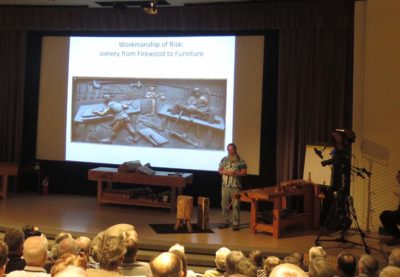
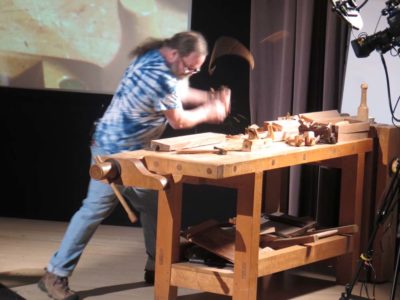


His comfort in front of an audience and well-deserved confidence in his ability is heartening. And his artistry with carving flows from his hands naturally, seemingly effortless.

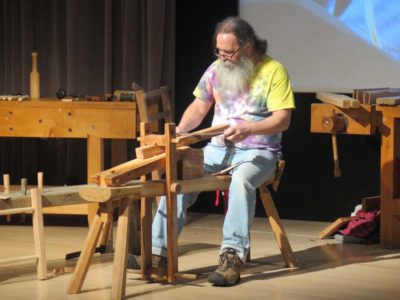

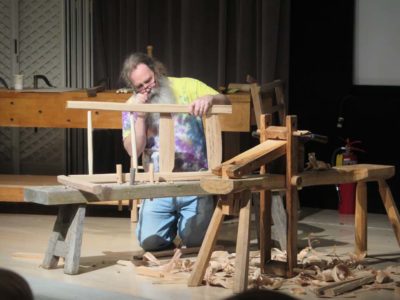
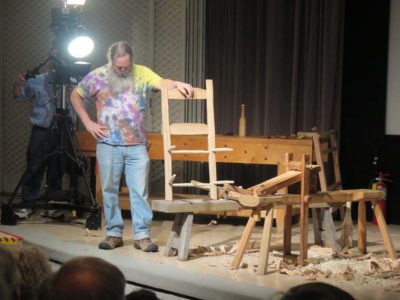
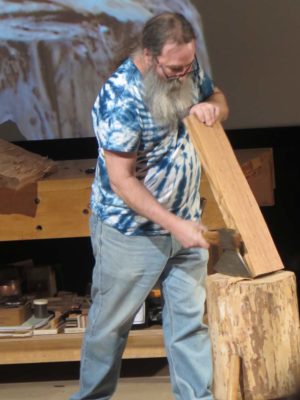
His second session was an ambitious attempt to make a green-wood chair in 90 minutes. He got close.

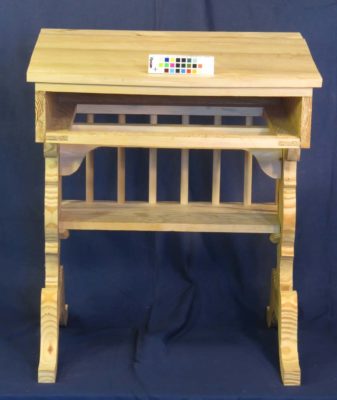
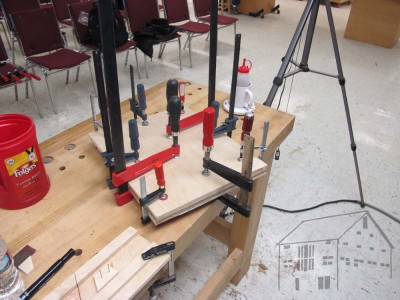
With the legs and writing box done it as time to assemble them and make the shelf that had to be fitted to them precisely not only for the structure as a whole but to provide the specs for the spindles that held them together.
Not a whole lot of descriptive detail required here, the individual components were simply screwed together to make sure the pieces fit and allow for the layout of any remaining components.


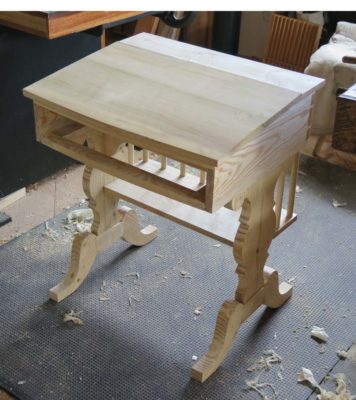
It was certainly not a wasted effort as it allowed me to work out some of the minute details that could not be spatially resolved any other way.

It was finally time to move on to my pile of vintage true mahogany.
With the legs in-hand it was time to build the writing box that went on top of them. Again using mostly southern yellow pine from my pile I set to work. It was straightforward but had to fit the legs precisely. I dispensed with making the bow-front drawer for the box as it would be predetermined by the box itself.

To get practice for the re-sawing that would come soon in prized vintage mahogany I did that with this tulip poplar stock.
The joinery for the box was mundane but a necessary exercise.
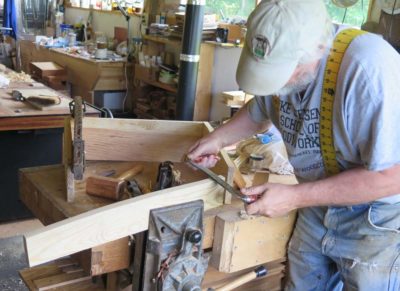
I established the curve of the drawer frame and the top with drawknife and spokeshave.

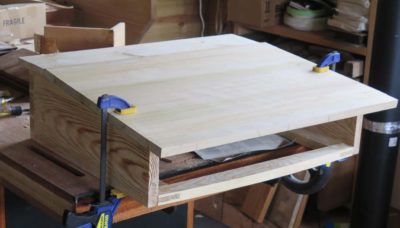
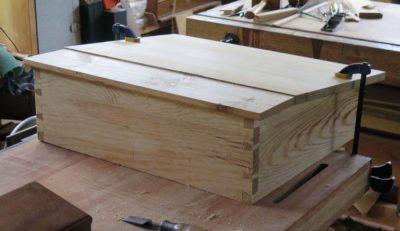
And put it together. The writing surface was simply tacked in place with finishing nails as I would need to remove it to check the internals once the real project was underway. On that version the top would be glued in place with glue blocks.
Up next: joining the legs, box and shelf to finish the prototype.
It’s been more than four months since I last wrote about my project to interpret an early 19th century writing desk for a client, when I had the opportunity to use period appropriate technology for virtually the entire project. Previously I had written about deriving the design templates for the project, and this post will finally get down to fashioning wood.

My first problem(?) was that I was a bit hazy on some of the internal construction details of the original. To resolve that void, or to at least come to a workable conclusion, I needed to build a full scale prototype. Using some left over 2x SYP from a workbench-building project I did just that. I rough cut each leg element with a bandsaw (this was primarily a proportion and joinery exercise) then shaped them just enough to get the gist of the idea.
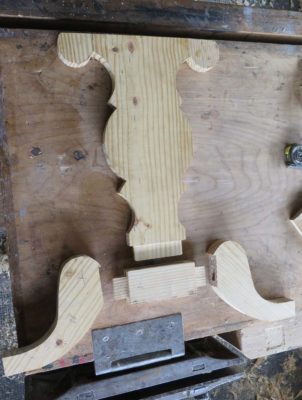
Then with each individual element fashioned I dove into the joinery for the complete leg assembly, with frequent dry fittings.
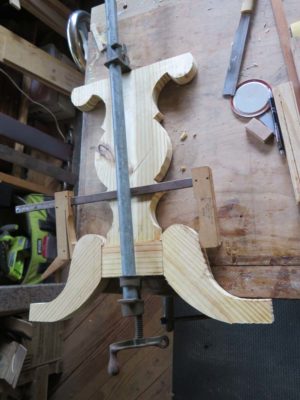
Using PVA I glued up each leg.
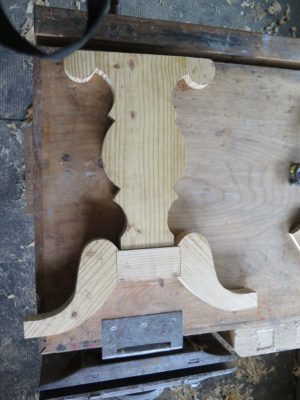
In the end I had two leg assembles shaped and fashioned, and joined, glued, and assembled. This was an important moment as I exerted my full weight on each individual leg to make sure they would hold.
They did.
Some friends have a century-old painted wicker rocker that is a prized accent on their front porch, and one of the rockers broke. Several times.
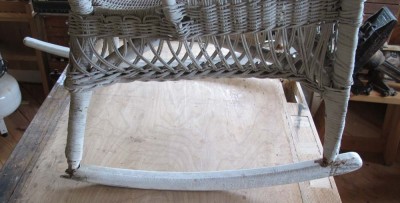
I find that many of these old rockers are made from “run of the mill” lumber which can be good or bad, and when they are bad there is just no fixing them. So, I made a new one.

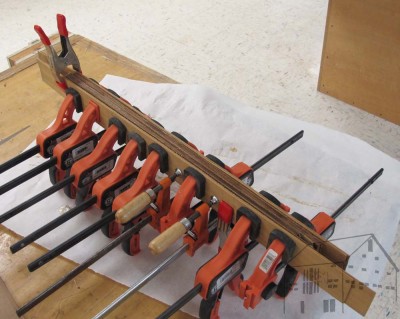
I began by tracing the remaining sound rocker on a piece of 2x framing lumber and band sawing the bottom profile into the 2x and ripped a number of strips from the same 2x board to build up a new laminated rocker (the only time I have used the table saw in a couple of months).

Using the just-sawn contour as the form, I laminated a four-ply rocker from the strips using yellow PVA as it was going to be exposed to the porch environment. I clamped it all together, wrapped in wax paper to make sure it comes apart as it should, and let it sit until the glue was hard. A couple days later it popped free just fine.

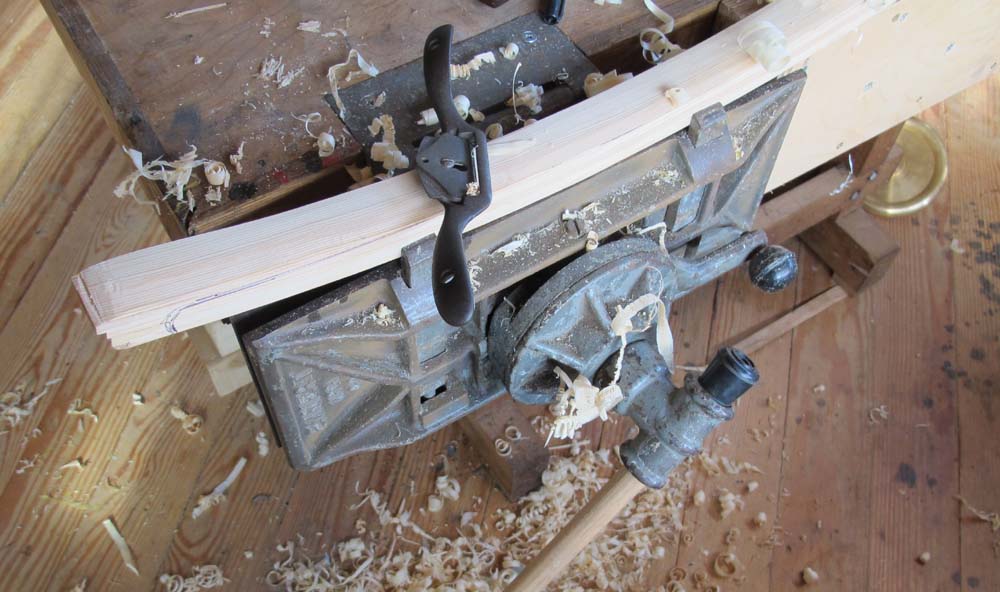
Pinching the rough laminated piece in the four dogs of my vise I planed and shaped it in just a few minutes.
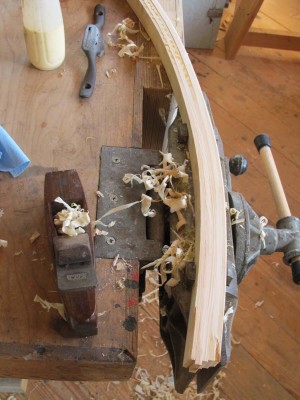
My first step was to clean up the glue squeeze-out with a plane which took 30 seconds per side.
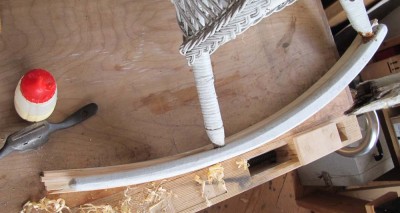
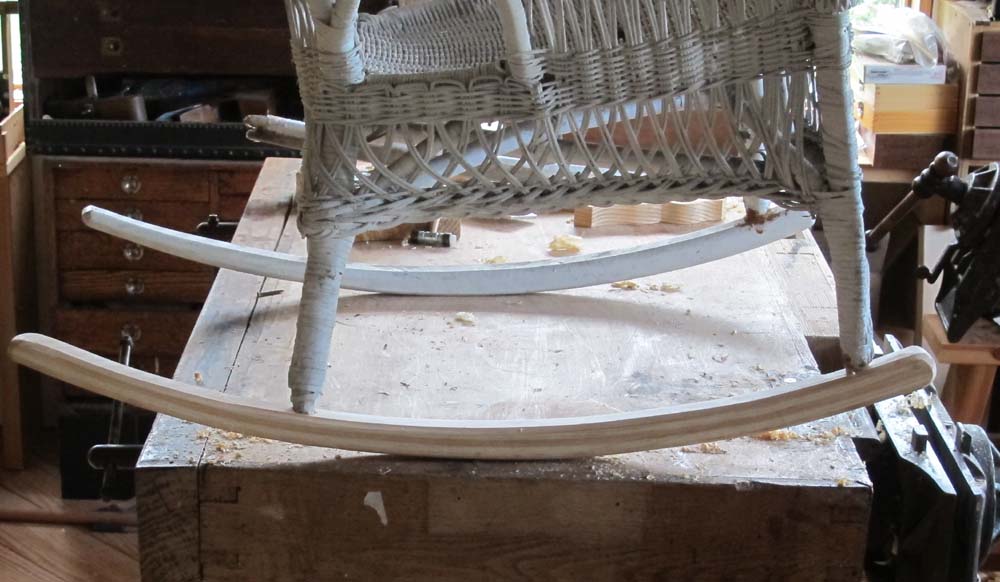
Once that was done I traced the original rocker again to determine the front to back taper.

With a spokeshave I achieved the desired taper line in a few minutes.

Getting the holes of the right size in the right place, I finished off the project with some final shaping with spokeshaves and rasps, and it was ready to be sent home.

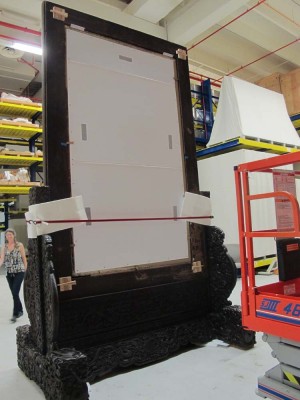
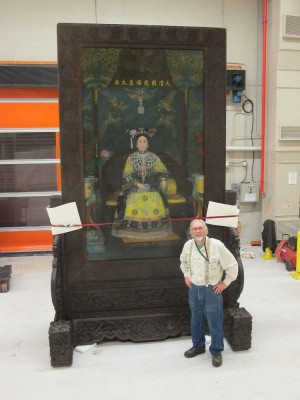
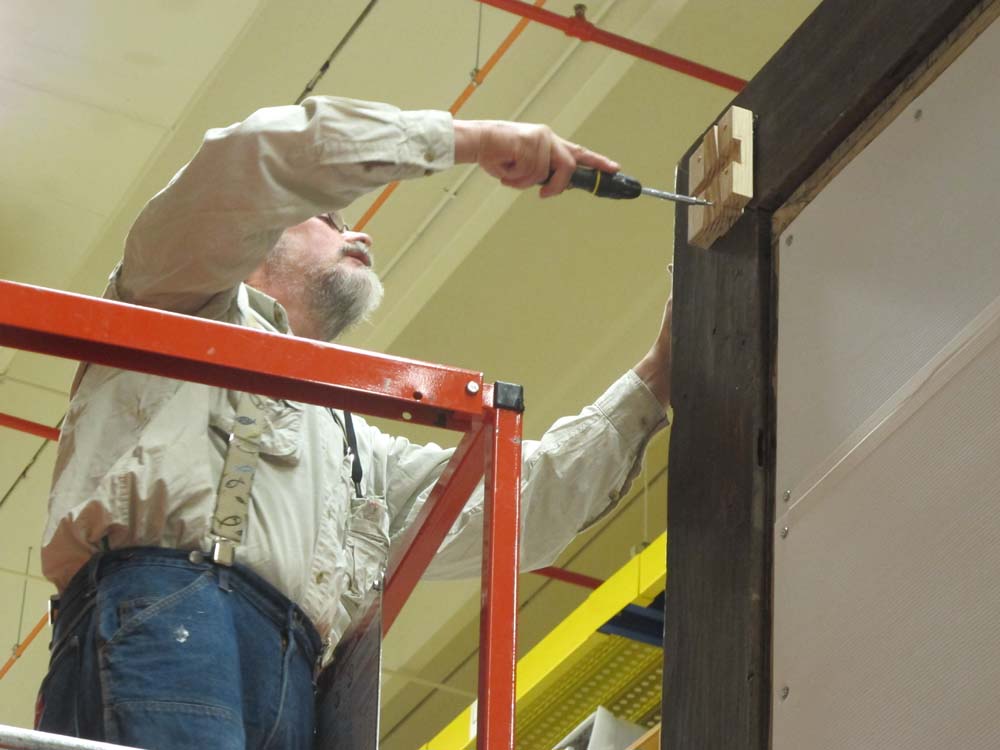
A few days ago I returned to Mordor on the Potomac for the completion and assembly of the c.1900 gigantic portrait of the Chinese Dowager Empress. I was astounded at the change in the painting by my colleagues Jia-sun and Ines who, along with a legion of others, transformed it into a sparkling image.
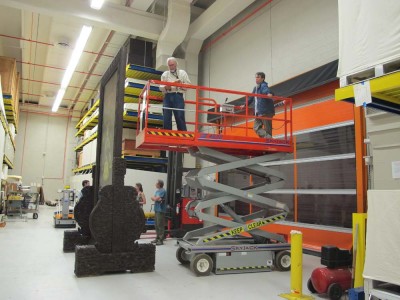
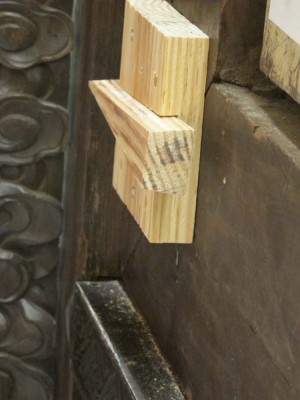
My role in the day’s festivities was to affix the locking corner cleats I had fabricated for the frame.

I used double tapered cross battened cleats to make sure the corners do not come apart unless you want them to.
I beat a retreat as fast as I could back the the mountains. It was a great project, and it is unlikely that I will ever be conserving a painting frame quite like this one again.
It was more than a week into Spring, and being this Spring the sun rose to reveal an inch of icy snow coating everything the morning we were to visit the incomparable Conner Prairie historic complex, one of the nation’s premier enterprises of historic reenacting and interpretation. Once the slop was scraped from my truck we were on our way; one advantage was that the bitter cold kept the crowd small and we had the place nearly to ourselves.
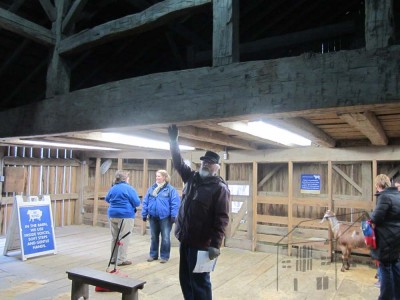
One of the highlights was the timber frame barn in the Conner homestead. The main cross-beam is a gargantuan oak timber more than 12” x 24” x 40 feet long (the historic carpenters there figure the tree trunk was more than eight feet in girth) and the longitudinal mid-rafter beam was an 8×8 perhaps 70 feet long.
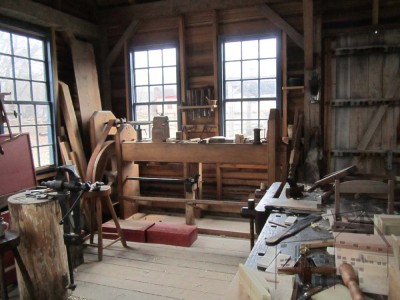
I especially enjoyed our time in the carpenter’s shop, where my wife and I were the only visitors. This allowed for a lengthy conversation with the proprietor about tools, wood, and their lathe. He showed it to me and allowed me a turn.
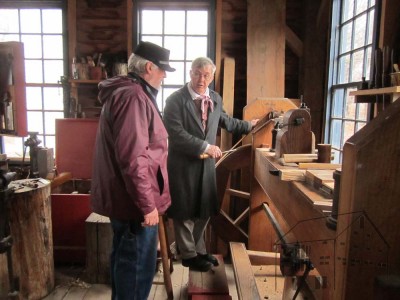
It is a magnificent shop-built machine with a 300-pound flywheel that can get away from you fast! Since I am a head taller than “Mr. McLure” it was very awkward for me, but I could see one of these fitting into the fabric of The Barn.
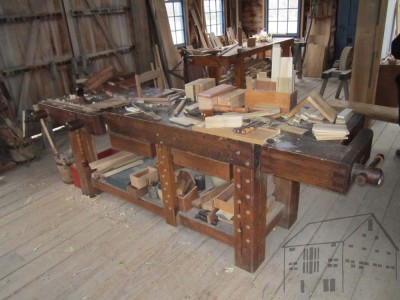

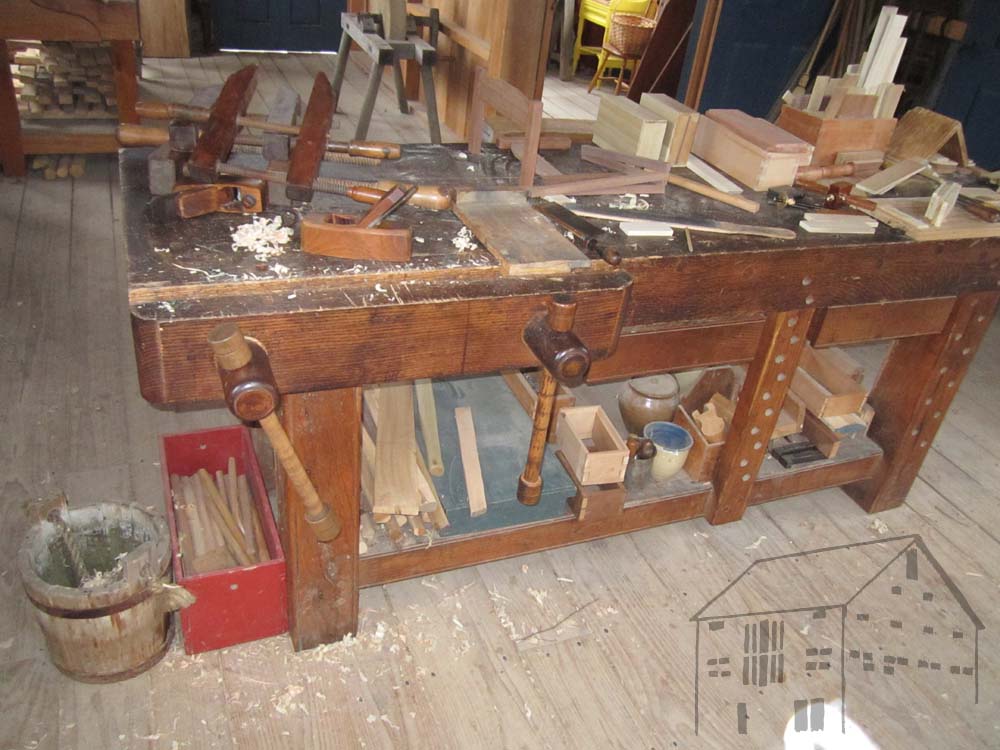
In the center of the one end was the impressive work bench, which had been built in the shop in years past. A copy of no specific documented model, it is instead a combination from a historically accurate vocabulary.
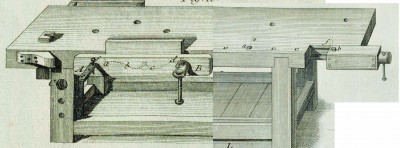
It seems to be about two parts Roubo with one part of Moxon and a dash of Nicholson. The six-inch-square oak legs are capped by a four-inch slab top, and the fixed deadman is stout as well. There is no real woodworker in America who would not be delighted to have this beast in their workspace. I know I would.
If you are going near the Indianapolis area, take a peek.
As is often the case for the second day of a three day workshop, the atmosphere was one of quiet work and little instruction or lecturing. Since the objective for the day was to get everyone’s parquetry assembled and ready to glue to the plywood base, there was lots,
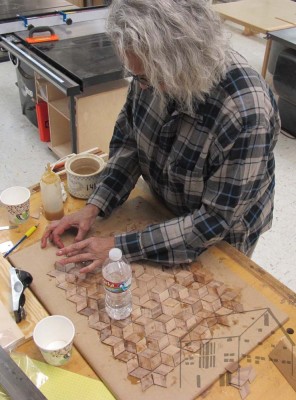
and lots,
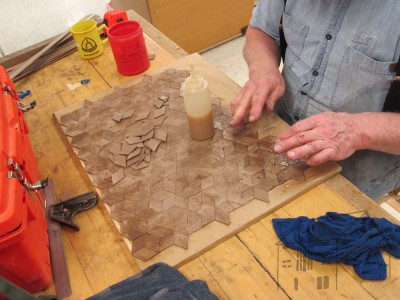
and lots of gluing parallelogram lozenges down to the kraft paper.
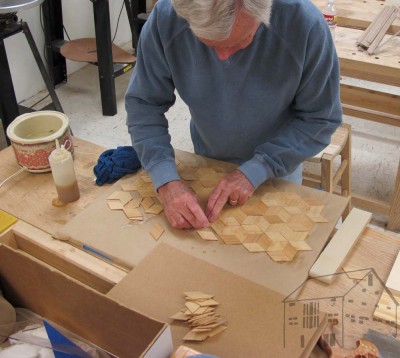
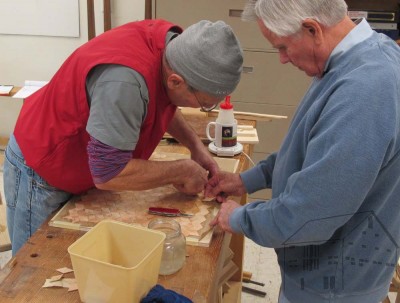
As usual, whenever somebody got theirs ready to go they jumped in to help the next person get theirs ready.
In addition, we needed to get the loaves of banding glued up to slice first thing in the morning of the third day.
Finally everything was glued up and we called it a day.


Recent Comments