With the slim plywood “box” done for my new Kindle case it was time to move on to the tricked-out phase. That involved the assembly of a parquetry pattern from my inventory of 60-120-60 parallelogram lozenges.
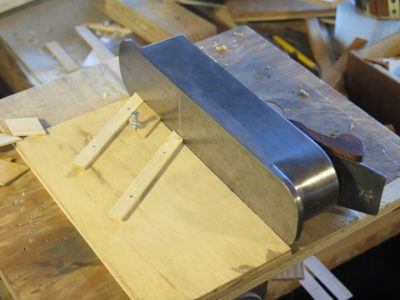
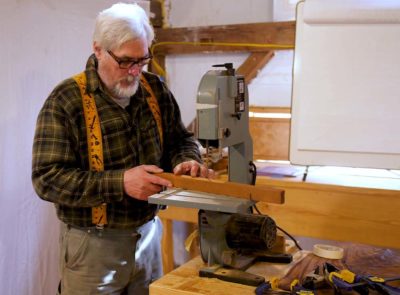
I knew right away that I did not have enough lozenges cut and trimmed to complete the job so I took some of the wood strips from my selection and sawed another bunch, enough to fill my little box to the top. I then shot the edges on my dedicated shooting board, fist shooting one pair of adjoined edges then rotating the lozenge onto the upper station, first planing one edge then flipping the lozenge and planing the adjacent one. I find this entire process of building up a stack of lozenges to be extremely calming, an especially respite in this current week. Plus, it let me put my sublime c.1810-50 Robert Towell miter plane to good use (fortunately for me Towell was careless about stamping his planes, otherwise I could not have afforded to buy this uber sewwt tool. Take note of the near-invisible opening in the sole!) I would have used the parquetry shooting plane I made last year but for the life of me I could not find where I put it. Sometimes having 7000 s.f. and several non-adjacent work spaces can be a curse, and this is one of those times.
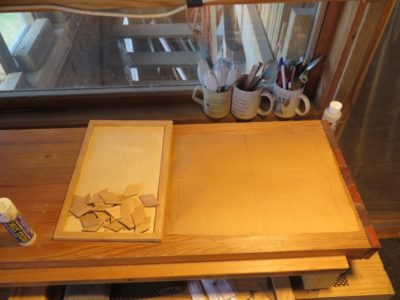
With enough of the finished lozenges in-hand I started setting them down on kraft paper after first drawing right angle bisecting lines to guide the work.
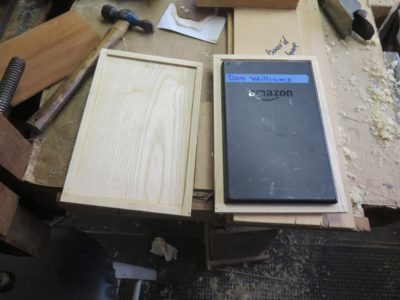
With a new Kindle in-hand, and wishing to protect it more attentively than the previous one, I’m making a case for it using the home-made epoxy/ash veneer plywood I described earlier. It will not be particularly fancy, just the <1/8″ plywood as the flat panels and the ~3/16″ plywood as the case walls. These will also serve as the ground for some nice French-style parquetry using up some of my re-existing lozenge and trim inventory. Not sure if “Pimp my Kindle” is a thing.
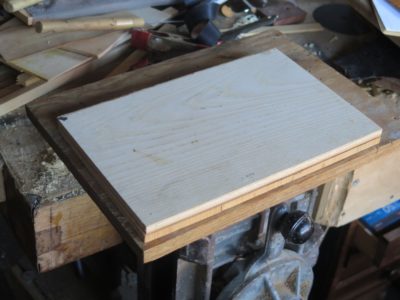
There is no “joinery” in the project, the case walls were just 1/2″ wide strips of the plywood glued to the 1/8″ panels around the template of the old dead Kindle.
My excitement is building as the fancy work is now imminent.
Quoting the title of my least favorite song from probably my most favorite current band, I recently had a spectacular failure on something entirely mundane in the shop.
The locus of the action was my Kindle. I love having a Kindle, the ability to download and have a multitude of audio and textual books in-hand on a wisp of a tool is intoxicating. Plus, I can make the font size as large as I want, no small feature for someone with my eyesight. However, the Kindle is not a particularly robust tool and I fractured the screen soon after getting it. Nevertheless I continued using it without incident for a year until the design flaw in the re-charging port caused the unit to fail entirely and I replaced it. Mrs. Barn is on her second Kindle for exactly the same reason.
When my new Kindle arrived it was instantly apparent that the geniuses at Amazon recognized the re-charging port problem and upgraded the hardware considerably. Still, that would not really help me if I abused the unit physically to the point of breaking it. So, I decided to make a lightweight rigid case to house it. I had looked at a number of manufactured cases and even bought one but remained unsatisfied, hence my desire to make my own. I might have used some 5-ply 1/8″ aircraft plywood but unfortunately my inventory of this esoteric and very expensive material was inadequate for the project.
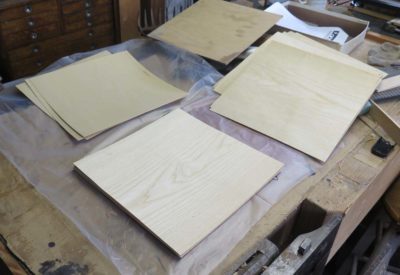
Instead I tried making my own, an undertaking I had engaged in numerous times. Over the years I have accumulated a sizeable pile of veneer sheets and this was a perfect time to consume a tiny bit of it.
Cutting several pieces from the long veneer sheets, I glued up some 5- and 7-ply panels using some PVA adhesive.
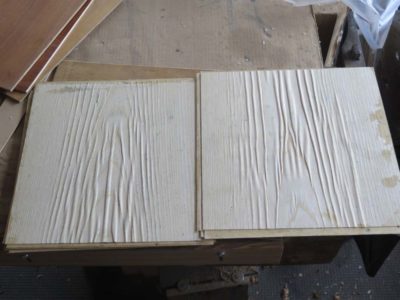
I stacked the wet panels on top of each other with a sheet of food wrap between them, as I done done many times before. Since I do not have a veneer press I added flat cauls and a couple hundred pounds of firebricks on top and let it sit overnight.
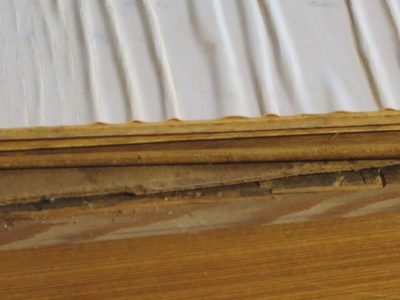
What I found the net morning on disassembling the set-up was not what I wanted, to say the very least. One of the plywood panels’ faces was perfectly flat, but the other was puckered beyond repair, or at least beyond any repair I wanted to spend my time on. Besides, I have a lot more veneer to play with.
Our adventure continues, notwithstanding some technical glitches on my end (a self-flattering version of “I forgot how to do this!”) Actually the new WordPress template is a pain in the kiester, but fortunately Webmeister Tim managed to restore the previous version. That is the best explanation I have for why it took months to get the next one posted. I was simply too stoopid/ignorant/technophobic/compewderily iliterate to figure out how to do it in the “new and improved” platform template, and also why my blogging had declined. It was just too miserable trying to figure it out. At this point I have almost negative interest in learning new skills, I’m just trying to keep my existing skills intact.
Crossing my fingers hard. It worked for me in the “preview” and I am hoping it works for you.
In this episode I cover the process of matching the veneer being used for the repair to the veneer that remains adjacent to the loss.
PS – Spring has sprung so video production resumes next week!
If your conscience is pricked feel free to click on the “Donate” button, any proceeds from which will go toward enhancing the rapidity of new video production. Future videos will also be available for purchase one section at a time (perhaps $0.99 – $1.99 per segment depending on the video) or $15(?) for the complete product. I am still noodling that and working out the logistics with Webmaster Tim. If this interests a large enough audience I hope to produce three or four 2-hour-ish videos per year. If not, maybe one or two at the most, one being more likely. In which case it will take me almost twenty years to get through the list I have already.
Our series continues with an episode focusing on the tools needed and the set-up for making visually harmonious veneer repairs to losses.
If your conscience is pricked feel free to click on the “Donate” button, any proceeds from which will go toward enhancing the rapidity of new video production.
Future videos will also be available for purchase one section at a time (perhaps $0.99 – $1.99 per segment depending on the video) or $15(?) for the complete product. I am still noodling that and working out the logistics with Webmaster Tim. If this interests a large enough audience I hope to produce three or four 2-hour-ish videos per year. If not, maybe one or two at the most, one being more likely. In which case it will take me almost twenty years to get through the list I have already.
You can find the background on this initial offering by Barn Attic Productions/Seed and Fruit Media here. I am working on getting an archive for all these videos on the site. Be patient with me, I am of an age and disposition that I still expect flames to shoot out of the compewder if I hit the wrong key.
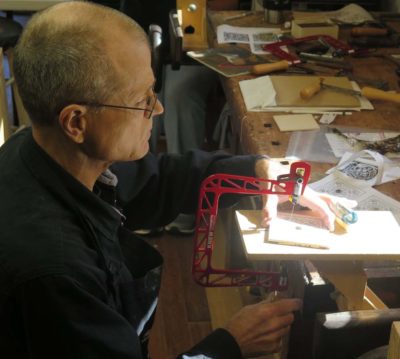
In this episode of my recitation and demonstration of the techniques I use to undertake sensitive veneer repairs — sensitive to the artifacts, not your feelings — such that the compensation (that’s museum-ese for “repair”) is visual harmonious while leaving the maximum of the artifact fabric intact, I demonstrate my low-intensity method for cutting my own veneers on a bench-top bandsaw. I use this method frequently for a variety of applications, whether I need that one special piece of figured veneer for a repair or if I am cranking out veneer strips for doing French parquetry.
If your conscience is pricked by viewing this for no cost feel free to click on the “Donate” button, any proceeds from which will go toward enhancing the rapidity of producing new videos. For those of you who have already shown that generous spirit, I am deeply appreciative.
You can find the background on this initial offering by Barn Attic Productions/Seed and Fruit Media here along with the first episode.
In this episode of my recitation and demonstration of the techniques I use to undertake sensitive veneer repairs — sensitive to the artifacts, not your feelings — such that the compensation (that’s museum-ese for “repair”) is visual harmonious while leaving the maximum of the artifact fabric intact, I demonstrate and discuss the importance of three things: grain, grain, and grain.
If your conscience is pricked by viewing this for no cost feel free to click on the “Donate” button, any proceeds from which will go toward enhancing the rapidity of producing new videos. For those of you who have already shown that generous spirit, I am deeply appreciative.
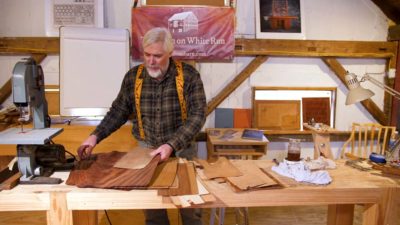
The first product being offered the Barn on White Run video empire, which I introduced earlier, is an almost two hour tutorial on museum-quality veneer repair (in the museum world we use the term “damage compensation” for what you might call “repair”) using the techniques I learned and developed over the past four decades. The video en toto is divided into thirteen sections, and one will be uploaded every week if all goes well.
Since this is our initial effort, and was itself an intense learning experience, I have decide to make this complete video available for free. This is not a mere amusement or hobby, I am hiring a gifted professional (Chris Swecker) to produce them, and as good as I am at schmoozing he insists on getting paid for his work! Harrumph. I am determined that together we will produce the best professional, broadcast quality videos we can out here in the wilds of the Virginia mountains. The pace of their development is directly tied to the intersection of three things; my schedule, Chris’ schedule, and the barn’s bank account.
If your conscience is pricked feel free to click on the “Donate” button, any proceeds from which will go toward enhancing the rapidity of new video production.
Future videos will also be available for purchase one section at a time (perhaps $0.99 – $1.99 per segment depending on the video) or $15(?) for the complete product. I am still noodling that and working out the logistics with Webmaster Tim. If this interests a large enough audience I hope to produce three or four 2-hour-ish videos per year. If not, maybe one or two at the most, one being more likely. In which case it will take me almost twenty years to get through the list I have already.
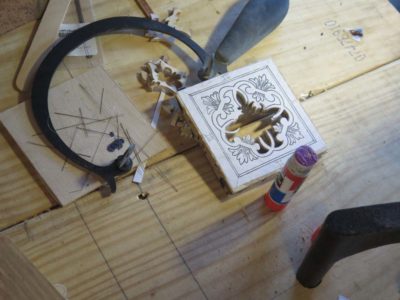
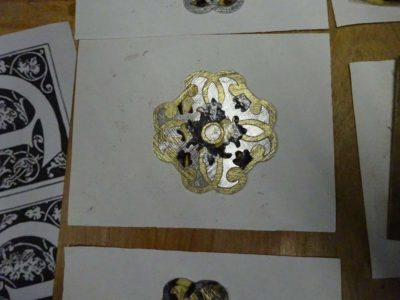
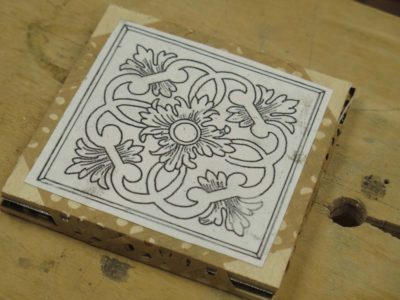
By the third and final day everyone was charging ahead, in the groove, and making great progress on the second exercise, a three-part composition of tordonshell, pewter sheet, and brass sheet.
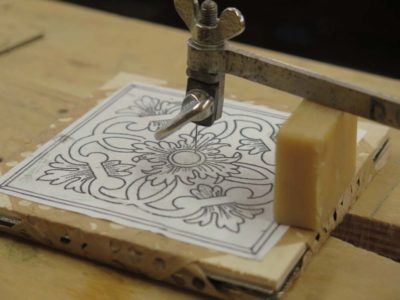
Again, the critical thing given the assembly of our packets was to begin sawing in the center of the design and working you way out systematically. As things progressed it was very exciting to see the composition(s) taking shape.
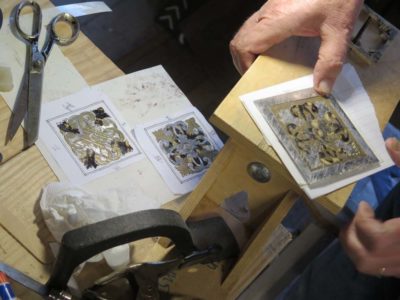
Honestly there is not a lot to say verbally, so I’ll just let the pictures do the talking.
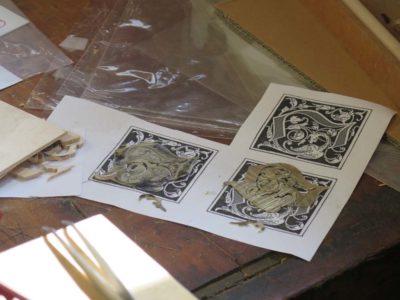
Day 2 was a time to really get down to business with sawing the first exercise, a two-part tarsia a incastro composition with each person doing a decorative rendition of their own initial (in reverse).
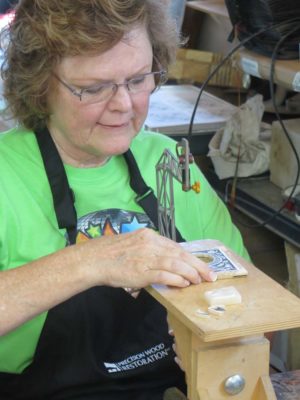
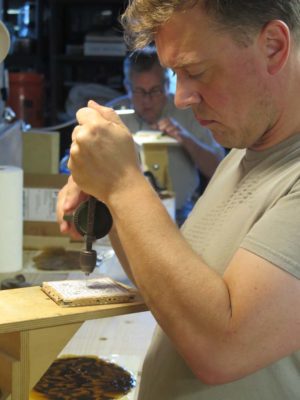
Soon everyone was adopting their preferred sawing posture.
Unfortunately we got Gwen’s initial relationship to her sawing station wrong, and before too long an old neck injury reared its ugly head. Even after adjusting her posture and sawing height, the damage was already done, limiting her experience considerably.
Before long the compositions of the mirror representations for their initial were taking shape.
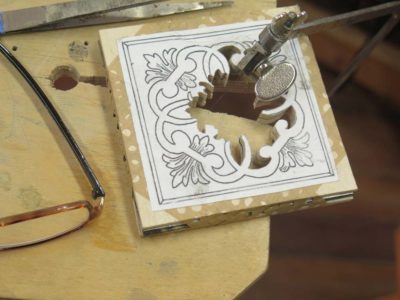
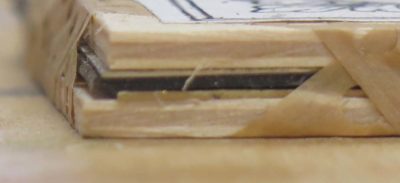
By the end of the day we were all moving on to our second exercises, a three-part composition requiring three layers of media, pewter, brass, and tordonshell, and two supporting bookends of 1/8″ plywood.
Drilling a tiny hole near the center of the pattern for feeding the saw blade through, And we were off and running with the new project.


Recent Comments