My recently departed friend Mel Wachowiak said something that resonates with me often at the moment as I am assiduously putting meat on the bones of the manuscript that is becoming VIRTUOSO:The Tool Cabinet and Workbench of Henry O. Studley.

What Mel said was this:
Whenever something is made that is more beautiful and more expressive than it has to be in order to function, then you have art.
Oh yeah, H.O. Studley was an artist alright.
========================================================
For more information on the upcoming exhibit of the H.O. Studley Tool Cabinet and Workbench, you can go to the exhibit’s web page here.
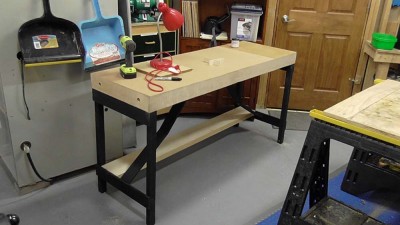
Recently my friend Bill wrote me to ask if I had any thoughts about portable workstations, as he was about to embark on a project requiring him to work in the gallery of a museum.

photo courtesy of Joshua Klein
I was able to help him, and in fact together we built a new bench for him to serve his purposes. I enjoyed it so much I built myself yet another one and am documenting it in great detail here.
Note: Like the “Parquetry Tutorial” this entire series of blog posts will be edited and packaged for download as a complete PDF once I have finished it. WordPress is being obstreperous about the spacing of this post, but it will be corrected in the PDF.
Working as a furniture conservator requires me to frequently work “on-site”, that is, I go to the furniture rather than bring it to my studio. There are many reasons for this; the legal liability of transporting very valuable objects, the cost of renting a truck and hiring someone to help out (I usually work alone), the ability to call it quits at the end of the workday, etc. Regardless of the reason, I often found myself working in unfamiliar, and usually unequipped, surroundings.
Thus, several times a year I would move lock, stock and workbench to a new location. Loading and carting big sawhorses, plywood sheets and cardboard boxes full of supplies to the new site is a truly odious activity. Over the years of scraped knuckles and bashed shins carrying sawhorses and plywood up or down three flights of tight, winding stairs, I vowed to find a better way of setting up a temporary work station. Obtaining the perfect portable workbench was my original goal, but by the time I finished it turned out to be just one of several aspects to my quest.
In the end, that process of finding a “better way” resulted in the design and fabrication of a new workbench to make the task of working in a portable studio more manageable and productive. Through several generations of prototypes over twenty years I have it now refined to the point where I am not sure what more there is to improve.
What did I want?
The only thing I was sure of was that my sawhorse and plywood routine had to go. But what arrangement was to take its place? My first step was to acquire a suitable workbench. Being a lazy fellow, my first actions were to look around at the market to see if any of the available “portable” workbenches were suitable. I discovered only two real options; a small version of the European-style butcher-block-top bench, or a Workmate. I looked at a couple of the former, and own one of the latter.
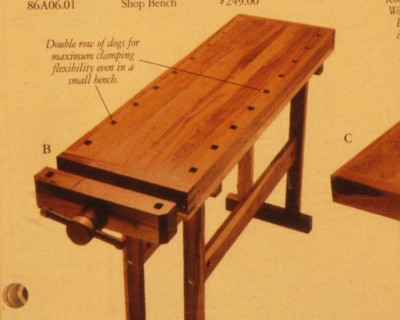
I found the portable Eurobenches to be too small and unsteady for my use (and quite frankly, too “cheezy”). In addition, they still weighed-in at over 100 lbs., simply too heavy.
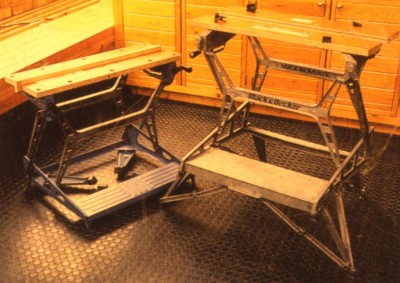
I tried my Workmate on a couple of projects, but it wasn’t exactly what I really wanted because it was too top-heavy and the work surface was too small. My search for a manufactured bench to suit my needs wasn’t exhaustive, but nevertheless, in the end I decided to design and build my own portable workbench.
The process of attempting to procure a new portable workbench began with the question of exactly what I wanted out of the bench, regardless of its source. When I decided to make my own, I had only to review those requirements and build to fit them. But back to the original question; what were my specifications for the bench? The answer was simple; 1) the top had to be perfectly flat and at least 2’x4′ (any smaller and I might as well stick to my Workmate), 2) it had to have an integral large capacity vise sturdy enough to take a modest beating, 3) the bench had to be very light, compact, and easy to set up and take down because I didn’t want to have to assemble a kit each time I moved, and 4) it couldn’t cost a fortune in time or money to acquire. It was also important to remember that the bench wouldn’t have to stand up to immense weight or stress, since the pounding necessary during general joinery is rarely required in a conservation project. Any heavy work dictated by a particular treatment would still have to be done at home.
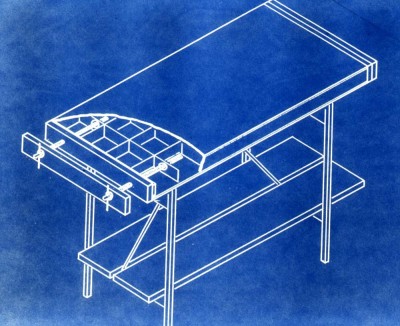
The bench I ended up with was not an example of exquisite handworked joinery, but it did require precise machine woodworking .
In the next episode I will begin to walk you though the step-by-step process of making one for yourself.
Through the first half day of the auction Thursday afternoon, there were several lots that went to the next highest bidder after I dropped out of the running. I tend to be pretty disciplined about setting a bid ceiling and sticking to it. I was beginning to suspect an Govcom conspiracy but thanks to Josh Clarke I was not being caught empty handed (I will detail the coolness of sitting alongside an active successful bidder tomorrow).
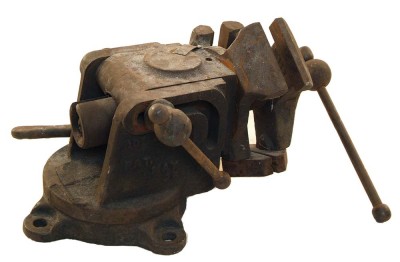
Friday morning at about 10.30 came the item I drove there to get, the Emmert Universal Benchtop Toolmakers Vise. I’d looked it over carefully on Wednesday and Thursday (twice) and it was both a beast and a beauty. Astonishingly, bidding started at $5, indicating there were no absentee (internet) bids. I jumped in, hard. At about $300 there was a lull and I could feel the thrill of victory rising in my chest. Then another bidder jumped in and the price soon chased me off. No, I did not win the bid, which was an out-the-door price of just under a grand. The disappointment was bitter.

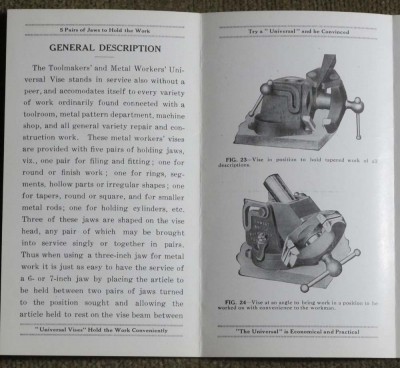
However, all was not lost as my friend Jon found a pristine sales brochure on that very tool out in the tailgating section and gifted it to me as a very nice consolation prize. It was a truly thoughtful and generous gesture I will recall for a very long time.
I’ll keep looking, but so far this tool has eluded my wallet. If someday I find one in good condition for a fair price I will get it. If not, not.
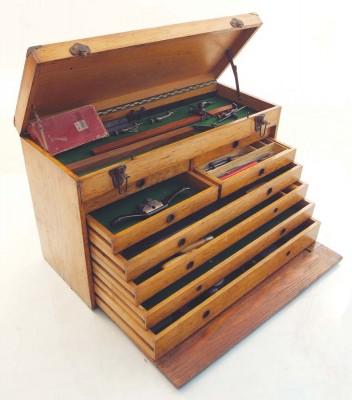
The patternmaker’s chest also came and went above my limit. At the end of the day I saw the buyer examining it and I congratulated him on it. He knew nothing of the contents, and I spent several minutes explaining what each of the tools inside was. In the end it was apparent he cared only for the chest, and I was only interested in the contents, or more specifically, the Buck patternmaker’s chisels with the interchangeable handles, shafts, and gouges.
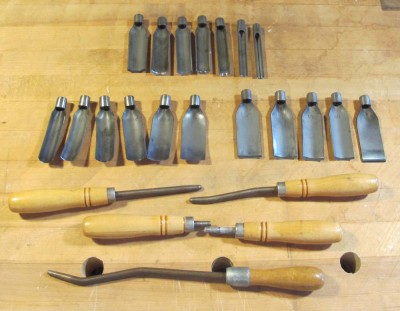
He offered the set to me for a very modest price, and in moments I had them in a box and was toting them off to show my friends. These high-chrome steel chisels are made only for gentle pushing to finish the surfaces of wooden patterns for foundry work, and I now have a pretty complete set as these joined my previous acquisitions from years past.
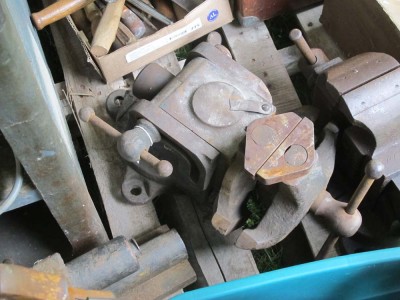
One last forlorn visit to say farewell to the Emmert on the buyer’s pallet (he was buying A LOT) and then we headed for the line to the pig roast. Roast pork is the near-perfect conclusion to almost any kind of day.
Tomorrow, finally some winning bids and horse trading with Josh.
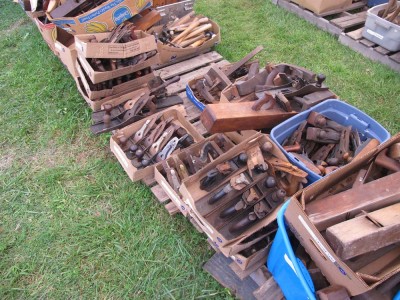
One of the highlights of the galoot’s annual calendar is the warehouse-clearing summer sale by Martin Donnelly at his place in Avoca NY. If you have never been, you should go for the experience if nothing else. This auction of 3200 lots containing perhaps 75,000 tools is a place where tubs of tools exchange hands.

This year three lots drew me there. First was an Emmert die-maker’s bench vi$e which I have $ought to purchase for many year$, thi$ one wa$ I believe the large$t of the line (it wa$ approximately the $ize of a bu$hel ba$ket). Next was a Veritas MkII sharpening unit, essentially new in the box, and third was a craftsman-built patternmaker’s chest with tools. More about them tomorrow.
The tools weren’t the most important things, though, that would be the fellowship with tool comrades including my long time pal Mike who dropped out at the last minute because of an inflamed sciatic nerve that was so bad he could not sit in a car to drive it there.
Instead I had the good fortune to sit next to Josh Clark, purveyor of the vintage tools through his wonderful site. There are many people in the tool world, most of them a pleasure to deal with, and certainly Josh fits this description. He is simply aces.
I was also joined by another long time friend Jersey Jon who was making his first foray to this auction. He was nearly overcome with the shock of seeing tent after tent filled with fully loaded tables and hundreds, no, thousands, of tools to rifle through and gawk at.
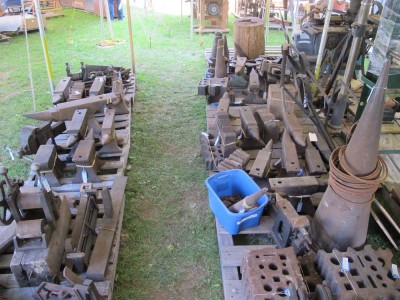
If you were in the market for anvils and swage blocks, this was the auction for you. I almost wish I was in the market, as the prices turned out to be dirt cheap.
The tale continues tomorrow.
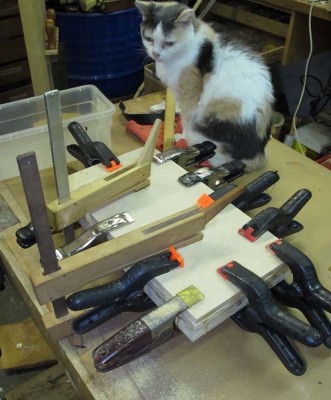
Recently I got the call that the last of our gerontological felines had departed for the Great Catnip Patch in the Sky. 18-year-old Calico Girl, or “Callie,” featured recently in Popular Woodworking, died while my daughter was at work, and she buried her alongside our others. Another old gal, “Baby” also 18, had died only a fortnight earlier (all these are natural deaths of ancient cats simply fading away.) They were all rescued cats who lived long and much-loved lives.
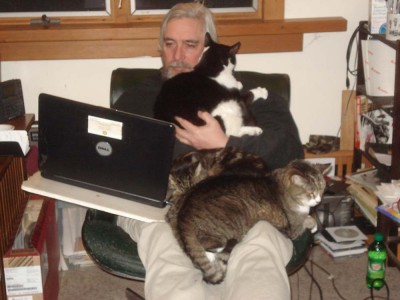
This picture of me editing Roubo in about 2011 was a pretty typical image on a cold winter’s night, when even though we kept the house heated the cats knew it was cold outside and wanted to suck as much body heat out of us as they could. From top to bottom they were Lazy Boy (d. 2012), Toby (d. 2011, he adopted us out at the cabin in 2001), and Baby.

This is one of my favorite pictures of Toby curled up in the void of a modern sculpture I was restoring. If ever there was a person in a cat costume it was Toby.
We are now cat-less for the first time in more than 30 years. As a cat person myself, it feels a little weird. I know cats have a reputation as being aloof, but their indifference to me makes them all the more appealing companions.
I think I’ am in the market for a barn cat…
While attending a memorial celebration of Mel’s life and work last week, I revived an old acquaintance with one of Mel’s long time collaborators, a renowned architectural conservator. Our conversation was a winding one, reminiscing on our mutual respect and admiration for our departed friend.
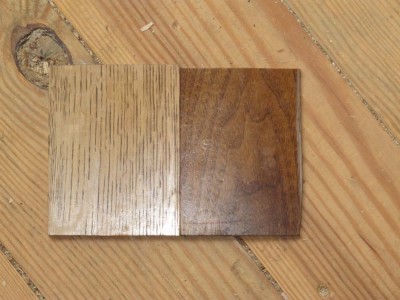
Eventually we passed into the territories of our own projects, and he mentioned a gift he had for me out in his car. In a couple minutes he reappeared with an envelope with two index-card sized pieces of wood.
“These are some of the parquet floor remnants from the Oval Office, removed during the renovation of about 1990.”
Wow!
I do not know the configuration or pattern of the parquet flooring, and even if I did the pieces are so small I could not make sense of them. Perhaps some day I will get a photo of the Oval Office flooring during this period and replicate it, but for the foreseeable future I will be content to enable these remnants to be prominently featured in The Barn alongside the c.1670 oak parquet flooring from the Palaise Royale in Paris.
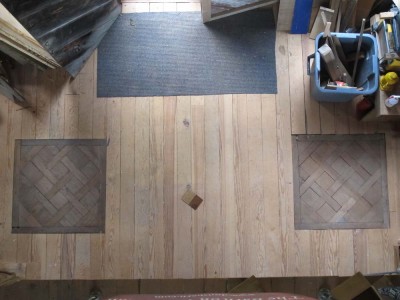
So, in addition to sections of floor that may have supported Thomas Jefferson and Benjamin Franklin, I have a scrap of floor that almost certainly bore the footsteps of Ronaldus Magnus. How cool is that?
Now I just have to somehow find a piece of flooring from underneath the only truly great President of the past 200 years, Calvin Coolidge…
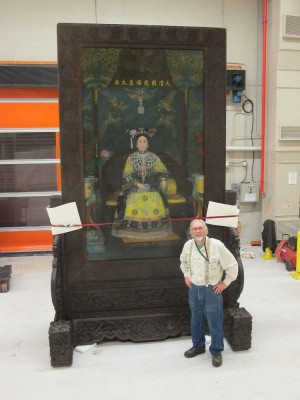
A few days ago I returned to Mordor on the Potomac for the completion and assembly of the c.1900 gigantic portrait of the Chinese Dowager Empress. I was astounded at the change in the painting by my colleagues Jia-sun and Ines who, along with a legion of others, transformed it into a sparkling image.
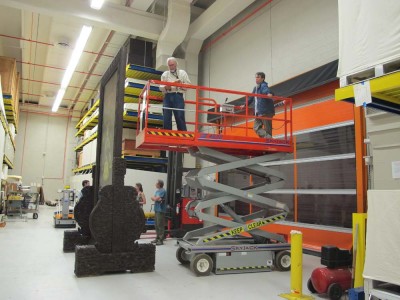
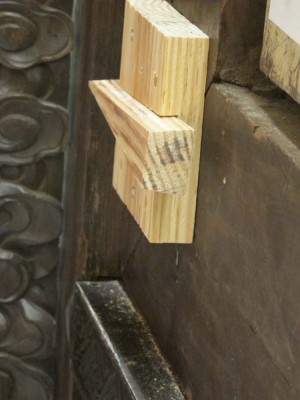
My role in the day’s festivities was to affix the locking corner cleats I had fabricated for the frame.
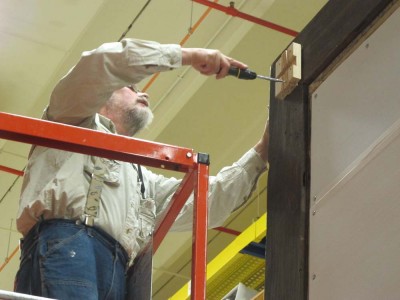
I used double tapered cross battened cleats to make sure the corners do not come apart unless you want them to.
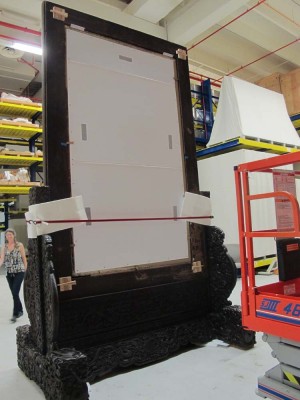
I beat a retreat as fast as I could back the the mountains. It was a great project, and it is unlikely that I will ever be conserving a painting frame quite like this one again.
The day began with the excitement of seeing the glued-up panels. We had slightly oversized 1/2 baltic birch plywood for each of the panels so that they could be trimmed precisely to size one the project is complete.
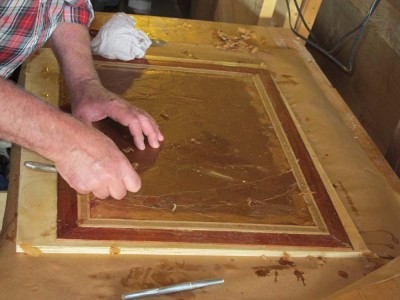
The first step to getting finished from this point was to moisten and peel off the kraft paper that served as the support for the assembling of the pattern, banding, and border.
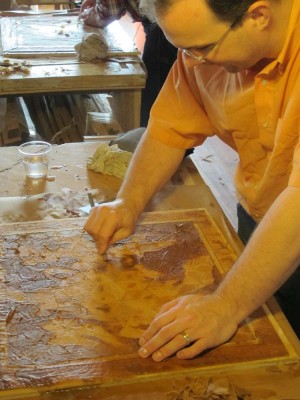
It was a delicate balancing act, moistening the surface enough to remove the glued-down paper, but not so wet as to lift the veneers. Once the paper is removed begins the tiresome task of dampening and scraping off all the glue left behind.
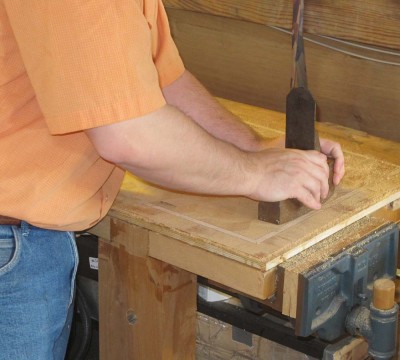
A quick stint on front of the fan to dry them, and then we brought out the toothing planes, scrapers, and small planes to get everything flat and smooth.
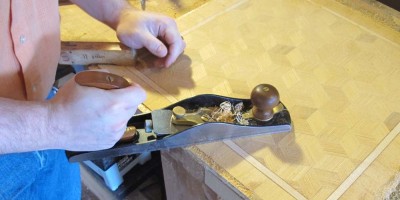
The conditions of the panels,
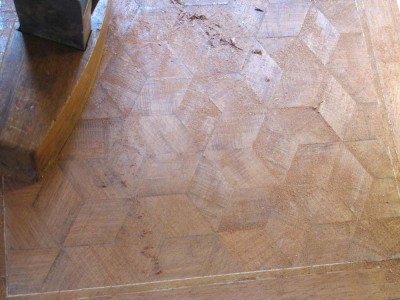

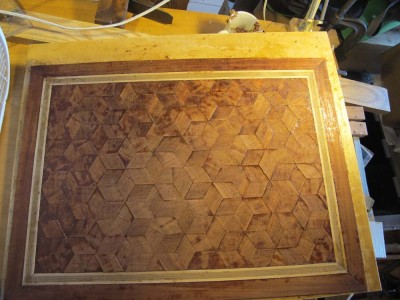
and the floor indicated we were making great progress.
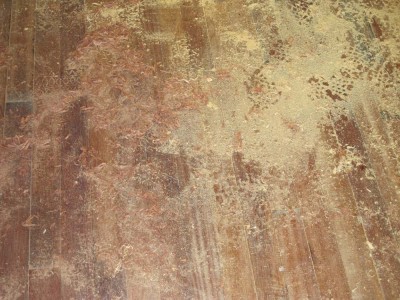
In a normal 3-day parquetry workshop this would have been the final process,
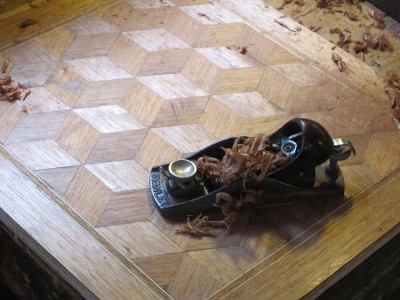
but these guys were working so efficiently we made it all the way through a finished project by the time they left.
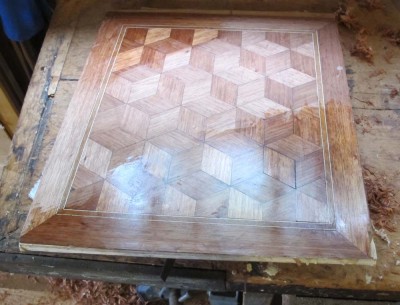
Using one of my panels, I demonstrated the simplest finishing approach to the parquetry, and they charged ahead.
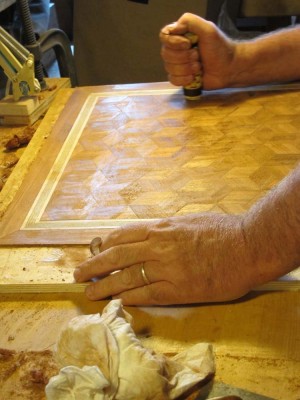
Burnishing with polissoirs came next,
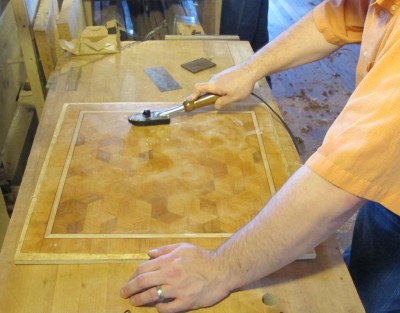
and then the molten wax treatment for the final finish. The wax was first dripped on the surface, then trowelled around with the tacking iron. Again it was important to use the iron delicately to melt the wax enough to impregnate the surface, but not to heat the surface enough to lift the veneer.
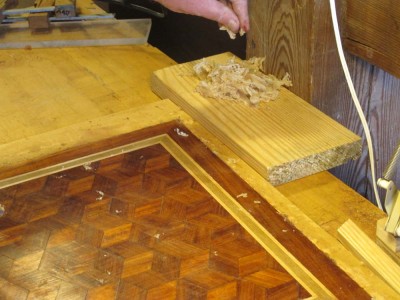
Once the surface was fully impregnated the panel was set aside to let cool and harden, then the excess was scraped off,
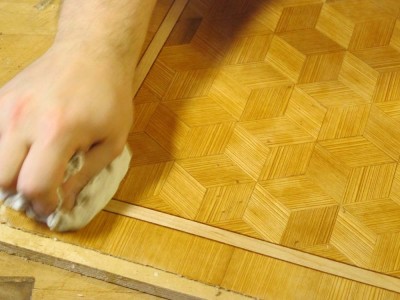
and the remaining surface was buffed with a linen rag.
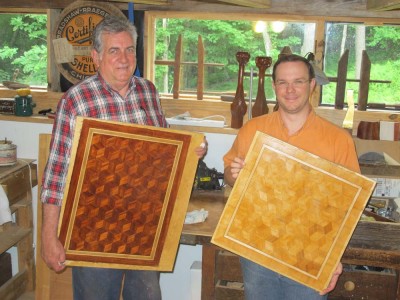
The results were eye popping, and demonstrated what can be done with very little wood in a short while. If you snoozed on this one, you loozed. Joe and Joshua now possess another important tool for their design and fabrication toolkit for the future, and when they get home they both plan to trim their panels and build a small table around them.
Great job, guys!
Our morning began with center sections completed and ready for trimming.
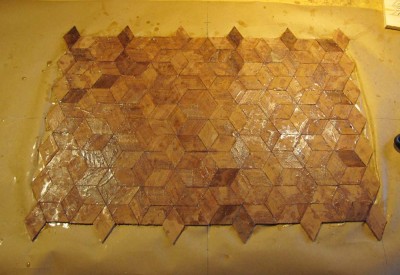

The weather was foreboding; the day was cool if not downright chilly (60-ish, in mid-July!), and the rain was threatening. This was a theme for the day, and did impact how things progressed.
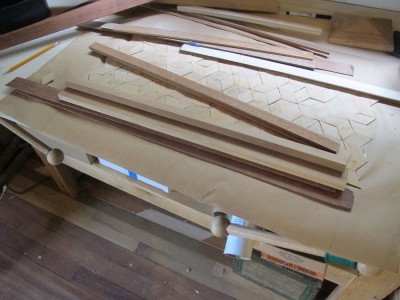
The first thing we did was select and prepare our materials for the edge banding around the center field, and glue them up into a “loaf.”
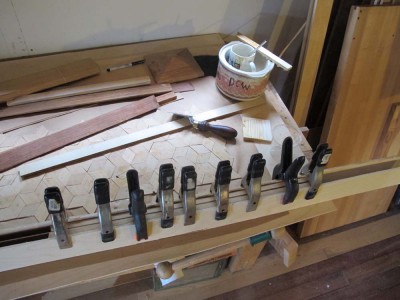
On a normal day these set fairly quickly, in an hour or so using hot hide glue, but the day being cold and damp we wrestled with this all day. Next time I offer this course we will glue up the bandings on the first day. Once they were set (mine hadn’t by the end of the day) we cut them into banding strips.
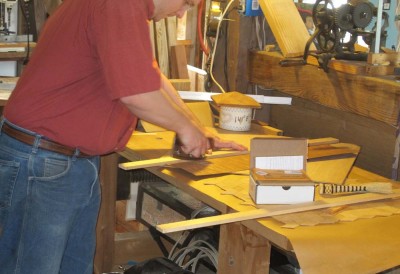
We trimmed the panels in order to cut and fit the banding.
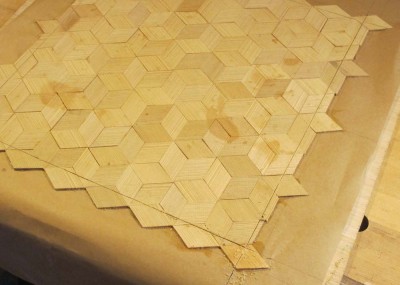
Trimming the panels gave Josh the chance to show off his new Gramercy veneer saw with the “King Kong” blade for use on sawn veneers. We were unanimous that it was a fabulous tool.

After trimming the center field, the parquetry was glued to another sheet of heavy brown paper an then fitted the banding,
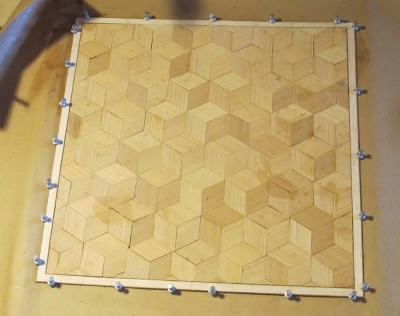
gluing it in place using the aluminum head push pins from Utrecht discovered by a workshop student in Kansas City.
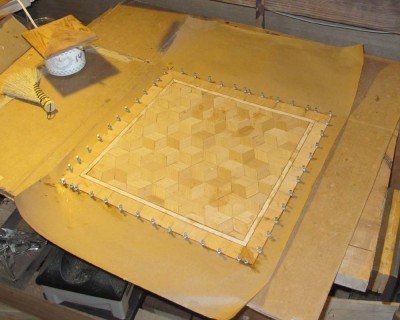
Then went on the outer edge, which could be either long grain or cross grain.
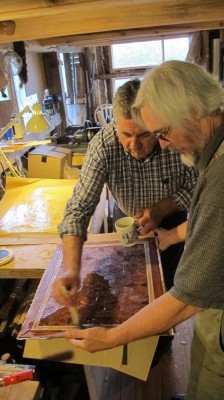
That done, out came the glue pots and the slathering began.
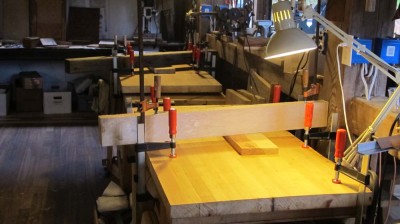
They are now all glued to their support panels and clamped up over night, awaiting planing, polishing, and finishing tomorrow.
=================================================
As a reminder, all of this information (and actually a lot more) will be covered in my ongoing blog series “Parquetry Tutorial” which will be a single downloadable PDF once complete.
We had a terrific day creating parquetry panels in The Barn today. Joe and Josh were on the spot at 9 AM sharp, and after introductions all around we got to work. I quickly reviewed all the materials, processes, and tools, and within minutes we were underway. 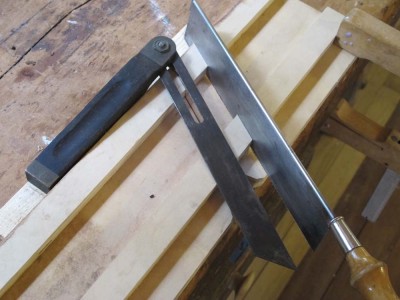 First, they glued up sawing jigs. A bit later we layed out and sawed the kerfs for these bench-hook style tools. I will blog about this process on Monday night.
 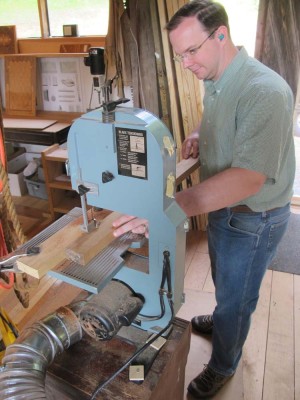 Then, we moved on to creating sawn veneer strips with my min-bandsaw, which is pretty much dedicated to sawing veneer for parquetry these days. Joshua opted for some of my vintage and tight grained Bald Cypress, and Joe brought a piece of superb true mahogany.
 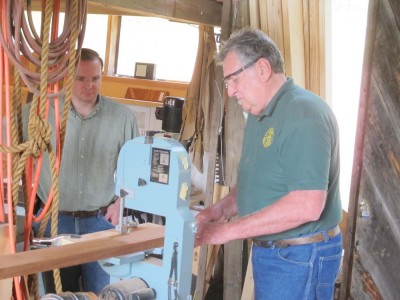 We ran it through the planer quickly to verify planarity, then sawed it up with the bandsaw.
 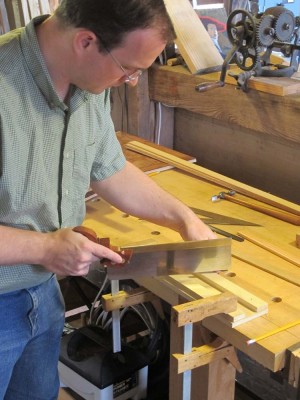 The we got to cutting parallelograms for the assembled pattern. And sawed. And sawed.
 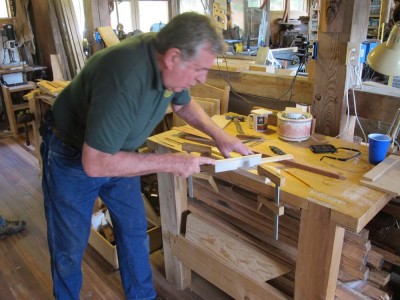 It takes a pile o’ lozenges to create a completed pattern.
 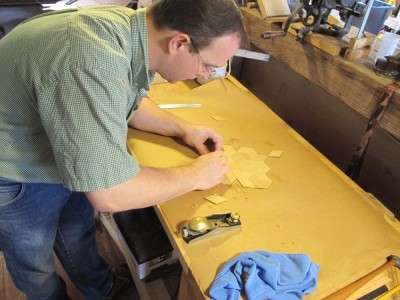 After lunch I reviewed the working system for assembling the pattern (about which I will be blogging later next week) then fired up the glue pots and we were off to the races. All three of us were creating parquetry panels; Joe and Josh were making small table tops, and I was working on one of four panels for an upcoming tool cabinet.
  By the end of the day each of us had completed the “field” of the panel we were creating.
 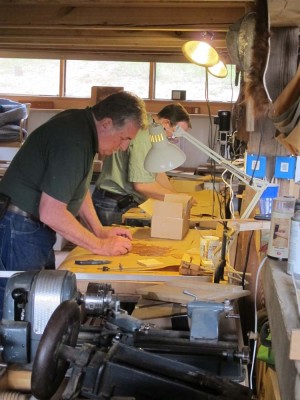 All in all, a very good day.


Recent Comments