Once I realized I needed to make another Roubo bench for WW18thC, my sixth or seventh such tool, I began with a selection of SYP 2×12 framing lumber stacked underneath the lathe. (Calling it my 18th bench includes a small number f no-account benches, for honest-to-goodness furniture making or repairing workbenches the real number is probably 13). I ripped in half as much material as I needed to make the bench and legs and loaded the ripped lumber into the truck to cart downstairs to the planer.
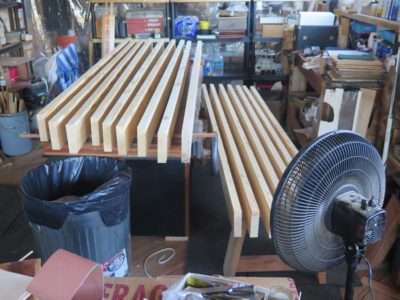
After running it through the 10″ Ryobi planer to get clean surfaces on both sides (although I will have to set aside some time to address the snipe issue, which seems to be getting worse. Go figure, I’ve only been using it hard for thirty years. Or, here’s a thought, run some new wiring down to the machine room/foundry so I can hook up my Mini-Max 15″ planer/joiner that has zero snipe) and then carting back up the the main floor I set them out spaced in my barely heated shop for a few days to equilibrate.
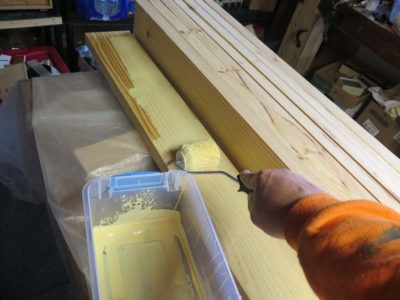
After spreading some plastic on the bench I glued up the core laminae using yellow glue to skirt any temperature issues. Previously with 3-3/4″ stock I assembled the bench tops in two pieces so I could run them through the planer once assembled, but since this was 5-1/2″ stock I was going to have to plane everything entirely by hand. No, I was not going to be slinging these slabs around to feed them through a planer.
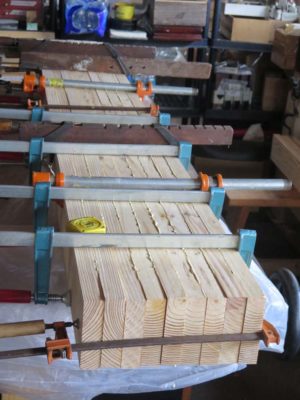
I had not yet finished fabricating Roub0’s panel clamps, which could be scaled-up to work perfectly for this process, so I wound up using practically every clamp I had of this size to get things glued.
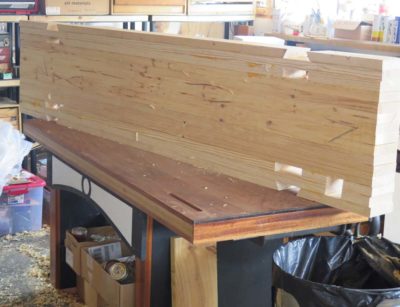
The next day I came back to glued up the outer laminae with the mortises, using 5″ decking screws as the clamps. The resulting slab was right at the wight limit I could handle by myself.

Presenting a demonstration takes a lot of time, as much time as actually teaching a hands-on session on the same topic. When I used to manage educational programs in my previous life I usually budgeted staff time of one full day of preparation for each hour of a new class. So if a colleague came to me with an idea to develop and teach a week-long class, I knew to budget for them eight weeks of prep time. Time-compressed demos for a conference like Working Wood in the 18th Century are even more lopsided, as a 90-minute live demo requires roughly the same preps and materiel as a two week workshop. So, for my two sessions at this year’s conference, Roubo Rediscovered: Merging 1760s Paris with The 21st Century and The Historic Gilder’s and Finisher’s Workshops, I began preparing aand assembling the supplies in earnest before Thanksgiving.
Things were progressing swimmingly until just before Christmas, when I corresponded with Anthiny Hay Cabinet Shop master Kaare Loftheim about the logistics of moving Colonial Williamsburg’s Roubo bench to the stage of the auditorium. His reply, which I should have expected, was that they did not possess a Roubo bench. I smacked my head. Of course they would not have such a bench since Williamsburg was essentially a 17th century English town!
It was time to rethink my strategy as I would need to arrive with my own Parisian workbench. I already had three that would serve the purpose nicely but they were so ensconced in their places that it was easier to build a new one for this demonstration.
So I did…

Recently I was back in Mordor for a couple of days and dropped in to visit my friends and colleagues at the Library of Congress Book Conservation Lab. I was delighted to see them again, and can happily report that the work bench I custom made for them last year is suiting their needs perfectly.


There is clear evidence of use of the bench, and there is universal acclaim of its suitability for their needs. They are especially appreciative of the stepped riser blocks so it can be fitted for everyone in the group. As you can see there is a wide range of statures represented in the group.

The purpose of the bench is to serve in the re-binding of ancient books, a process that is typical every few centuries for books of the pre-16th century type, which were bound with solid wood cover boards. In preparation for an upcoming rebinding of an important book (14th century?) they undertook a practice run of creating a completely new book that replicated the projected treatment for the old book.


Much to my surprise and delight they gifted this practice book to me, and it has become a treasured keepsake. The workmanship and artistry are simply breathtaking. They urged me to use it as a note book but thus far I have not been able to force myself to do that (although I did already ding one edge). Time will tell if I ever can.


One of my favorite aspects of working on The Roubo Translation Project has been the replication of many of the techniques he described in L’art du Menuisier. For a long time I thought that intricate banded borders were dauntingly complex and fussy. Then I did it the way he said and I realized that the artisans of the period had standardized the process so as to make them near idiot-proof. Voila’, a method I can work with.

The knotwork banding illustrated in Plate 287 is a perfect case of this. Using a set of sawing and planing jigs to produce an infinite number of perfectly sized and fitted pieces the design pattern is a piece of cake. But, as with most things, the set-up is crucial. And that is what we will be doing in these three days; making the banding, laying out and creating the jig block, and making knotwork corners to your heart’s content.

**************************************************
The complete 2018 Barn workshop schedule:
Historic Finishing April 26-28, $375
Making A Petite Dovetail Saw June 8-10, $400
Boullework Marquetry July 13-15, $375
Knotwork Banding Inlay August 10-12, $375
Build A Classic Workbench September 3-7, $950
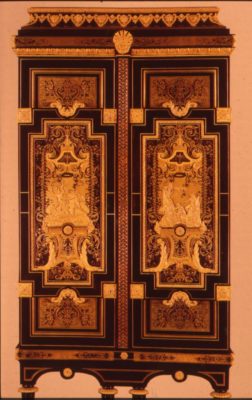
Since seeing my first piece of antique furniture decorated with tarsia a incastro, or “Boulle work,” I have been captivated by both the art form and the technique.
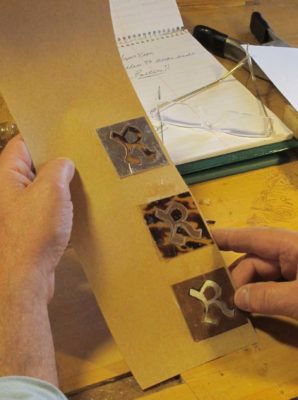
This ancient method of using a minuscule blade in a frame saw, usually a jeweler’s saw in our time, for cutting patterns in two or three layers of material comprised of the shell of a sea turtle, a sheet of brass, and sometimes a sheet of pewter, remains captivating to this day. The result is the same number of completed compositions as the original number of layers in the stack.
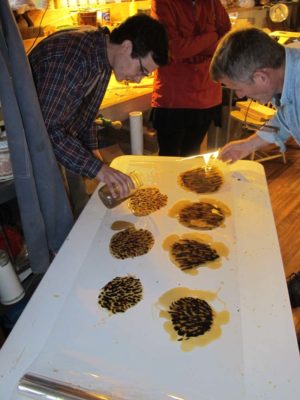
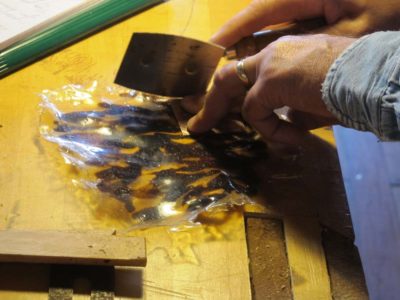
Due to the prohibition of trade in turtle shells I invented my own very convincing replacement material I call Tordonshell.
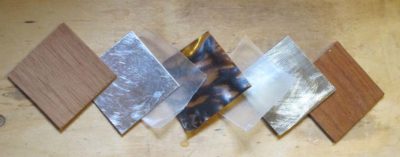
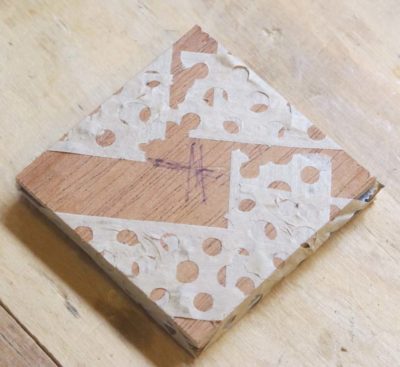
So these three days will comprise of making your own piece of Tordonshell (I will have some pieces made in advance for the workshop) and sawing patterns from packets we will assemble for cutting.
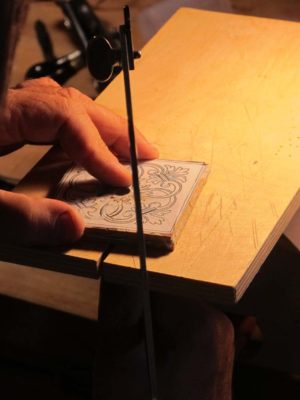
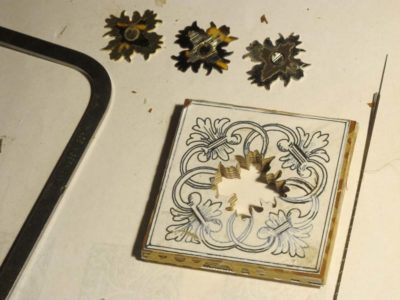
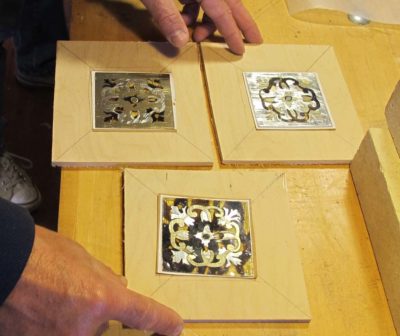
Though we will be cutting them vertically to begin, there is a chevalet in the classroom and anyone who wants to give it try is welcome to do so.
*********************************************************
The complete 2018 Barn workshop schedule:
Historic Finishing April 26-28, $375
Making A Petite Dovetail Saw June 8-10, $400
Boullework Marquetry July 13-15, $375
Knotwork Banding Inlay August 10-12, $375
Build A Classic Workbench September 3-7, $950
With the legs in-hand it was time to build the writing box that went on top of them. Again using mostly southern yellow pine from my pile I set to work. It was straightforward but had to fit the legs precisely. I dispensed with making the bow-front drawer for the box as it would be predetermined by the box itself.

To get practice for the re-sawing that would come soon in prized vintage mahogany I did that with this tulip poplar stock.
The joinery for the box was mundane but a necessary exercise.
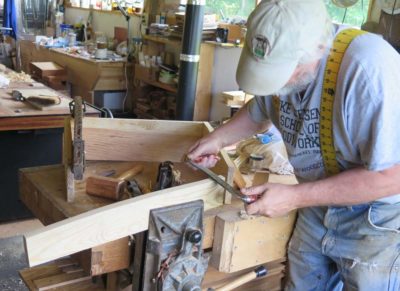
I established the curve of the drawer frame and the top with drawknife and spokeshave.

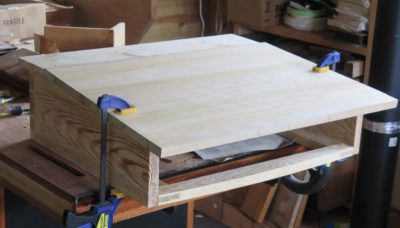
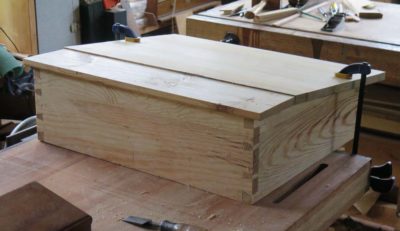
And put it together. The writing surface was simply tacked in place with finishing nails as I would need to remove it to check the internals once the real project was underway. On that version the top would be glued in place with glue blocks.
Up next: joining the legs, box and shelf to finish the prototype.

In recent years my projects and inclinations have guided me towards more diminutive work in thinner stock. This makes cutting dovetails somewhat of a challenge when using a standard saw, which is often too aggressive and thus harder to control effortlessly. As a result of that I began exploring the prospect of fabricating my own petite dovetail saw. I wound up making several with good-to-excellent results. We will replicate that process and send you home with your own.
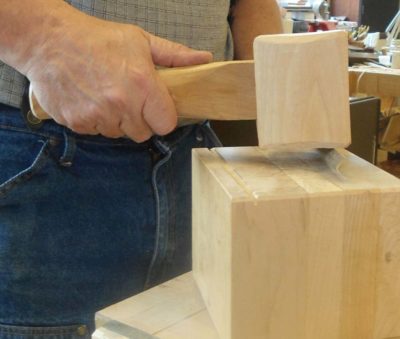

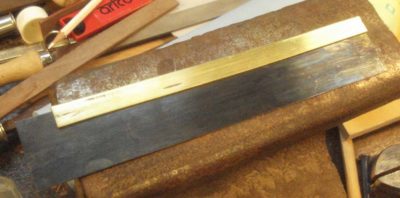

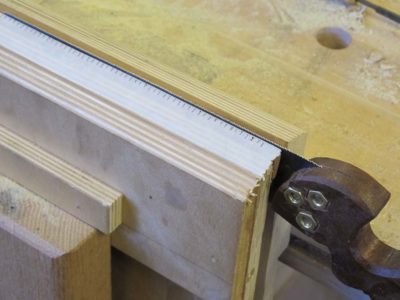
If you have a particular piece of wood to use for the handle (tote) feel free to bring it to work with. Otherwise I will provide all the materials for this workshop. We’ll aim to fold and finish the back, taper and insert the plate/blade, fit and fashion the handle to your hand, and file the teeth.
The tool list for the workshop is a short one and will be sent to attendees well before the event.
****************************************************
The complete 2018 Barn workshop schedule:
Historic Finishing April 26-28, $375
Making A Petite Dovetail Saw June 8-10, $400
Boullework Marquetry July 13-15, $375
Knotwork Banding Inlay August 10-12, $375
Build A Classic Workbench September 3-7, $950
It’s been more than four months since I last wrote about my project to interpret an early 19th century writing desk for a client, when I had the opportunity to use period appropriate technology for virtually the entire project. Previously I had written about deriving the design templates for the project, and this post will finally get down to fashioning wood.

My first problem(?) was that I was a bit hazy on some of the internal construction details of the original. To resolve that void, or to at least come to a workable conclusion, I needed to build a full scale prototype. Using some left over 2x SYP from a workbench-building project I did just that. I rough cut each leg element with a bandsaw (this was primarily a proportion and joinery exercise) then shaped them just enough to get the gist of the idea.
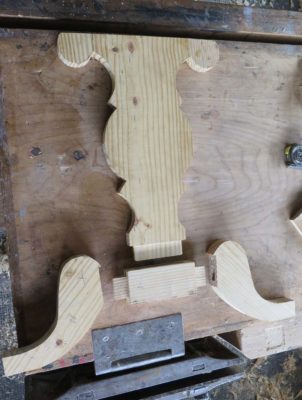
Then with each individual element fashioned I dove into the joinery for the complete leg assembly, with frequent dry fittings.
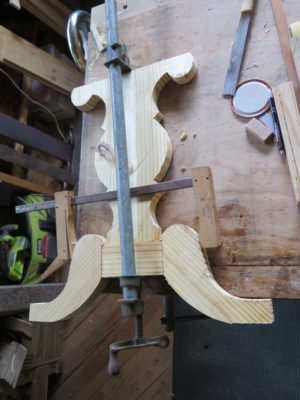
Using PVA I glued up each leg.
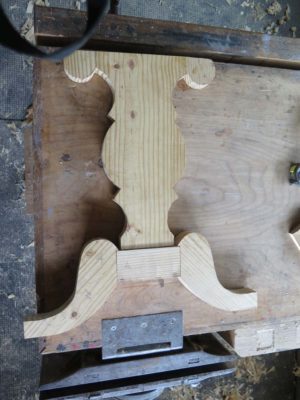
In the end I had two leg assembles shaped and fashioned, and joined, glued, and assembled. This was an important moment as I exerted my full weight on each individual leg to make sure they would hold.
They did.
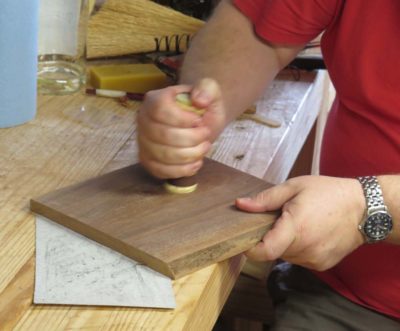
April 26-28 Historic Finishing – My own long-time favorite, we will spend three days reflecting on, and enacting, my “Six Rules For Perfect Finishing” in the historic tradition of spirit and wax coatings. Each participant may bring a small finishing project with them, but I have found that invitation to have erratic responses so the workshop will focus on creating numerous sample boards to keep in your personal collections. Tuition $375.
***********************************************
The complete 2018 Barn workshop schedule:
Historic Finishing April 26-28, $375
Making A Petite Dovetail Saw June 8-10, $400
Boullework Marquetry July 13-15, $375
Knotwork Banding Inlay August 10-12, $375
Build A Classic Workbench September 3-7, $950
If any of these interest you, contact me here.
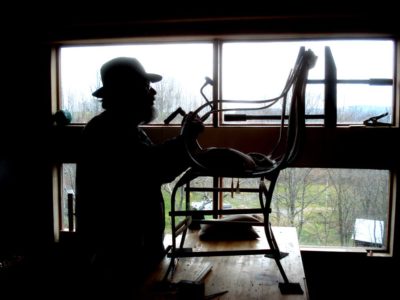
One of my long-time interests has been the iconic “Elastic Chair” of Boston chair maker Samuel Gragg, who produced these sinuous featherweight painted chairs for a few short years somewhere in the window of 1805-1815. Having made a few myself I can see why he switched to technically simpler chairs, but I remain smitten by the form.
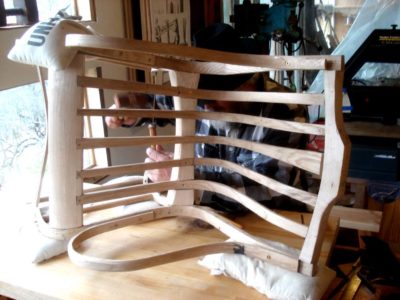
At one of the woodworking events in the past I had my Gragg chair there with me on display, and at some point I was absent from its presence and someone sat in the chair who shouldn’t have. The first hand accounts ex poste indicate that the offender was so corpulent (first hand accounts would suggest said person was well north of four bills) that he could not get out of the chair as his flesh has drooped over the seat rails and filled the void of the arms and even below the arms. He was wedged in tight as could be. In the desperate struggle to get out of the chair where he was not supposed to be, the occupant apparently put his forearms on the chair arms with the all the force he could muster on the arms of the chair to pry himself out of it. He was evidently successful in that his bloated dead carcass was not in the chair afterward, but in extricating himself he managed to fracture both arms. Of the chair. He fled the scene with nary a word of acknowledgment nor apology.
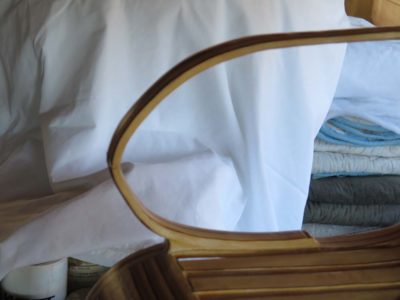
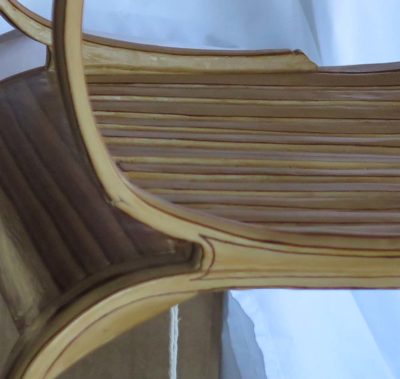
After contemplating a solution for the time since and seeing a bit of clear sky in my upcoming schedule (and to get warmed up to build two elastic chairs that I’ve been commissioned to make, but more about that later) I have now decided to undertake the repair. Even though it is something I made myself, thus disposable, I will endeavor to follow the same decision framework I’ve used for for four decades on museum and client artifacts, just to make it interesting. It will be a great learning experience for me.
Stay tuned.


Recent Comments