A fortnight ago I was en route to Barnesville, Georgia, to participate in the French Oak Roubo Project 2015. My contribution was somewhat unknown given my limitations regarding heavy lifting and moving, especially in regard to the fact that we would be fabricating and assembling classical workbenches weighing in somewhere in the 400-500 pound neighborhood. Still I was determined to contribute as best I could.
Driving through the Atlanta morass seems to be no different regardless of the time and circumstances of the effort. On this trip I was heading through at mid-day on Sunday, concurrent with a cold front moving through the area. Add water, stir, and traffic chaos results.
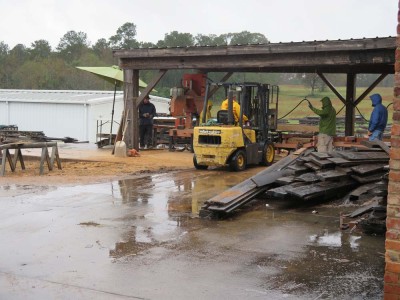
On my arrival at Wyatt Childs, Inc, I noted immediately (and was silently thankful that I was not a party to the activities) that the sawmill was hard at work in the driving rain, and the advance team of Jameel, Raney, John, Ted, and Chris who had joined Bo’s crew in prepping the gargantuan oak timbers was shivering. I was delighted to greet them and get inside ASAP.
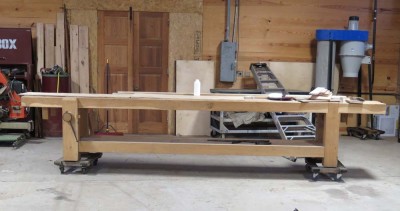
There I saw the behemoth bench that Jameel’s posse built for Bo during the 2013 iteration of the event. This bench has been used hard in the intervening years, often by four craftsmen at the same time, and seems to be holding up exceedingly well.
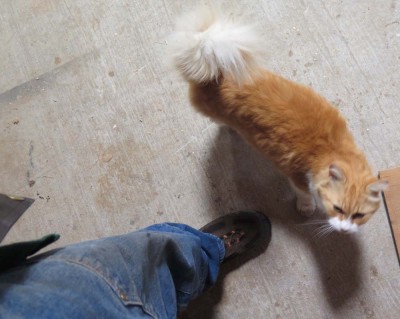
And a new friend was there to greet me. The cat was omnipresent for most of the week following. I’m a cat guy (dogs are just too darned happy and friendly) but I find myself cat-free for the first time in approximately 55 years.
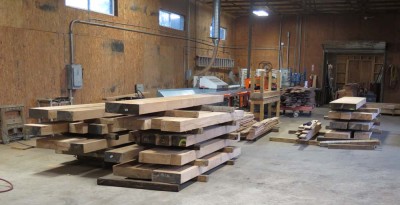
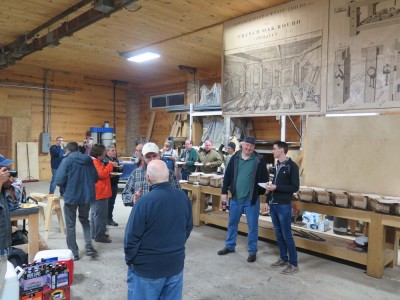
As Sunday unfolded the stack of sawn timbers kept growing until it included the rough stock for seventeen benches. While that task was wrapping up the rest of the participants began trickling in. For most of them the reaction to the location, the facility, and the materials was wide-eyed astonishment.

An afternoon-concluding highlight was firing up the grill as Chris and Narayan prepared supper for the crowd. Chris brought a cooler full of hand made Cincinnati brats and we worked mightily to make them disappear.
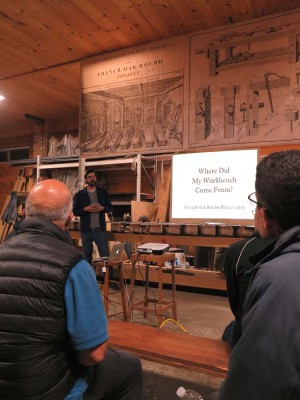
After the meal Jameel made a few opening remarks then turned the stage over to Chris who presented his current state of research on the lineage of the Roubo bench.
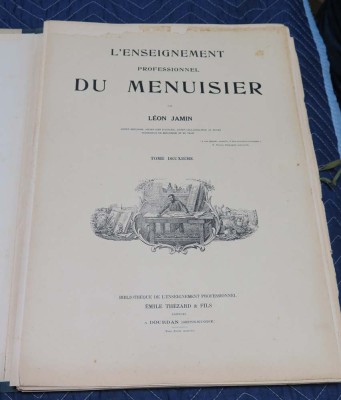
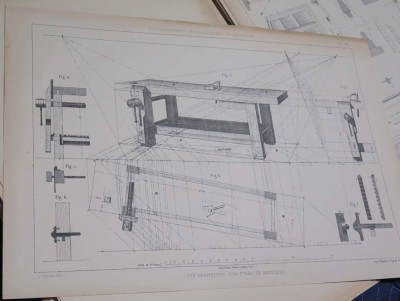
Afterward the fellowship continued as the participants acquainted themselves, I amused myself by perusing Bo’s French furnituremaking manuscripts including an eerily familiar technical drawing. Then it was off to bed for the first of several days of exhausting and exhilarating work.
I have mentioned in the past my affinity for my beefy 8×10 southern yellow pine planing beam. It is in fact the place I find myself more than any other in the shop when actually doing woodworking, especially fabrication. A recent addition to the accouterents of the work station only enhanced my gravitation to it.
Unlike many purists I feel nearly equally at home with western and eastern woodworking techniques. I am not sure if I am equally facile, but I enjoy them pretty much the same. After watching a youtube video on Japanese woodworking I came up with the “ambidextrous” bench hook, one that cne be used pushing with Western tools or pulling with Eastern tools, both right handed and left handed.
The fixture itself is a simple adaptation of the traditional bench hook/shooting board. I made two identical plates of 1/2″ baltic birch plywood and affixed them together offset by about an inch or so on either side. I then attached the top and bottom front and rear cleats as normal.
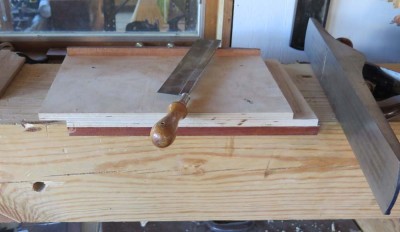
The arrangement works in the following manner (but its full utility is dependent on the fact that the planing beam is 10 inches deep): set on the beam in the “normal configuration it works as a typical right-handed push-tool bench hook/shooting board. Flipped over front-to-back it yields a second orientation that is a left-handed push-tool bench hook/shooting plane.
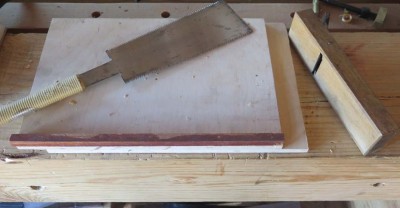
Starting from the original position and flipping side-to-side provides a right-handed pull-tool sawing and shooting board function, while starting from the original position and rotating it 180 degrees flat results in a left-handed pull-tool set-up.
If there is interest I will make and post a drawing of the fisture so you can make one to fit your exact needs.
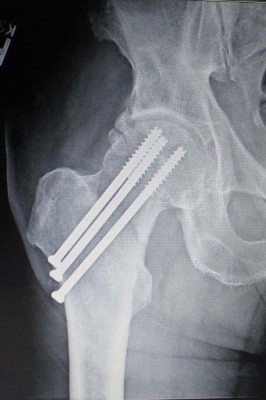
Yesterday I had my final check up with the orthopedic surgeon who bolted my femur back together three months ago. He was pleased with my progress (the fracture is no longer visible in the newest x-ray; this picture is from several weeks ago) and released me to whatever level of activity I wanted to undertake. He did posit — scolding would be too strong of a word — that I was unrealistic in already abandoning my cane and I should keep it in use for several more weeks, especially when hiking the 150 yards of 15% incline to and from the shop. And, the leg strength is at about 75%, with the remaining coming in the next few weeks.
The hip has been a little cranky lately, almost certainly due to the 11-hour drive to and from southern Georgia, punctuated by a week of standing on a concrete floor during the Roubo Bench Build (more about that in coming blogs). But it felt much better today after a couple nights in my own bed and a day on the much gentler floors of The Barn.
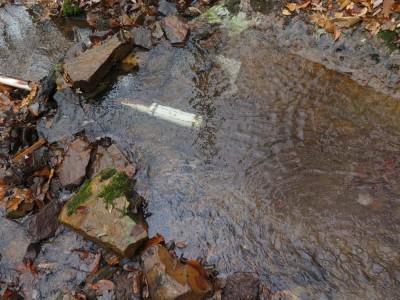
I recently ventured upstream to check on the status on my microhydropower penstock (the pipeline) to see why it had ceased flowing. I expected to find some kind of rupture or dislocation in a planned spot following torrential rains, but I was delighted to find the line intact. What had happened was that the beta version of the new line filter, installed just before peak leaf season, had finally become encased in leaves from the stream and had clogged.
This is no small deal as the water not only flows passively into the penstock, but once the penstock is filled and the water therein pressurized, the flowing-in water and any debris it contains is literally sucked to the grill of the filter from the siphoning power of the pipeline. Given that the “siphon” contains almost 900 pounds of water falling 125 feet, that’s a lot of siphonage.
The fact that the clogging took more than three weeks during the autumn leaf deluge was extremely heartening. Literally less than two minutes of housekeeping got the system up and humming, and before I reached the bottom of the hill the turbine was cranking out electricity.
In coming weeks I will fabricate a real live “production” version of the filter which should make t a piece of cake to keep functioning. The new production version will be longer, probably three feet versus one, and may be larger than the beta’s 2-inch diameter.
Stay tuned.
Beginning round 1985 until my 2012 departure from SI I would travel once or twice a year to my home state of Minnesota to teach for and with my brother from another mother, MitchK at the Dakota County Technical College Woodfinishing Program. As much as I loved the events of the week and fellowship with Mitch and his students, I dreaded the reality that Mitch’s classroom and shop floors were concrete, and he was highly resistant to addressing the excruciating discomfort caused by my standing on concrete all day. I was wrestling with the ongoing affliction of bone spurs, which made every step feel like there was an ice pick being jammed into my heels. I guess Mitch’s years as jumping out of airplanes with full combat gear eventually numbed his feet and legs and he was unaffected by the concrete floor.
Eventually I demanded some padded mats to stand on, and that did help.
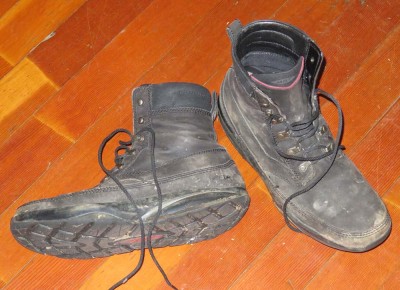
Some years later a coworker of my wife steered me to MBT shoes, which was instrumental in relieving the discomfort, and in fact probably allowed the bone spurs to disappear of their own accord. The rounded sole and heel-less configuration for MBT’s — and very high arch support — was great for walking and generally standing (the only problem was when you had to stand still with your feet at shoulder width while not holding on to anything, which would often result in losing balance when first getting used o the shoes) but they were simply not a high enough quality construction to use as work boots/shoes in the shop. They were definitely not appropriate for working the side of a rocky mountain. I’ve pretty much given up on MBT’s as a work shoe for the reason that their sole was not “grabby” enough for what I need, plus they wore out so fast. I found myself getting increasingly exasperated by a shoe that wears out in less than a year.
One option that has served me well in the shop has been Dansko’s walking oxfords, and while exceedingly well-made and very sturdy (my current pair is more than a decade old) the soles get pretty slick. Moving up and down an uneven hillside is not an option, but they are fine for the shop.
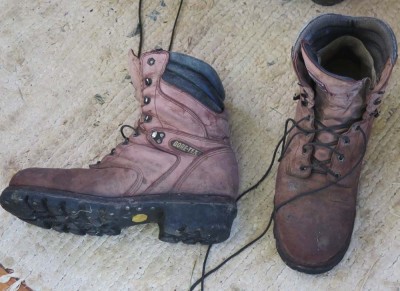
Another option that worked for me, particularly when working in the woods, was my beloved pair of Carolina lumberjack boots I bought about 12 years ago and still find them to be the most comfortable, robust boots I have ever worn. For much of the intervening period they were my “go to” boots, especially when I was traipsing up and down the mountain as their deep, knobby soles grabbed the ground and imparted great sure-footing, although they were equally comfortable in the shop. Unfortunately, they are so heavy it is like wearing a pair of cement boots. In the aftermath of getting into the ambulance for the trip to the hospital three months ago, my boots were left behind on the side of the driveway. My brother wound up bringing them into the house, and later remarked that they were the heaviest boots he had ever lifted. I do not know why they are so heavy, but they are.
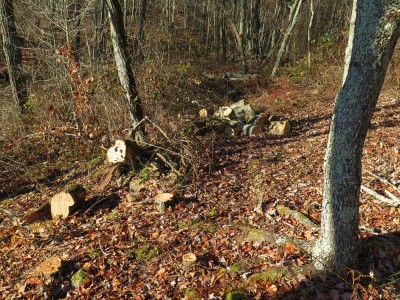
After resuming my regimen of outside activities in the past few weeks, I naturally returned to wearing my old boots. I really needed the support and sure-footedness they provided, especially as my confidence on uneven ground was not what I was used to. Even so, their weight was so extreme that I could not wear them for long as my leg was still not up to full strength.
So, I needed another option.
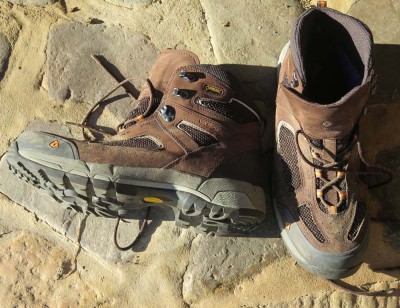
After a ot of research I settled on a pair of knobby-soled waterproof hiking boots manufactured by Red Wing Shoes under the branding Vasque. The Red Wing brand is solid gold in the workwear world, but I wanted lightweight, hence the hiking boots. I bought a pair of Vasque boots this week and am wearing them from now on whenever I need to move around outside, and hope they work out well. So far so good, but is has only been four days thus far. Even so it has been part of the equation that has made possible a full day of hard work in the woods.
With that resolved I was motivated to finally address another issue of footing, this time in the studio. Unlike Mitch’s torture chamber my shop has wood flooring, new southern yellow pine I laid about five years ago. Much to my surprise the raw wood has become quite slick in the areas where I do most of my work. In a lot of places this is not a problem, but such was not the case in front of the planing beam. Between the slick soles of the MBT’s and the Dankso’s and the slick wood floor I could barely get anything done at the beam.
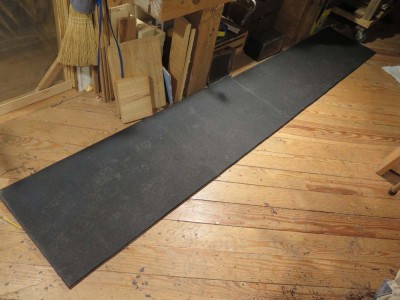
Today I solved that probel with the purchase of a large “horse mat” from the co-op. I sawed it in half lengthwise, laid it in the floor, and Presto! The problem was gone for only $30 and ten minutes.
After losing the better part of three months to forced inactivity I have been urgently addressing the heating needs for the upcoming winter with all the vigor I can muster. At first it was just an hour or two a day, but now I can manage a solid six hours of hard work at a stretch.
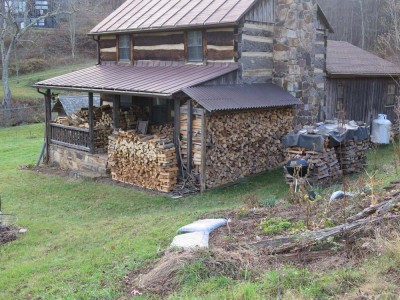
My last fifteen or twenty days have pretty much been the same; unless it was raining I was engaged in firewood harvesting. I’ve now managed to compile an inventory of about 10 heaping pickup truck loads. It’s about as much as we burned all of last winter, so we are somewhat sanguine about the heating situation for the cabin.
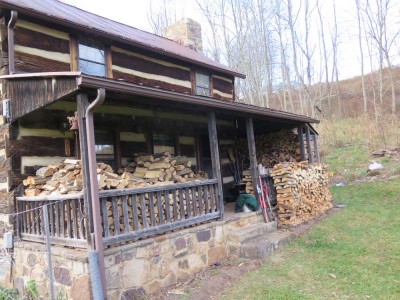
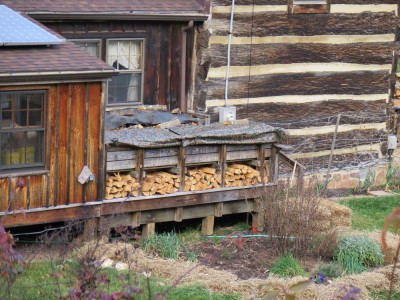
I’ll probably not be able to resume the intense processing of the firewood for a month or so until I get done with some other things. But for now we have the side shed filled, two large stacks adjacent to it left over from last winter, the side deck filled, and the front porch stuffed.
Let me state for the record that I DO NOT have a “brush fetish” or even a “brush problem.” I DO HAVE a strongly developed “brush interest.” Just because I have at least a half dozen drawers filled with hundreds brushes of almost every size, type, and vintage you can imagine is no reason to jump to conclusions. I must admit that on the aftermath of my becoming metabolically challenged my survivors will probably hold one of the oddest yard sales ever known to man.
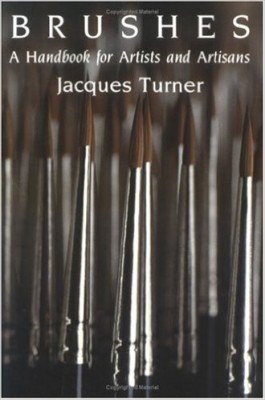
One of my favorite little books is a slim volume on the craft of making your own brushes. Though I am by no means an art brush-making craftsman, the topic does fascinate me. During my recent forays into conserving some tortoiseshell boxes I found myself increasingly frustrate by the glue brushes I had at my fingertips, especially the disposable acid brushes. So, I made my own.
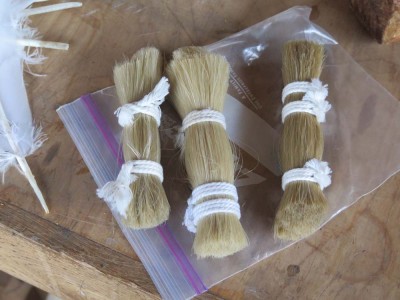
Thanks to the generosity of my friend WilliamD from New Jersey I had some one-inch hanks of beautiful bristle that he was throwing out in the aftermath of some project or another a couple of years ago. These were remnants from Chinese horse tail hair that a friend of his used for making and restoring violin bows.
The glue brushes I had been using were either inexpensive nylon bristle brushes or disposable bristle brushes, and neither was really performing as I wished. What I wanted was a pair of round brushes, one about 1/4″ diameter and the other 1/8″ diameter, with bristle lengths of a couple inches so that they could hold plenty of glue for me to apply in tight spaces.
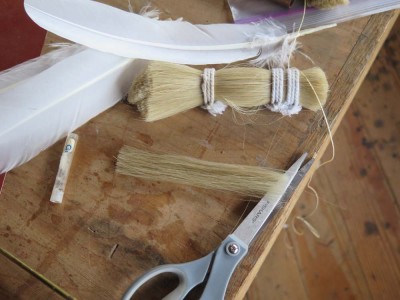
I first pulled out a small group of bristles that were enough to build the 1/4″ brush, and trimmed and aligned them.
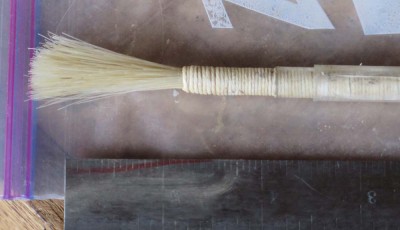
Since I do not have a well equipped brushmaking kit (yet) I proceeded with the simplest technology I had in-hand, namely wrapping the bundle much like I made the polissoir prototypes and the Model 296 polissoir is still made. I even used the same binding material, waxed lined thread.
I wrapped about four inches of the bristle bundle into a shaft, then tied it off. I had already determined the perfect size for the brush based on a plastic sleek I had from a gross of tiny jewelers’ blades I use in cutting marquetry. Since it seems like I almost never throw anything away I had several of these plastic sleeves in the drawer, and fitted the bound bundle to the one I wanted.
With gentle force I simply pressed the two elements — the bound bristles and the plastic sleeve handle — together until they were firmly joined with a solid pressure fit. The pieces for the new brush were together but it was not yet finished.
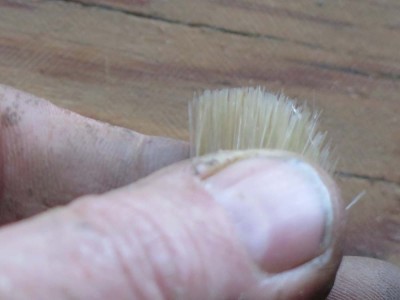
Pinching the end of the bristle together between my fingers I splayed the bristles to see if any were the wrong length. Some were, and I trimmed them with scissors. I then rolled the brush a bit and repeated the splaying and trimming, then repeated… Once I was happy with the shape of the tip, the brush was done.
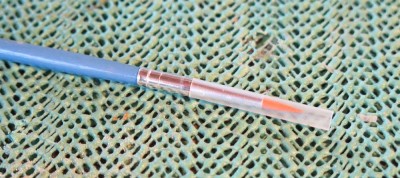
For the smaller brush I used a similar approach, substituting upholstery thread for the linen binding. For a brush this size I could not wrap it “in the open” and needed to find a suitable sleeve. One was no farther than the brush drawer, as the plastic sleeves used to protect newly manufactured artists’ brushes fit the bill perfectly.
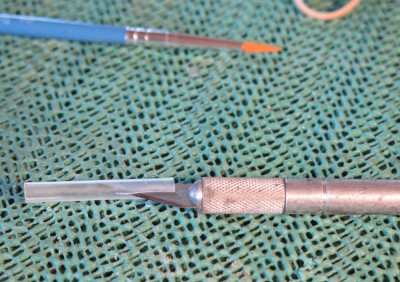
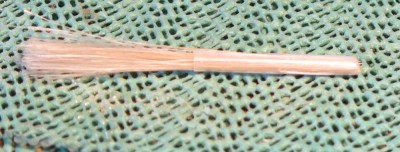
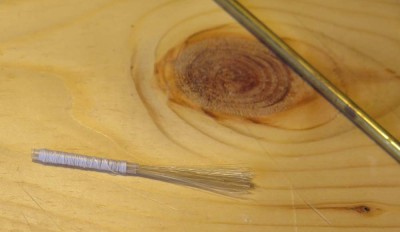
I simply slit one with a razor knife and inserted the bristle bundle into it, then wrapped the whole thing with upholstery thread.
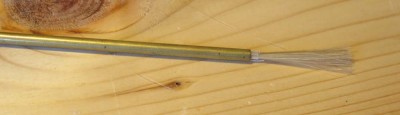
At first I though about inserting the finished brush tip into a quill, but none of my quills were a perfect fit. However, a piece of brass tubing from the scrap drawer was. Again I gently forced the bound brush tip up into the hollow of the tube, but unlike the larger brush once the smaller brush was assembled I drizzled a little PVA adhesive into the tube to glue the butt end of the bristle bundle in place.
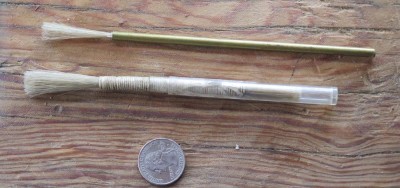
The result of my little brush exercise is most gratifying, and will certainly lead to more adventures. I know that when I build some more Gragg chairs over the winter I could use some new striping brushes. The ones I have now just aren’t right.

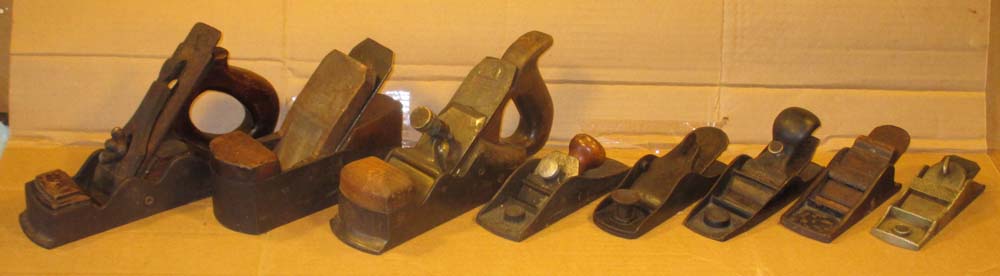
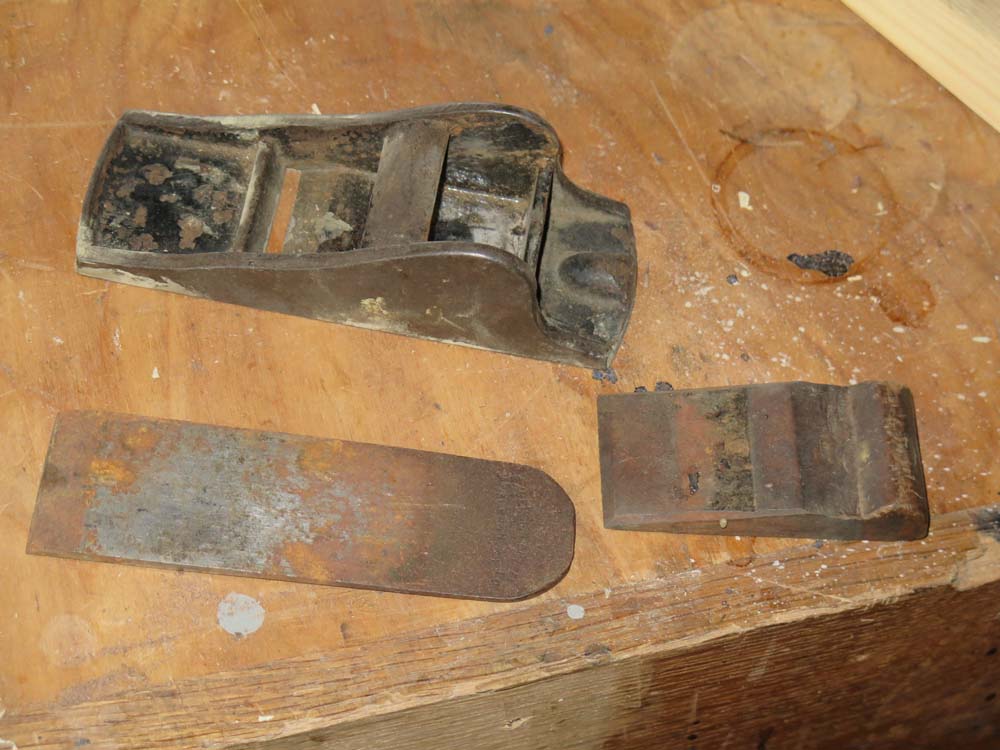
You might recall my purchase of a box lot at last summer’s Martin Donnelly Antique Tools, which include a couple of small chariot planes along with some infill planes (more about them later). If I recall correctly, the entire lot went for $75, which divvied up means each plane was $10.71.

Recently while I was waiting for the glue to dry on some broken tortoiseshell and for a friend to come over and work on a project for his wife I took an hour to work on a nice little (5-3/4″) low-angle chariot plane (second from right in the top picture above). I do not know if this is technically a block plane or a smoother or something else. My own thinking is that if you do not know how to sharpen it well, it is a block plane. If you can sharpen it well, it is a smoother.

This plane was so decrepit that the iron was rusted in place in the body, and took some solid whacks with a hammer to dislodge it. Given that, it should not be a surprise that almost everything about the tapered laminated iron needed reworking.

In cases like this I outfit my granite lapping plate with a 60 grit belt and go to it. Even working these surfaces on a 220 grit diamond stone would have taken for ever. Using the 60 grit I was able to get the back cleaned and the bevel re-made in about fifteen minutes.

As soon as I was done with the iron I went after the surfaces of the body itself, which was just as corroded. Both sides and the sole were in rough shape, but with careful attention I got enough of the corrosion and pitting removed to make it look like a plane. But as you can see, the surfaces are not perfect. Again, it took about fifteen minutes to get it into some semblance of acceptable. Not Raney or Konrad acceptable, but way better than it started out.

For about a half hour I worked on the sharpening stones, first squaring the iron tip on the 220 diamond stone, then working the back and bevel with the same stone before making my way through the 1000, 8000 and 12000 water stones.
From taking the plane apart until producing gossamer shavings I spent and hour and seven minutes rescuing what was a derelict tool and transforming it into something that belongs in the inventory of planes above the planing beam. Now it feels great in my hand and leaves the wood surface glistening, which is about all you can ask.
The final steps for polishing up the tortoiseshell and water buffalo horn snuff box were fairly straightforward. My practice for polishing tortoiseshell is entirely hand-work based. I do not use power polishing at all, i.e. buffing wheels, as I believe they rob the tortoiseshell surface of its tortoiseshell-ness through heating then deforming the surface by rubbing against a high speed abrasive wheel such that much of the character on and just beneath the surface is obliterated. I have seen too many beautiful tortoiseshell objects that were power buffed to the degree that they look just like molded plastic. That is certainly not what I am ever aiming for.

My tools and supplies for bringing the tortoiseshell surface to where it is supposed to be are few and simple: a sliver of a felt buffing wheel, a shallow watch glass (although any small, shallow ceramic container will suffice), an eye dropper or pipette, alcohol, 1 micron metallography micro polish abrasive powder, and disposable cosmetics pads.

I place a small amount of the micro polish powder in the watch glass and add some alcohol to make a slurry and moisten the felt wedge. I dip the wedge in the slurry and then rub it against the surface of the tortoiseshell. I check periodically by wiping the area clean with a cosmetics pad, and when it has reached the desired sheen I clean off the area thoroughly.

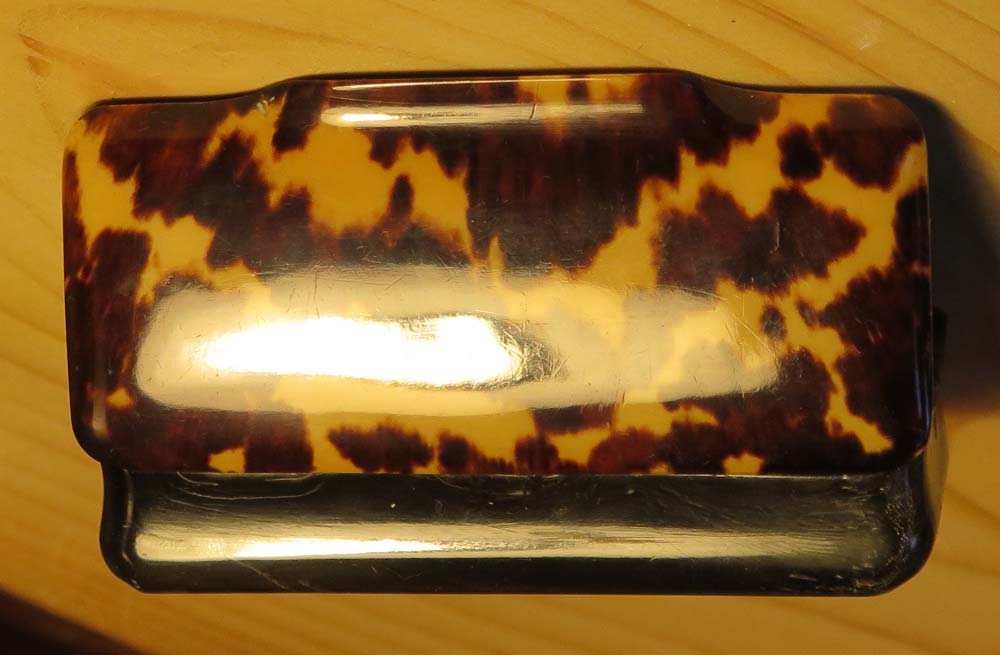
As you can see, the result can be stunning! It is difficult for me to photograph a really glossy object on my workbench.

One of the really neat things about this box is that after polishing, the grain pattern of the horn box has an iridescence that literally glows at certain lighting and viewing angles.

From other angles it just looks like a beautiful highly polished black surface.
And now this project is done. On to the next one.
For the past several months I have been working on many interesting projects from a client’s large collection of exquisite tortoisehell objects d’art (that’s French for “real pretty thing”). Now that I am back in the studio after almost three months of inaction resulting from my broken hip, these projects are coming to fruition. Over the next few weeks I will be chronicling the projects beginning with the simplest and working towards a nearly complete reconstruction of a complex tea caddy. These blog posts will not be sequentially consecutive, in other words they will be interspersed with other postings but I hope to get a new update every day or so.

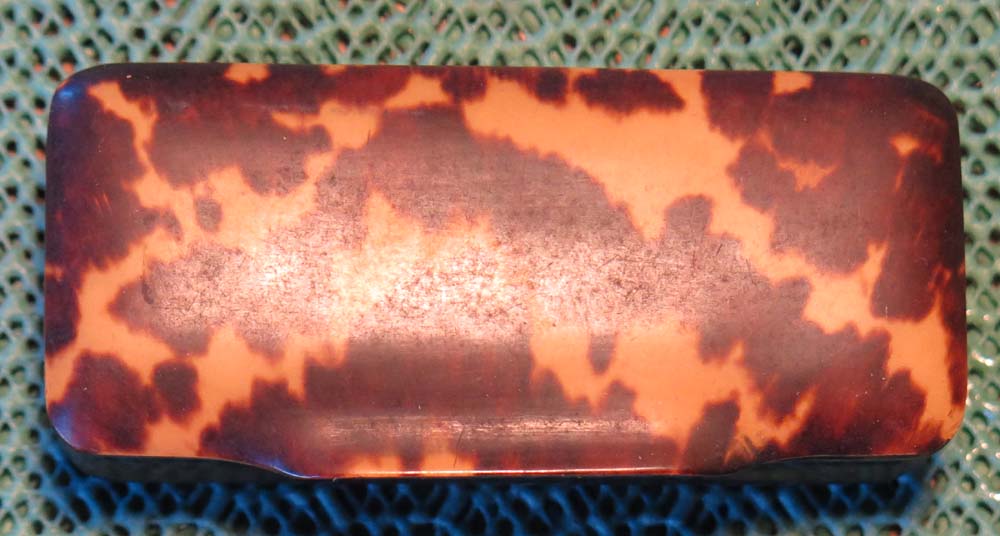
The first artifact in this series was a tiny box, probably for snuff, with a the box intact but in dire need of a cleaning and polishing. This artifact was a new acquisition for the collection, so the condition was “as received” following an auction, not the condition of the collection in situ.

One of the fascinating technological features of this little box, which measures approximately 3-1/2″ x 1-1/2″ x 1″, is that the lid is formed from heavyweight hawksbill turtle shell while the box is formed and carved from what I believe is water buffalo horn. If you look carefully you can see the grain of the buffalo horn you can see this grain. If I could figure out how to get my Canon G16 to actually focus on what I want to shoot, it would be easier. I may actually have to break down and read the instruction manual. I never ha that problem with my beloved Canon G12, but a sudden deceleration event rendered the latter non-operational.

The only real issue with this snuff box is that the surface was no longer presentable, so the object was no longer fulfilling one of its primary functions. The strategy for obtaining the appropriate presentation surface revolved around two points, first to clean off the encrusted grime, and second to abrasion polish the underlying shell surface as necessary. There would be no way to know how much of the second step was necessary until the first step was completed.
Cleaning tortoiseshell is a tricky business sometimes, as shell is a long chain crosslinked protein, namely keratin, which is the same protein macromolecule that constitutes your own fingernails, skin, and hair. Thus, it is a material sensitive to water. But some times aqueous cleaning is the most efficient approach for dusty grime.

In this case my testing confirmed that spit cleaning was the best approach. And yes, I mean spit. My approach was to dampen swabs in my mouth — late in the morning or afternoon, so that any food debris from breakfast or lunch and any toothpaste residue is long gone — and moisten the shell surface with the wet swab. This has the advantage of applying the cleaning and digestive chemistry of the mouth to the cleaning problem, with the added advantage that mouth-moistened swabs do not flood the surface of the hygroscopic material enough to cause any problems. (Chemistry is our friend!) As soon as the cleaning and grime removal has been accomplished, I dry the surface, usually with cosmetics sponges, followed by a damp wipe with clean cosmetic sponges moistened with a few drops of distilled water.
The result was heartening in this case, revealing that any abrasion polishing afterwards would be minor.
And that’s what comes next in this series.









Recent Comments