The light at the end of the tunnel was glowing brighter with every day.
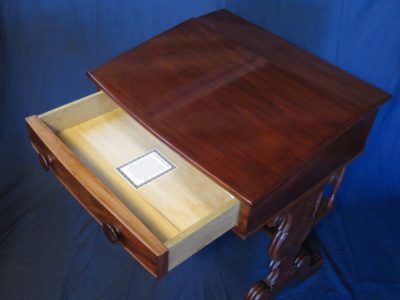
I created an archival label for the desk, describing its antecedent heritage, the making process, the patrons, and me as the maker. I glued it into the drawer and with that the creation of the desk was complete.
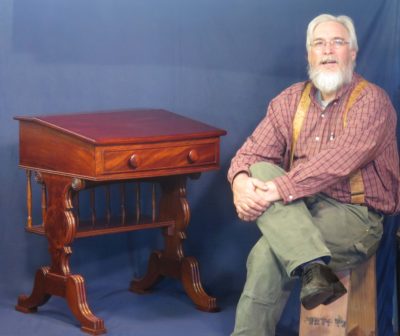
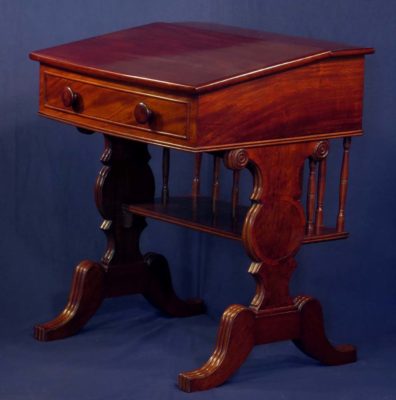
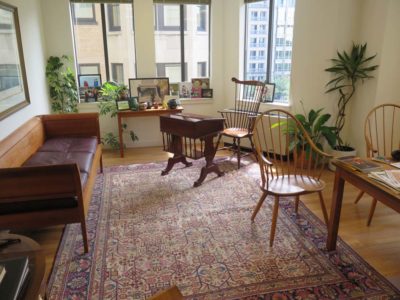
After that the only tasks were the glamour (?) photography, including the obligatory selfie, and delivering it to its new home.
All it took was almost two years from the initial client inquiry, my suffering and recovering from a broken hip the first year and a broken arm the second, a pile of prototyping, and a ton of hand-work as the project mandated.
I was not displeased with the ultimate outcome.
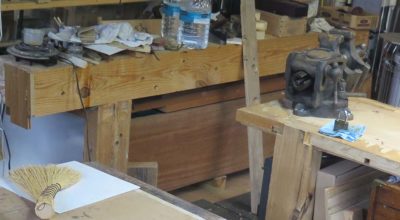
Throughout the project and its aftermath I assiduously acquired enough vintage select genuine mahogany, stored mostly underneath my planing beam, to make another half-dozen of the desks. All I need now are the clients to make it happen. If you know anyone who wants one, let me (or them) know.
One of the challenges of “downsizing” is finding furniture to hold your stuff and fit in the new, smaller space. This was particularly nettlesome for us as we moved from a 16′ x 24′ bedroom to one that was half that size. For several years we had been searching antique shops for a small cabinet to hold some of Mrs. Barn’s clothing (fortunately we are blessed with two large closets here) but never could find something to fit nicely. There ws only one place in our little bedroom for such a cabinet, and the size was very specifically determined by that space.
Instead she did something that had not occurred in more than three decades of connubial bliss — she asked me to make a piece of furniture for her. Not just a piece of furniture but one made from vintage chestnut, a wood she likes very much.
So I did.
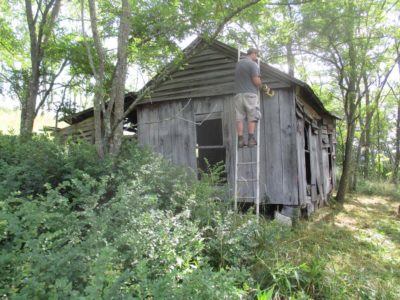
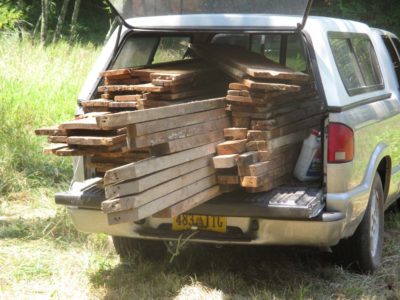
My source of vintage chestnut was unsurprisingly the old shack that my brother, nephew and I tore down three summers ago, a grand week of camaraderie whose ending punctuation was me laying in the hospital with a broken hip. The shack had been a living quarters, probably in the 1930s according to the newspapers pasted to the wall. The entire roof structure was chestnut, and the walls and floors were white oak. The haul was pretty impressive.
In the intervening time the wood was stacked nicely in the lower log barn awaiting my attentions.
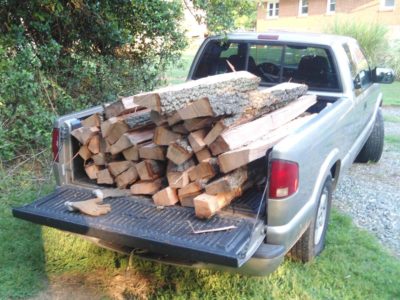
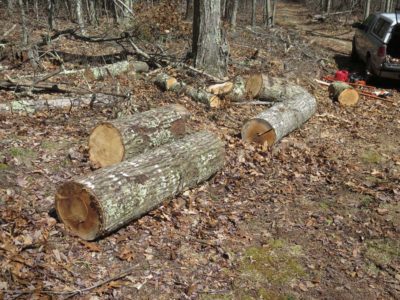
It’s been a preposterously wet early autumn and my routine of firewood processing has been disrupted mightily. It’s looking like there may be some break in the daily rain perhaps next month some time, at which time I will dive in with vigor in pursuit of my goal of cutting two years’ worth of firewood, which must be a dozen tons or so. This is a pile of 24″ diameter bolts I cut the last nice day we had almost a month ago.
This year I have acquired a specialized sharpening tool to make my work faster. Harvesting wood in the mountains is a challenge, not the least being that when trees are brought down the ground underneath them is rocky, rocks being our primary agricultural product here. No matter how carefully you work with a chain saw it is only a matter of time before you nick the rocky soil with the running saw, inflicting great damage to the saw chain which requires a pretty thorough re-sharpening. And, my saw is slightly under powered (read: “lighter than a concrete block”) which means I need the cutting to be as efficient as possible.
I’m pretty good at chain sharpening but I am not fast, so I explored this tool with great interest. Though pricey, roughly the same as a high quality sharpening stone for my finer woodworking tools, it has proven to be absolutely worth it for me. Acting as a reverse pencil sharpener that attaches directly to the saw bar and sharpening each tooth hollow with a quick turn of the carbide bit, then moving on to the next indexed tooth with alacrity, I can get even a damaged chain ready in a couple minutes.
Here is the whole process demonstrated in near-real-time.
It’s hard to write about the second have of this year’s Ripple Molding Mania since the prose would consist of, “Well, we kept on working and trying new things.”
With music in the background we were all busy little elves.
Travis used a definitive resource as his guide for moving forward with steady determination.
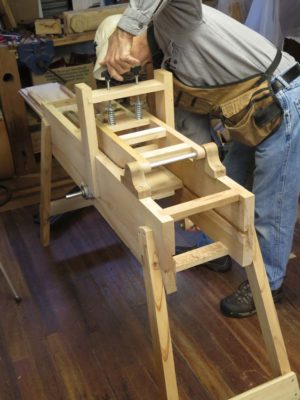
We brought up my bench-top drill press so we would have two of them available, which was needed at several points in the week.
Soon Travis’ machine began to take shape. eventually assuming its completed form by week’s end.
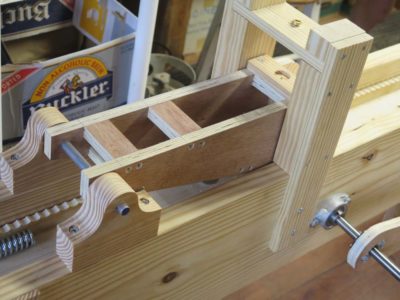
Of particular interest were his innovations for the follower and a home-built cutting iron advancer made from available parts from the farm and hardware store.
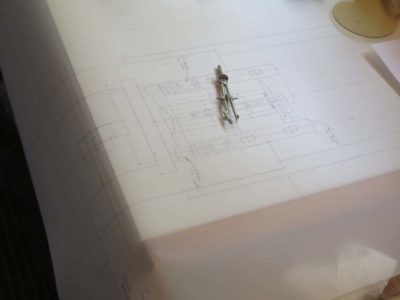
Working from an entirely different concept, the objective being a diminutive bench-top model, Sharon took to drawing out the problem and solution by creating technical illustrations that were themselves works of art. She has promised to share them with us once they are finished.
Meanwhile John disassembled and re-assembled his cutter head several times, trying to wring the last bits of flex out of the wave cutting function.
By the time we parted everyone was well on the way to have a functioning/better functioning machine. We have kept in touch since then, and continue to spur each other on with innovative brainstorming becoming manifest in reality.
We can hardly wait for our next conclave, when we expect it to be more of a show-and-tell rather than a think-and-build.
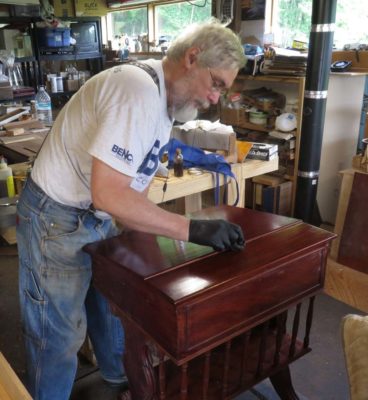
Once the finishing process was essentially complete it was time to rub out the surfaces and glue-up the desk. Since my goal for the surface was to present an unfilled, lightly-worn, ancient-but-well-cared-for appearance and character I rubbed down all the surfaces to accomplish those ends.
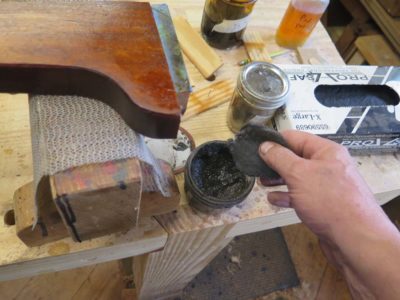
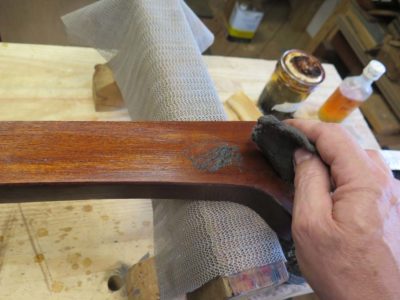
My typical procedure for this undertaking is to abrade the surface with ultra-fine steel wool saturated with paste wax or conversely a 4F pumice/paste wax blend, incorporating or succeeded by the inclusion of tripoli/rottenstone to leave subtle traces of “ancient schmutz” in the crevices.
In this instance I mixed up a paste wax/rottenstone blend to use with the steel wool, and proceeded to rub every exposed surface until the outcome arrived at the destination I was aiming for.
The “glow” and subtle grain of the resultant surface was so glorious I had to just look at it for a while.
This comparison of a rubbed-out (L) vs. raw surface (R) is demonstrative of the transformation.
This is the address I was looking for.
With the finishing mostly done I glued everything together with hide glue, and suddenly there was a complete piece of furniture staring me straight in the eye. There were only a couple of final steps to take, applying another round of pad finishing to the writing surface before rubbing that out, and buffing off the rottenstone-laced dried paste wax.
Although we live 400 miles from the landfall for Hurricane Florence (and I rejoice that the casualties were as low as they were — great job local authorities and emergency preparedness folks!) the resulting weather system sat over us and parked several inches of rain on an already sodden landscape. Our usually gentle stream was a roiling whitewater rapids and the spillway was flowing in full force. Here’s what it looked like at the homestead.
One of the weirdest moments was when it was pouring rain with the sun shining.
One of the exciting developments at The Barn on White Run in recent months has been our ongoing embrace of video as a teaching device to share what I’m doing with you. Here is the introductory video “blurb” to give you a hint as to where we will be going over the coming months and years (depending on my health, wealth, and wits). My long-term plan is to produce a completed video over several months, then post a chapter of it on-line, perhaps one per week, until the entire contents are available. Then, move on to the next video until I run out of things to teach and show.
We are this close (fingers 1/64″ apart) to having the first one ready to go. It’s roughly 110 minutes long, divided into thirteen chapters with the first one appearing some time next week I hope. Since it is our first effort I will be posting these video chapters for free, but subsequent offerings will have a modest price tag. More details about that later.
I hope you will find the viewing as enjoyable as I am finding the making.
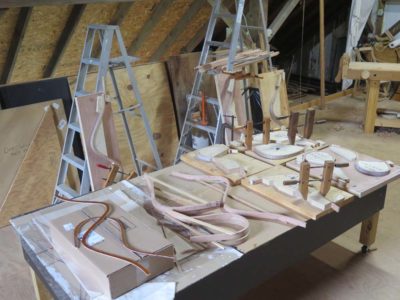
As I dive ever deeper into producing Gragg chairs, currently two on commission and another for myself with hopes of including this item in The Barn Store in the coming months/years (and even entertaining thoughts about offering a Make A Gragg Chair workshop as soon as the summer/autumn of 2020; first, I have to make one from start to finish in a week myself), I realize all the more how close Gragg was coming to the limits of what can be accomplished with wood as the raw material. Given the extremity of the bends involved, including the main serpentine element with two 90-degree four-inch-radius bends within a foot of each other and a180-degree four-inch-radius bend for the arms, working out the routine is a critical process.
I recall the first time I tried this almost a decade ago on the original Gragg repro prototype, in front of my Smithsonian colleagues no less, I broke every single piece of the ash I took from our prized lumber inventory in the conservation studio. Every. Single. Piece. Not to mention breaking several of the bending form elements which had been woefully under-built. It was not my proudest moment of professional accomplishment but drove me on to get it right.
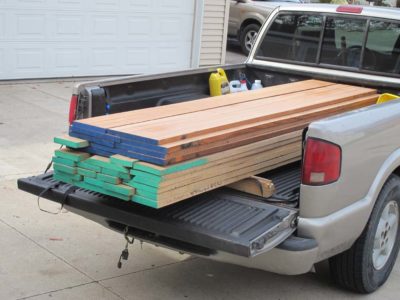
Even now I test the boundaries, trying riven and sawn kiln-dried oak (at the bottom of the pile in the truck), trying ancient/recycled but possibly air dried oak salvaged from a derelict weaving loom,
trying oak I harvested several years ago but have kept from seasoning fully, first cross-stacked outside and now residing in the basement/first floor of the barn,
and finally using oak I harvested this year. Through it all my batting average kept improving.
I’ve heard my friend Bruce Hoadley tell the story of a small manufacturer who was plagued with broken elements resulting from very tight bends after steaming. The punch line was that after going to watch the definitive practitioner for making the identical items, the manufacturer said with a smile something to the effect of, “He breaks most of them too!”
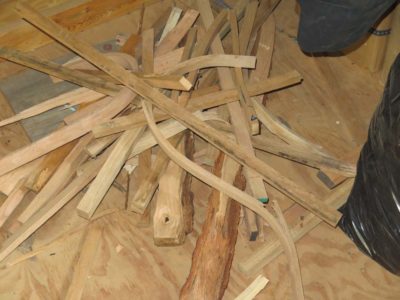
I encountered the same thing with the Gragg chair elements. Some stock bends like taffy, some breaks like crystal. I am moving more toward the former than the latter, but it is exasperating all the same. At least the failures make good kindling.
Yesterday afternoon my success rate was 92% with only a single stick making it into the failure pile. By observing the character of the pieces being bent, the stresses of the bending itself combined with the addition of bending straps, this is an outcome I can live with.
Still, the pile of kindling grows, just not as fast as in the past.
We recently convened our second Ripple Molding Think Tank at The Barn and great progress was made. The aggregate objectives were both vague and simple, to explore the world of making machines to fabricate ripple moldings. On an individual context I was looking to build my own version of a 17th century machine, as was Travis. Sharon wanted to start fabrication a petite version suitable for bench-top mounting and produce diminutive moldings for her own artistry.
Since last year’s confab John had already built a fully functional wave/ripple molding machine and wanted to improve its design and performance.
Starting first thing Monday morning Travis and I started cutting up some of my pile of SYP into machine structural parts, stopping to assist John in assembling his unit. By lunch time we were constructing our machine bases, both generally in tune with my First Edition Roubo prints depicting Roubo’s interpretation of a machine he had never seen.
Meanwhile John was deep into squeezing that last 10% of performance from his machine built in the aftermath of the International Ripple Molding Association first gathering. He had already nailed the ripple effect (up and down), now he was trying to dial in the wave effect (side to side).
Sharon arrived late on Day 1 just in time for dinner of Mrs. Barn’s outstanding cooking, and we were able to hit the ground running even faster on Day 2.
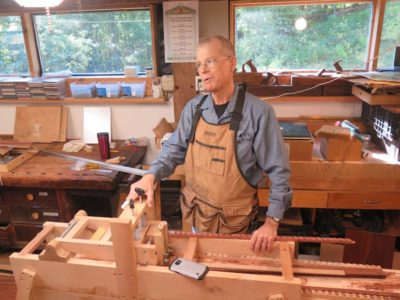
The first thing we did then was to record John giving us the walk through of his design ideas and manifestations.
He was effusive in extolling the outrigger arm he integrated into the cutter head, stabilizing the front-to-back flexing inherent in the cutting, and a robust drive with a drive gear and a rack mounted to the underside of the moving platen. That was an unbelievably useful exercise as we were able to get the big picture in a linear fashion as to his working and thinking about the problem, which in turn informed and directed our labors through the week.
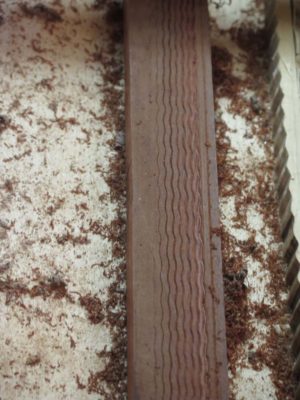
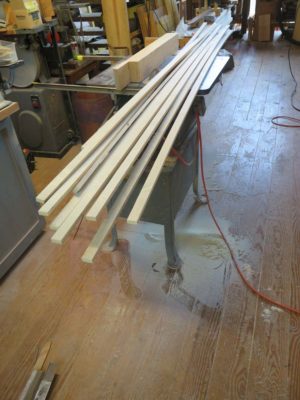
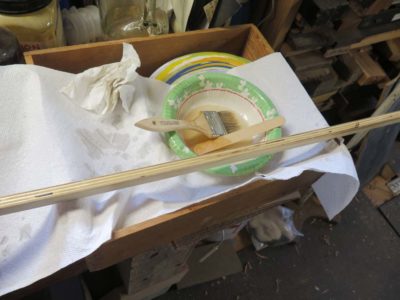
Once everyone got back to working on their machines I began devising a system for creating the scalloped patterns that were necessary for cutting the ripple moldings. First I cut a dozen identical 8-foot strips from 1/2″ baltic birch plywood to use as the stock, then double-impregnated one edge with dilute epoxy to provide for a cleaner edge when the patterns were made.
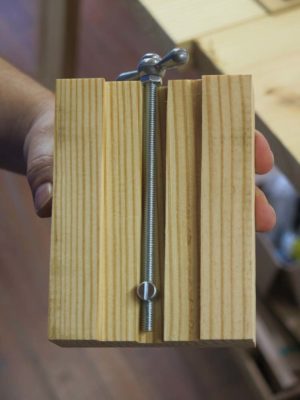
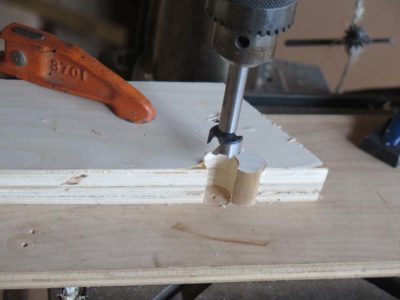
I came up with a handy jig for making the precision patterns on the drill press.
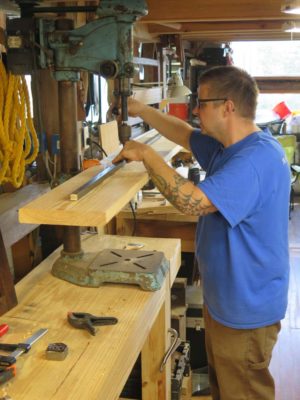
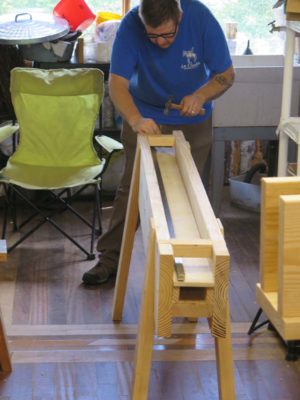
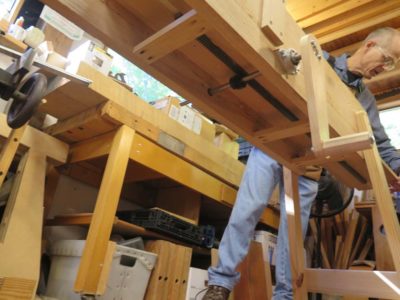
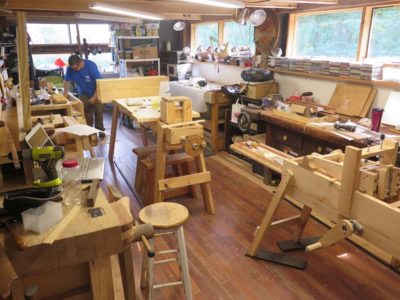
Meanwhile machines were beginning to take shape all over the place.
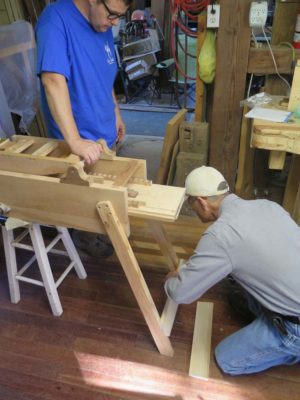
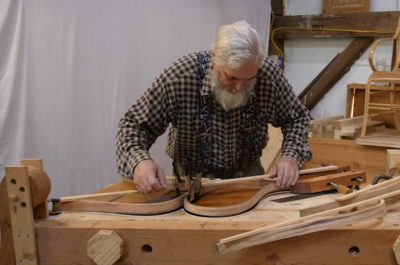
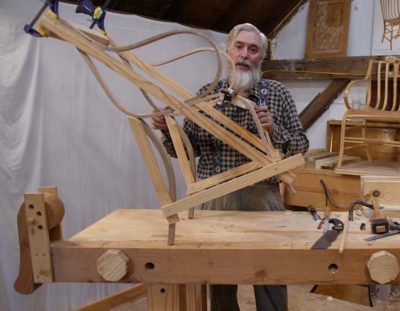
Our latest day of video recording dealt with the beginnings of assembling the pieces into a whole chair, including fitting the individual pieces together to fit the master template based on the many Gragg chairs I have examined over the years.
Once we moved on to fabricating the cross pieces things got fussy.
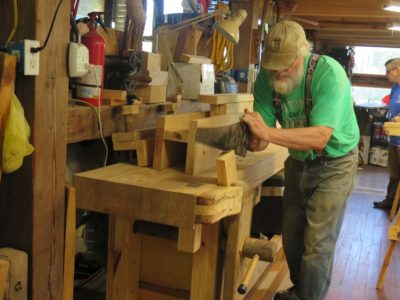
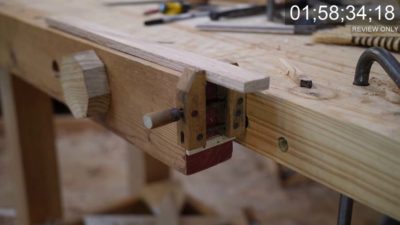
Chris wrapped up the day by taking some detailed footage of my shaving beam, my primary stock preparation tool for the project.

















Recent Comments